Laravel 7 ユーザー登録時の項目を追加する
ユーザー登録時の項目を追加する手順を記述してます。migrationを利用してカラムを追加して、コードを少し修正すれば実装可能です。
※ログイン機能の実装はこちら
環境
- OS windows10 pro 64bit
- Composer 1.10.5
- PHP 7.4.5
- MariaDB 10.4.12
- Laravel Framework 7.6.2
※windows10に Laravel のインストールはこちら
※windows10に Composer のインストールはこちら
※windows10に PHP のインストールはこちら
※windows10に MariaDB のインストールはこちら
概要
ユーザー登録時に電話番号の入力を追加し、必須項目にします。
userテーブル カラム追加
migrationを使用して、userテーブルにphoneカラム追加します。
下記のコマンドを実行します。
php artisan make:migration add_users --table=usersdatabase\migrationsフォルダ配下に「日付_add_users.php」が作成されるので編集します。
function up() カラムを追加する機能
function down() ロールバック
<?php

use Illuminate\Database\Migrations\Migration;
use Illuminate\Database\Schema\Blueprint;
use Illuminate\Support\Facades\Schema;

class AddUsers extends Migration
{
    /**
     * Run the migrations.
     *
     * @return void
     */
    public function up()
    {
        Schema::table('users', function (Blueprint $table) {
            $table->string('phone'); //電話番号を追加
        });
    }

    /**
     * Reverse the migrations.
     *
     * @return void
     */
    public function down()
    {
        Schema::table('users', function (Blueprint $table) {
            $table->dropColumn('phone'); //電話番号を追加
        });
    }
}
編集が終われば、下記のコマンドを実行してカラムを追加します。
php artisan migrateカラムが追加されたことが確認できます。
モデル編集
モデル「app/User.php」に追加したカラムである「phone」を追加します。
protected $fillable = [
        'name', 'email', 'password', 'phone',
    ];
ビュー編集
ビューを編集します。ユーザー登録のビューは「resources\views\auth」フォルダの「register.blade.php」になります。
下記のコードをemailとpasswordの間に追加します。
<div class="form-group row">
    <label for="phone" class="col-md-4 col-form-label text-md-right">{{ __('Phone Number') }}</label>

    <div class="col-md-6">
        <input id="phone" type="text" class="form-control @error('phone') is-invalid @enderror" name="phone" value="{{ old('phone') }}" required autocomplete="phone">

        @error('phone')
            <span class="invalid-feedback" role="alert">
                <strong>{{ $message }}</strong>
            </span>
        @enderror
    </div>
</div>
コントローラ編集
次にコントローラーも方も編集します。「app\Http\Controllers\Auth」フォルダ配下にある「RegisterController.php」を編集します。
 protected function validator(array $data)
    {
        return Validator::make($data, [
            'name' => ['required', 'string', 'max:255'],
            'email' => ['required', 'string', 'email', 'max:255', 'unique:users'],
            'password' => ['required', 'string', 'min:8', 'confirmed'],
            'phone' => ['required', 'string', 'max:11'], //電話番号を追加
        ]);
    }

    /**
     * Create a new user instance after a valid registration.
     *
     * @param  array  $data
     * @return \App\User
     */
    protected function create(array $data)
    {
        return User::create([
            'name' => $data['name'],
            'email' => $data['email'],
            'password' => Hash::make($data['password']),
            'phone' => $data['phone'], //電話番号を追加
        ]);
    }
動作確認
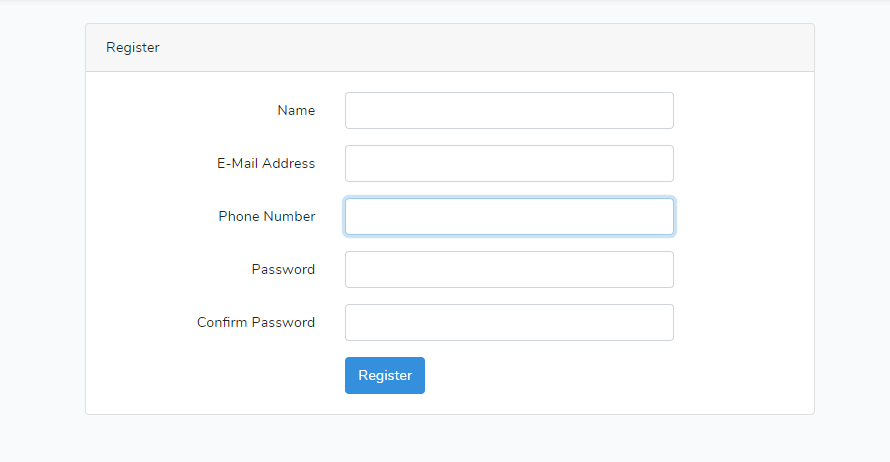
http://127.0.0.1:8000/registerにアクセスすると「Phone Number」項目が表示されていることが確認できます。

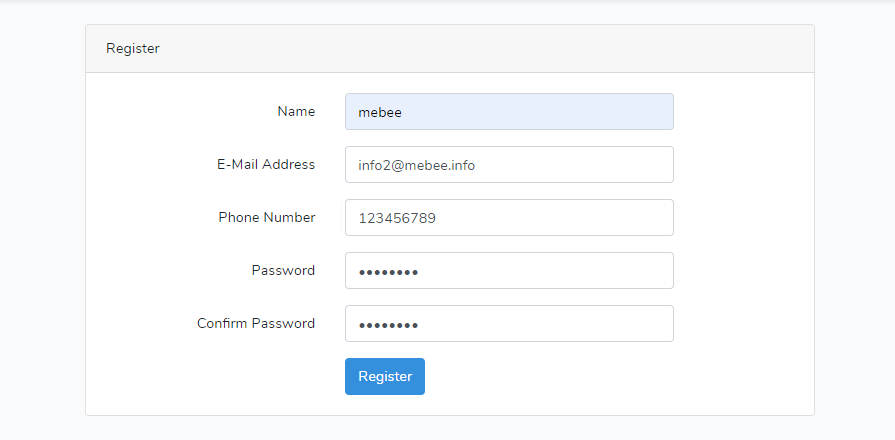
必要項目を入力します。
登録できることが確認できます。
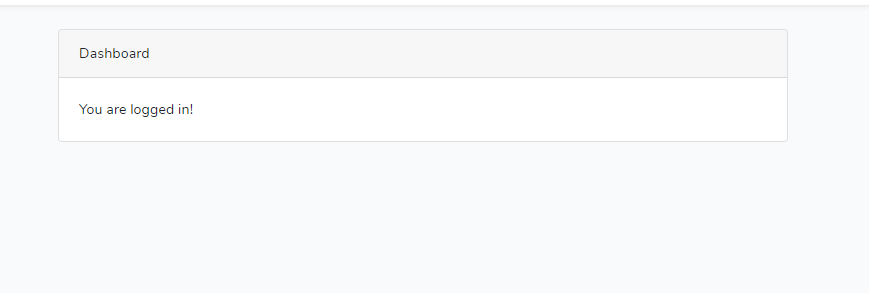
DBにもinsertされています。

-
前の記事

Nuxt.js ライブラリ「vue-quick-menu」をインストールしてRadial Menuを表示する 2020.05.07
-
次の記事
React.js ライブラリ「react-datetime」を使用して日付ピッカーを実装する 2020.05.07