Laravel8 Breezeを使ってログイン機能を実装する
Laravel8でBreezeを使ってログイン機能を実装するまでの手順を記述してます。Laravelのバージョンは8.27.0です。
環境
- OS CentOS Linux release 7.9.2009 (Core)
- Laravel 8.27.0
- PHP 8.0.2
Breeze導入
composerを使って導入することが可能です。
composer require laravel/breezeartisanコマンドを実行します。
php artisan breeze:installjsとcssをビルドします。
npm install && npm run devmigrateを実行してtableを作成します。
php artisan migrate以下のtableが作成されます。
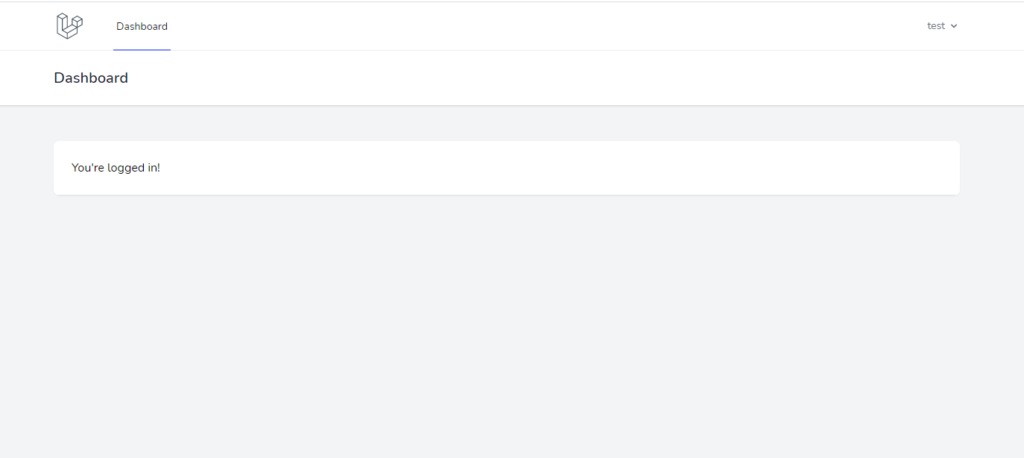
ログイン機能確認
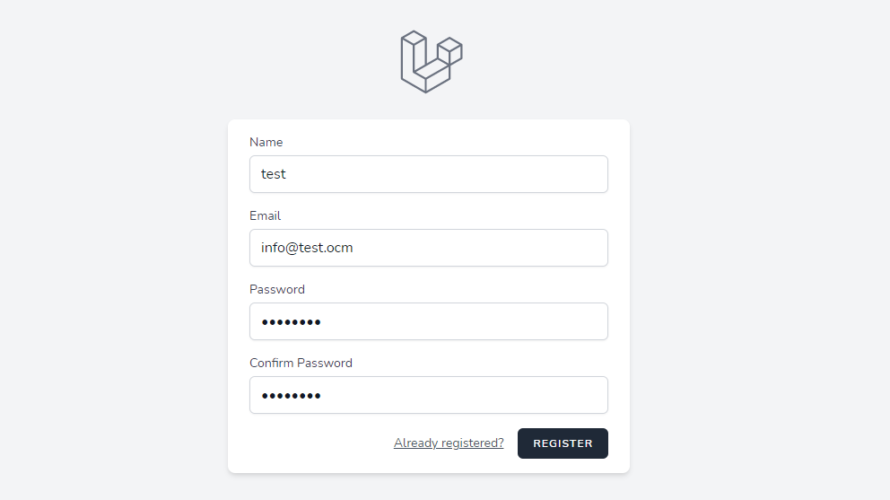
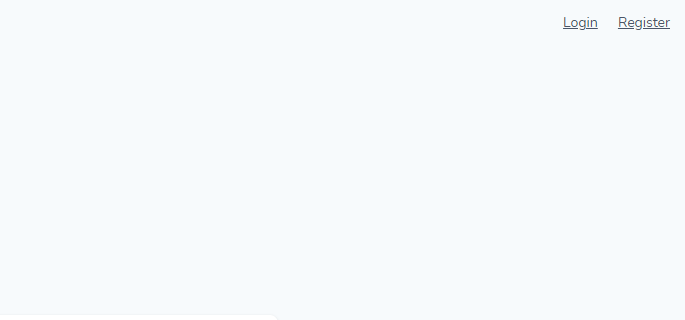
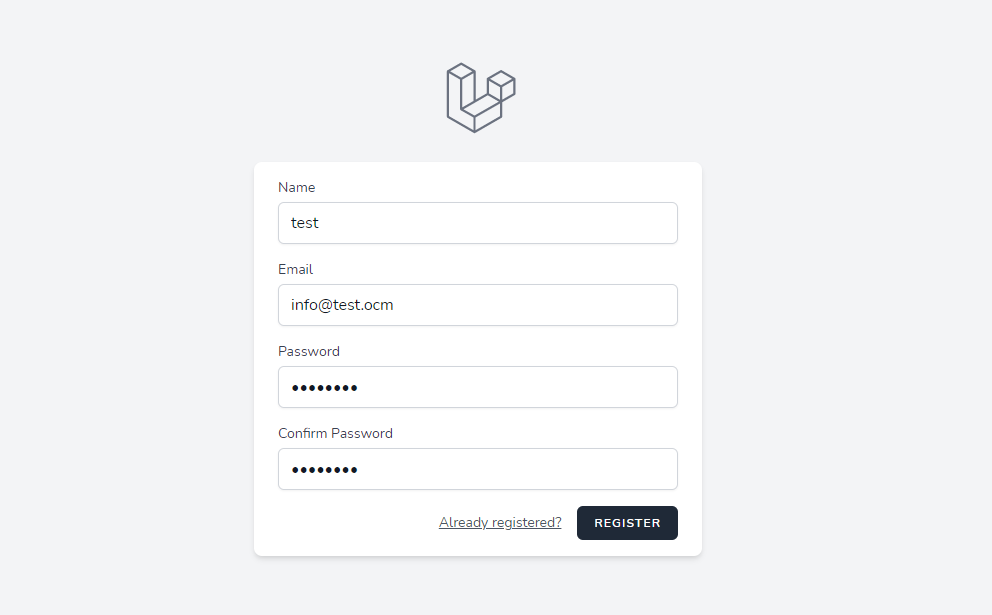
右上にできた「Register」からユーザー登録を行ってみます。
任意のユーザー名、パスワードを入力します。
登録されたことが確認できます。
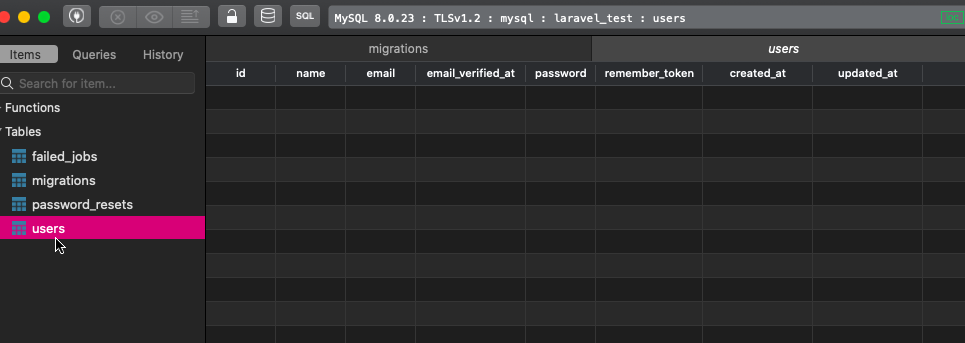
DBにも登録されていることが確認できます。

日本語化
ログイン後のdashboardページを日本語化する場合は「resources/views」にある
「dashboard.blade.php」を編集します。
<x-app-layout>
<x-slot name="header">
<h2 class="font-semibold text-xl text-gray-800 leading-tight">
{{ __('Dashboard') }}
</h2>
</x-slot>
<div class="py-12">
<div class="max-w-7xl mx-auto sm:px-6 lg:px-8">
<div class="bg-white overflow-hidden shadow-sm sm:rounded-lg">
<div class="p-6 bg-white border-b border-gray-200">
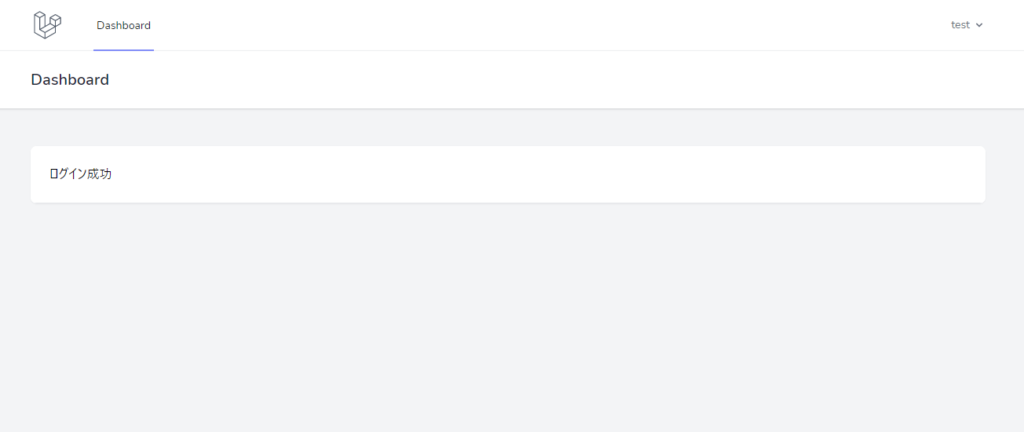
ログイン成功
</div>
</div>
</div>
</div>
</x-app-layout>
編集後
リダイレクト先変更
ログイン後の遷移先の変更は「app/Providers」にある
「RouteServiceProvider.php」で変更可能です。
class RouteServiceProvider extends ServiceProvider
{
    /**
     * The path to the "home" route for your application.
     *
     * This is used by Laravel authentication to redirect users after login.
     *
     * @var string
     */
    public const HOME = '/dashboard';
ログアウト後は「app/Http/Controllers/Auth」にある
「AuthenticatedSessionController.php」を編集します。
public function destroy(Request $request)
{
    Auth::guard('web')->logout();

    $request->session()->invalidate();

    $request->session()->regenerateToken();
  // 編集箇所
    return redirect('/');
}-
前の記事

javascriptでtry catchを使用する 2021.02.15
-
次の記事
C# 指定した区切り文字で文字列を分割する 2021.02.15