Laravel7 ヘルパー「Fluent文字列」の簡単な使い方

Laravel7より追加されたヘルパー「Fluent文字列」の簡単な使い方を記述してます。
環境
- OS windows10 pro 64bit
- Composer 1.10.5
- PHP 7.4.5
- MariaDB 10.4.12
- Laravel Framework 7.6.2
※windows10に Laravel のインストールはこちら
※windows10に Composer のインストールはこちら
※windows10に PHP のインストールはこちら
※windows10に MariaDB のインストールはこちら
事前準備
実行結果を表示するための適当なコントローラーを作成します。
php artisan make:controller HelloControllerapp/Http/Controllers/HelloController.phpが生成されているので、
「use Illuminate\Support\Str;」を追加して下記の通りに編集しておきます。
<?php

namespace App\Http\Controllers;

use Illuminate\Http\Request;
use Illuminate\Support\Str;

class HelloController extends Controller
{
	public function index()
	{
		$hello = Str::of('Hello World');
		return view('hello', compact('hello') );
	}
}
resources\views配下にhello.blade.phpを作成して下記の通りに編集します。
<!DOCTYPE html>
<html lang="{{ str_replace('_', '-', app()->getLocale()) }}">
    <head>
        <meta charset="utf-8">
        <meta name="viewport" content="width=device-width, initial-scale=1">

        <title>Laravel</title>

        <!-- Fonts -->
        <link href="https://fonts.googleapis.com/css?family=Nunito:200,600" rel="stylesheet">

        <!-- Styles -->
        <style>
            html, body {
                background-color: #fff;
                color: #636b6f;
                font-family: 'Nunito', sans-serif;
                font-weight: 200;
                height: 100vh;
                margin: 0;
            }

            .full-height {
                height: 100vh;
            }

            .flex-center {
                align-items: center;
                display: flex;
                justify-content: center;
            }

            .position-ref {
                position: relative;
            }

            .content {
                text-align: center;
            }

            .title {
                font-size: 84px;
            }

            .m-b-md {
                margin-bottom: 30px;
            }
        </style>
    </head>
    <body>
        <div class="flex-center position-ref full-height">

            <div class="content">
                <div class="title m-b-md">
                    {{$hello}}
                </div>
            </div>
        </div>
    </body>
</html>
後はroutesフォルダ配下のweb.phpにルーティングだけ設定しておきます。
Route::resource('/hello', 'HelloController');実行します。
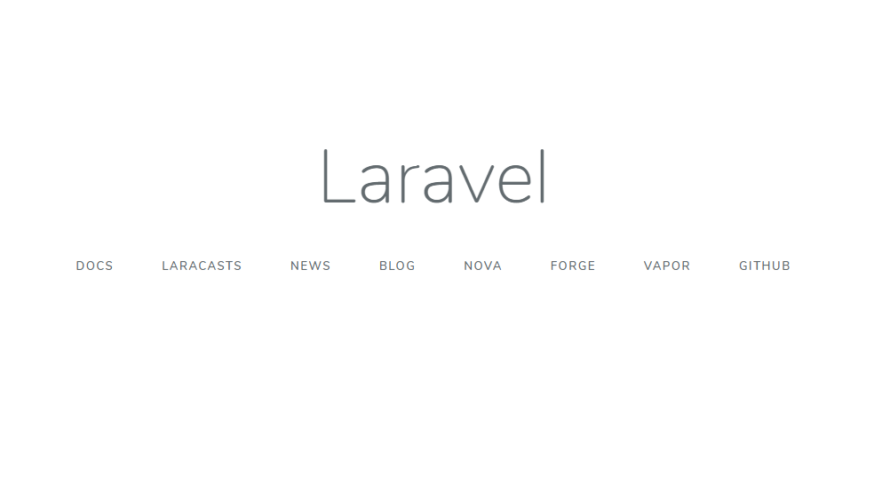
php artisan serve --host 0.0.0.0ブラウザから http://プライベートIP:8000/helloにアクセスすると「Hello World」が表示されていると思います。

afterヘルパー実行
作成したコントローラーを下記のように編集します。
afterヘルパーは、指定した文字列以降の全ての文字列を返します。
$hello = Str::of('Hello World')->after('Hello'); 実行結果

下記に、他のパターンの実行結果を記載します。
$hello = Str::of('Hello Hello World')->after('Hello');

<出力結果>
Hello World

$hello = Str::of('Hello World')->after('mebee');

<出力結果>
Hello World
afterLastヘルパー
afterLastヘルパーは、指定した文字列が複数存在しても、最後に存在した箇所から全ての文字列を返します。
$hello = Str::of('Hello World Hello World')->afterLast('Hello');

<出力結果>
World

$hello = Str::of('App\Http\Controllers\Controller')->afterLast('\\');

<出力結果>
Controller

$hello = Str::of('Hello World')->after('Hello');

<出力結果>
World
appendヘルパー
指定した文字列を追加することが可能です。
$hello = Str::of('Hello')->append(' World');

<出力結果>
Hello World
asciiヘルパー
アスキーコードを文字列に変換してくれるようです。
$hello = Str::of('ĤÈĻĻŌ ŴŎŔĽÐ')->ascii();実行結果

basenameヘルパー
パスから一番最後の文字列を返してくれます。
$hello = Str::of('/foo/bar/hello')->basename();

<出力結果>
hello

$hello = Str::of('\foo\bar\hello')->basename();

<出力結果>
hello

$hello = Str::of('/foo/bar/hello.jpg')->basename();

<出力結果>
hello.jpg

## 拡張子を除くことも可能です。
$hello = Str::of('/foo/bar/hello.jpg')->basename('.jpg');

<出力結果>
hello
camelヘルパー
スネークケースやケバブケースの文字列をキャメルケースに変換してくれます。
## スネークケース
$hello = Str::of('hello_world')->camel();

## ケバブケース
$hello = Str::of('hello-world')->camel();

## パスカルケース
$hello = Str::of('HelloWorld')->camel();

<出力結果>
helloWorld上記以外にも複数のヘルパーが用意されいるので、こちらをご確認下さい。
-
前の記事

Ubuntu20.04 Erlangをインストールして実行する 2020.06.14
-
次の記事

React.js ライブラリ「react-pageflip」を使って本をめくるようなエフェクトをかける 2020.06.14


コメントを書く