Laravel7 ページの作成手順
- 作成日 2020.05.04
- 更新日 2020.07.18
- laravel
Laravel7で新しいページの作成手順です。ここでは、welcomeページをhello worlに変更するまでの手順を記述します。
環境
- OS windows10 pro 64bit
- Composer 1.10.5
- PHP 7.4.5
- MariaDB 10.4.12
- Laravel Framework 7.6.2
※windows10に Laravel のインストールはこちら
※windows10に Composer のインストールはこちら
※windows10に PHP のインストールはこちら
※windows10に MariaDB のインストールはこちら
コントローラー作成
まずはコントローラーを作成します。
php artisan make:controller HelloControllerapp/Http/Controllers/HelloController.phpが作成されるので、次に作成するView内で「Hello World」を出力するために下記の通りに編集します。
<?php

namespace App\Http\Controllers;

use Illuminate\Http\Request;

class HelloController extends Controller
{
	public function index()
	{
		$hello = 'Hello World';
		return view('hello', compact('hello') );
	}
}
ビュー作成
次にレイアウト部であるviewを作成します。
resources\views内で「hello.blade.php」を下記の内容で、新たに作成します。
<!DOCTYPE html>
<html lang="{{ str_replace('_', '-', app()->getLocale()) }}">
    <head>
        <meta charset="utf-8">
        <meta name="viewport" content="width=device-width, initial-scale=1">

        <title>Laravel</title>

        <!-- Fonts -->
        <link href="https://fonts.googleapis.com/css?family=Nunito:200,600" rel="stylesheet">

        <!-- Styles -->
        <style>
            html, body {
                background-color: #fff;
                color: #636b6f;
                font-family: 'Nunito', sans-serif;
                font-weight: 200;
                height: 100vh;
                margin: 0;
            }

            .full-height {
                height: 100vh;
            }

            .flex-center {
                align-items: center;
                display: flex;
                justify-content: center;
            }

            .position-ref {
                position: relative;
            }

            .top-right {
                position: absolute;
                right: 10px;
                top: 18px;
            }

            .content {
                text-align: center;
            }

            .title {
                font-size: 84px;
            }

            .links > a {
                color: #636b6f;
                padding: 0 25px;
                font-size: 13px;
                font-weight: 600;
                letter-spacing: .1rem;
                text-decoration: none;
                text-transform: uppercase;
            }

            .m-b-md {
                margin-bottom: 30px;
            }
        </style>
    </head>
    <body>
        <div class="flex-center position-ref full-height">
            @if (Route::has('login'))
                <div class="top-right links">
                    @auth
                        <a href="{{ url('/home') }}">Home</a>
                    @else
                        <a href="{{ route('login') }}">Login</a>

                        @if (Route::has('register'))
                            <a href="{{ route('register') }}">Register</a>
                        @endif
                    @endauth
                </div>
            @endif

            <div class="content">
                <div class="title m-b-md">
                    {{$hello}}
                </div>

                <div class="links">
                    <a href="https://laravel.com/docs">Docs</a>
                    <a href="https://laracasts.com">Laracasts</a>
                    <a href="https://laravel-news.com">News</a>
                    <a href="https://blog.laravel.com">Blog</a>
                    <a href="https://nova.laravel.com">Nova</a>
                    <a href="https://forge.laravel.com">Forge</a>
                    <a href="https://vapor.laravel.com">Vapor</a>
                    <a href="https://github.com/laravel/laravel">GitHub</a>
                </div>
            </div>
        </div>
    </body>
</html>
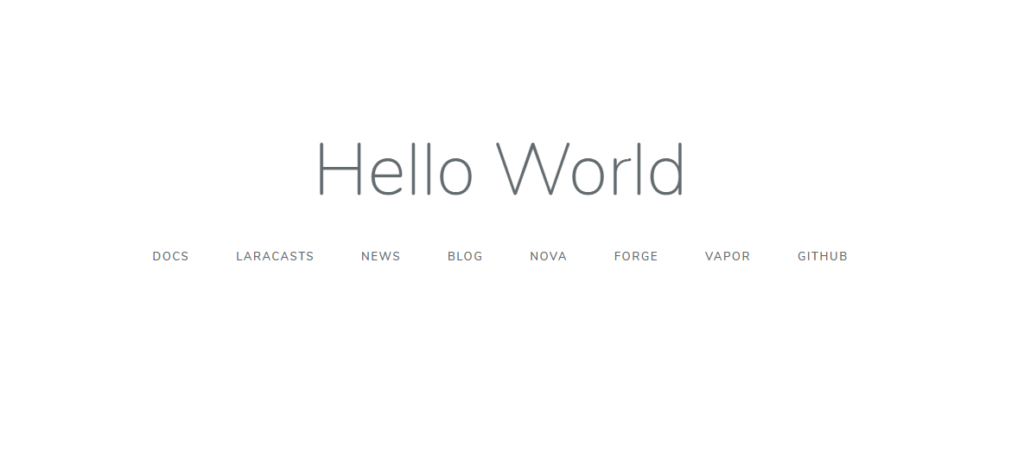
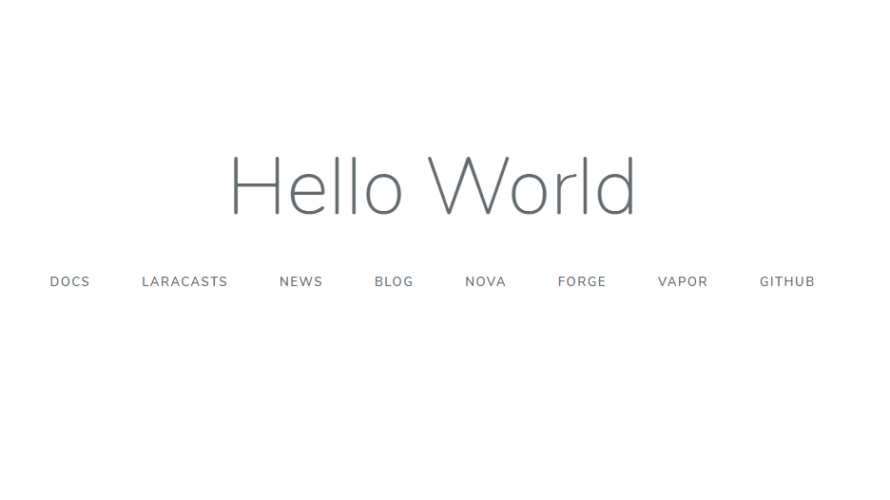
{{$hello}}が、コントローラーから渡された「Hello World」が出力される箇所となります。
ルーティング追加
最後にアクセスするURLを設定するため、ルーティングを記述します。
ここでは/helloに設定します。
Route::resource('hello', 'HelloController');確認
ブラウザから http://localhost:8000/hello にアクセスして「Hello World」が出力されていることを確認してみます。