React.js ライブラリ「react-finderselect」を使ってファインダーセレクトを実装する

ライブラリ「react-finderselect」をインストールすると、ファインダーセレクトを実装することが可能です。ここでは、react.jsでreact-autocomplete-inputを利用するための手順と簡単な使い方を記述してます。
環境
- OS CentOS Stream release 8
- node V12.16.3
- npm 6.14.7
- React 16.13.0
react.js環境構築
下記のコマンドで構築してます。ここでは、react-appという名前でプロジェクトを作成してます。
create-react-app react-appreact-finderselectインストール
作成したプロジェクトに移動して、インストールします。
## 作成したプロジェクトに移動
cd react-app

## インストール
npm install react-finderselect
react-finderselect使い方
srcディレクトリにsample.jsと名前で下記のコードを記述します。
import React from "react";

import FinderSelect from 'react-finderselect'
import 'react-finderselect/dist/index.css'

const data = [
  {
    name: 'Venezuela',
    capital: 'Caracas',
    code: 'VE'
  }, {
    name: 'Peru',
    capital: 'Lima',
    code: 'PE'
  }, {
    name: 'Argentina',
    capital: 'Buenos Aires',
    code: 'AR'
  },
]

const Sample = () => {


  return (
    <div>
      <FinderSelect
        data={data}
        label='name'
        value='code'
        extraInfo='capital'
        name='country'
        className='anyClass'
        placeholder='Select a country'
        onClick={() => console.log('entering')}
        onChange={() => console.log('leaving')}
      />
    </div>
  );
};

export default Sample;
次に、srcディレクトリ配下にあるApp.jsを下記のように編集します。
import React from 'react';
import Sample from './sample';
import './App.css';

function App() {
  const style = {
    width: "50%",
    margin: "0 auto",
    marginTop: 150,
  };
  return (
    <div className="App">
      <div style={style}>
        <Sample />
      </div>
    </div>
  );
}

export default App;
実行します。
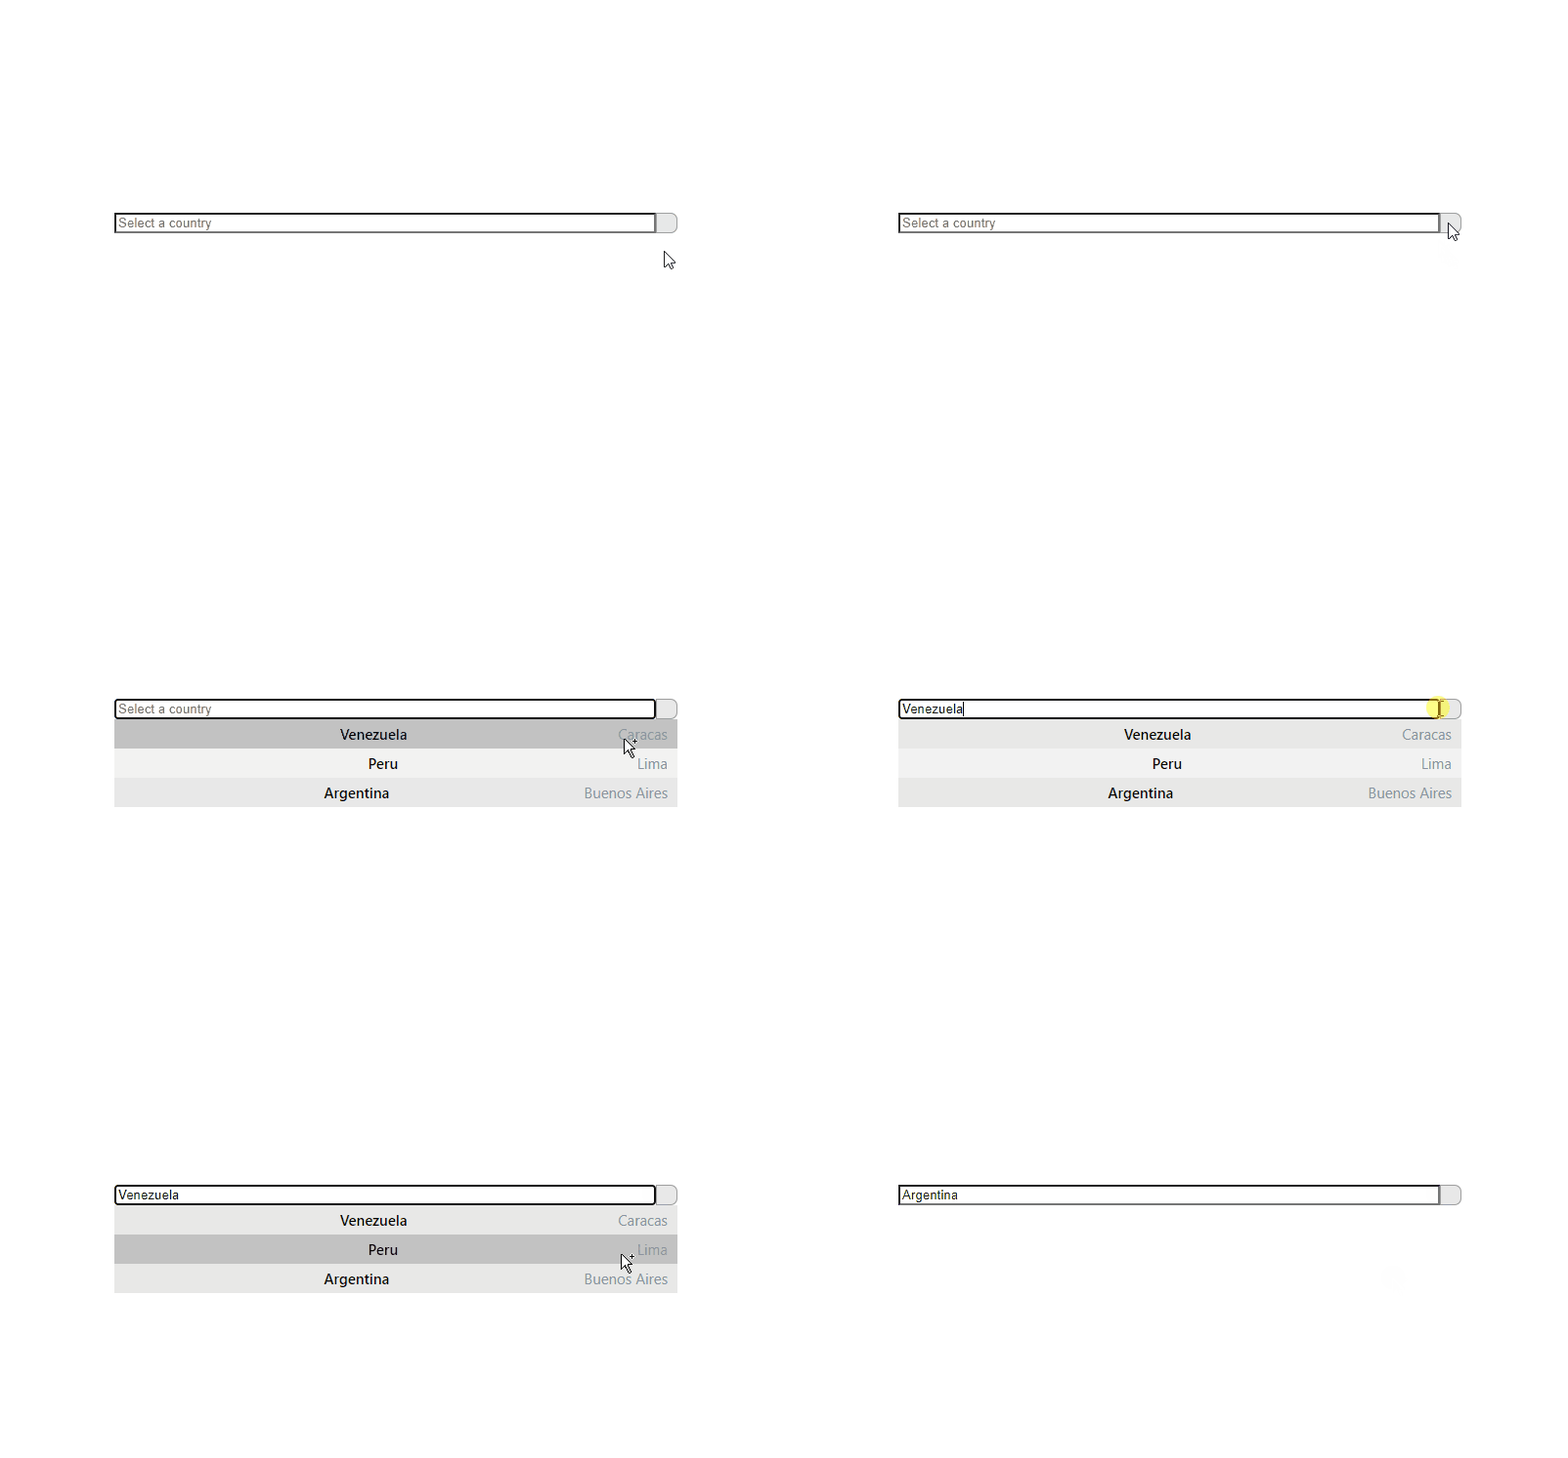
npm startブラウザから http://プライベートIP:3000にアクセスすると、ファインダーセレクトが実装されていることが確認できます。

-
前の記事

javascript カンマ演算子の使い方 2021.02.08
-
次の記事

ASP.NET Core DBと接続してAPIを実装する 2021.02.08


コメントを書く