React.js UIコンポーネント「 Grommet」をインストールして使用する

react.jsのUIコンポーネント「Grommet」をインストールすると、UIの構築が簡単に実現することができます。ここでは、react.jsでGrommetを利用するための手順と簡単な使い方を記述してます。
環境
- OS CentOS Linux release 8.2.2004 (Core)
- node V12.16.3
- npm 6.14.7
- React 16.13.0
react.js環境構築
下記のコマンドで構築してます。ここでは、react-appという名前でプロジェクトを作成してます。
create-react-app react-appGrommetインストール
作成したプロジェクトに移動して、インストールします。
## 作成したプロジェクトに移動
cd react-app

## インストール
npm install grommet
Grommet使い方
srcディレクトリにsample.jsと名前で下記のコードを記述します。
import React from 'react';
import { Grommet, Button, Box, Tabs, Tab, Form, FormField, TextInput } from "grommet"

const Sample = () => {
  const [value, setValue] = React.useState({});
  return (
    <div>
      <Tabs>
        <Tab title="tab 1">
          <Box pad="medium">One</Box>
        </Tab>
        <Tab title="tab 2">
          <Box pad="medium">Two</Box>
        </Tab>
      </Tabs>

      <Grommet>
        <Box align="center" background="neutral-2">
          <Button
          label="hello world"
          primary
          onClick={() => alert('hello, world')}
        />
        </Box>
      </Grommet>

      <Form
        value={value}
        onChange={nextValue => setValue(nextValue)}
        onReset={() => setValue({})}
        onSubmit={({ value }) => {}}
      >
        <FormField name="name" htmlfor="text-input-id" label="Name">
          <TextInput id="text-input-id" name="name" />
        </FormField>
        <Box direction="row" gap="medium">
          <Button type="submit" primary label="Submit" />
          <Button type="reset" label="Reset" />
        </Box>
      </Form>

    </div>
  );
}

export default Sample;
次に、srcディレクトリ配下にあるApp.jsを下記のように編集します。
import React from 'react';
import Sample from './sample';
import './App.css';

function App() {
  const style = {
    width: "50%",
    margin: "0 auto",
    marginTop: 150,
  };
  return (
    <div className="App">
      <div style={style}>
        <Sample />
      </div>
    </div>
  );
}

export default App;
実行します。
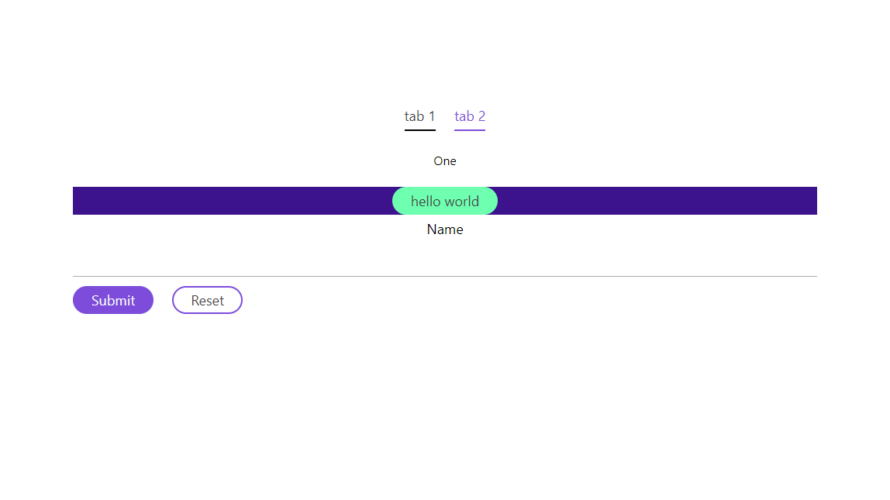
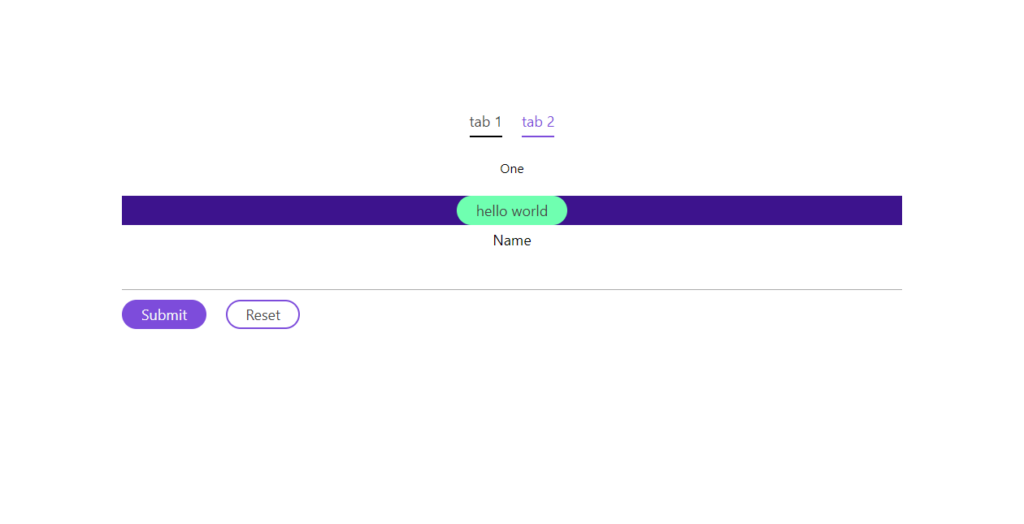
npm startブラウザから http://プライベートIP:3000にアクセスすると、UIコンポーネントが適応されていることが確認できます。

-
前の記事

centos7 docker composeを利用してgogsを構築するまでの手順 2020.08.05
-
次の記事

javascript スプレッド構文を使って連想配列を結合する 2020.08.05


コメントを書く