Intellij IDEAにspring boot devtoolsを導入して自動コンパイルする
- 作成日 2020.06.25
- 更新日 2020.07.17
- IntelliJ IDEA Spring Boot
- IntelliJ IDEA, Spring Boot
spring Boot DevToolsを導入すればソースコードを変更して、わざわざをTomcatを再起動せずに変更内容が確認できるようになります。ここでは導入までの手順を記述してます。
環境
- OS windows10 pro 64bit
- IntelliJ 2020.1.1
- AdoptOpenJDK 14.0.1
- Spring Boot 2.2.6
※Windows10にAdoptOpenJDKのインストール手順はこちら
Spring Bootプロジェクト作成
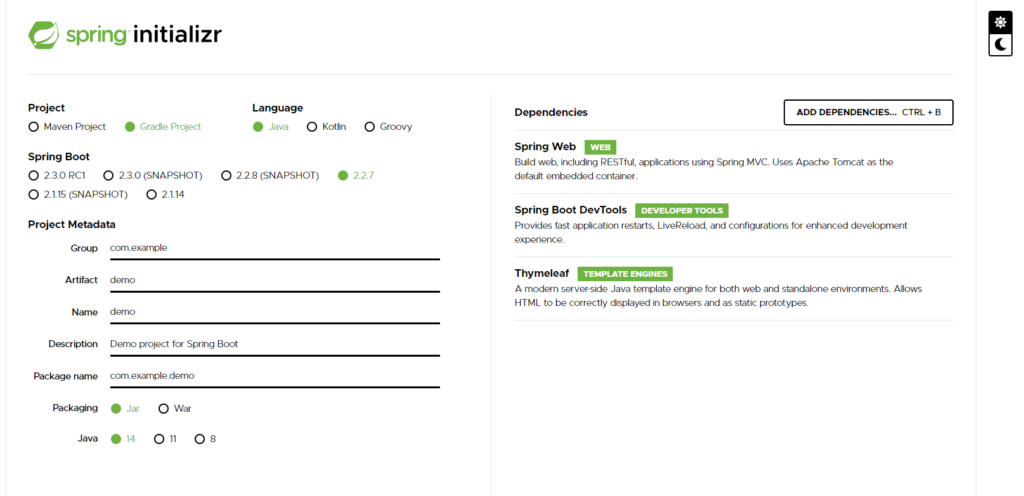
Spring Initializrよりプロジェクトのテンプレートをダウンロードしてプロジェクトを作成してます。
まずはこちらにアクセスして、下記の通りに設定してプロジェクトをダウンロードします。
※Thymeleafはここでは利用しませんが一応設定しておきます。
Intellij IDEA設定
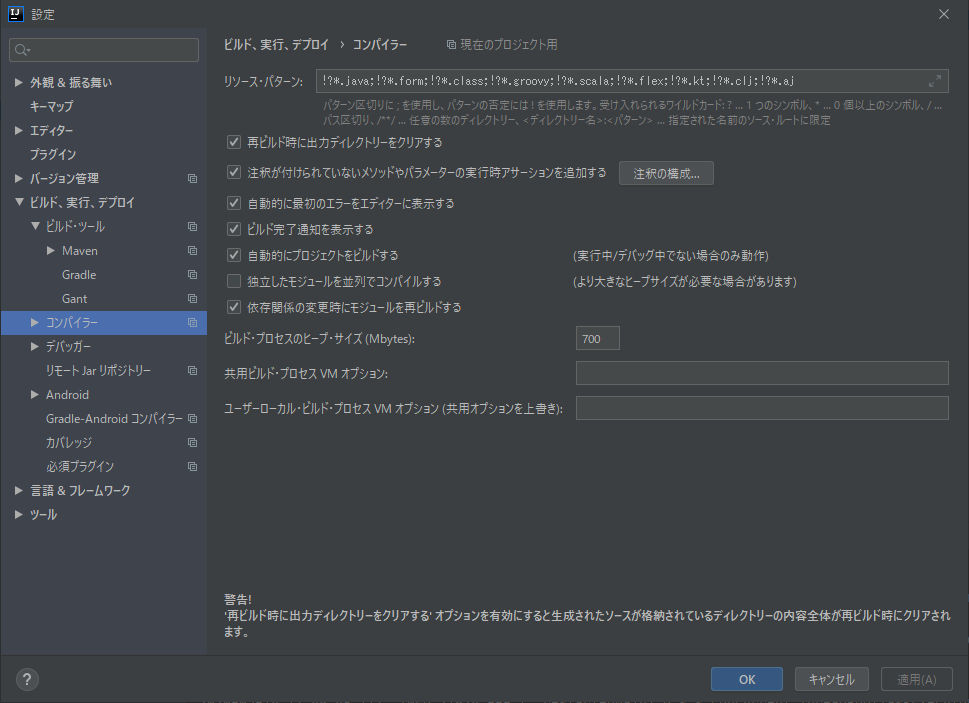
設定 > コンパイラーより「自動的にプロジェクトをビルド」するにチェックを入れて「適用」ボタンをクリックして「OK」ボタンをクリックします
※IntelliJ IDEA 日本語化の手順はこちら
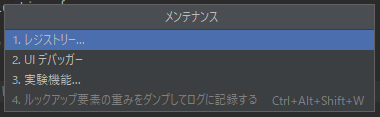
次に「Shift + Ctrl + Alt + /」を同時に押して「メンテナンス」を起動します。
レジストリを選択します。
compiler.automake.allow.when.app.runningにチェックをします。
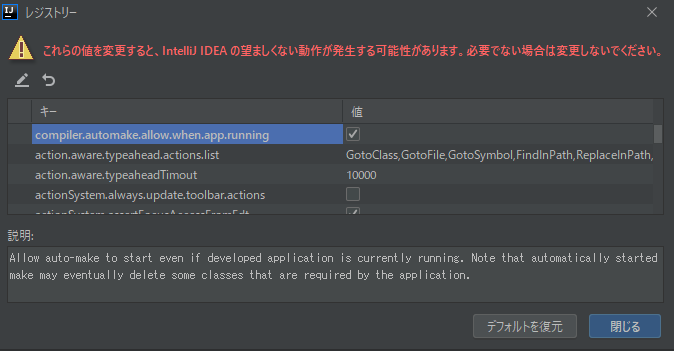
これで設定は完了です。
確認
DemoApplication.javaを下記のように編集して実行します。
package com.example.demo;
import org.springframework.boot.SpringApplication;
import org.springframework.boot.autoconfigure.SpringBootApplication;
import org.springframework.boot.SpringApplication;
import org.springframework.boot.autoconfigure.SpringBootApplication;
import org.springframework.web.bind.annotation.RequestMapping;
import org.springframework.web.bind.annotation.RestController;
@SpringBootApplication
@RestController
public class DemoApplication {
@RequestMapping("/")
String index(){
return "Hello World";
}
public static void main(String[] args) {
SpringApplication.run(DemoApplication.class, args);
}
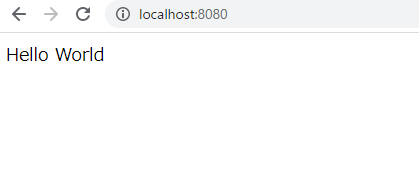
}実行すると「Hello World」が表示されていることが確認できます。
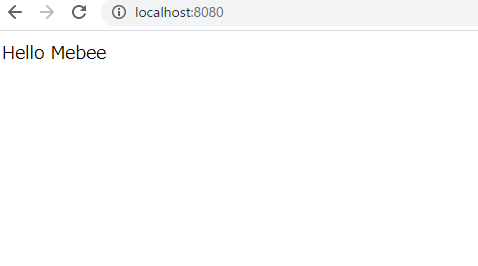
ソースコードを「return “Hello World”;」から「 return “Hello Mebee”; 」に変更して、再度アクセスすると変更が反映されていることが確認できます。
-
前の記事
Nuxt.js ライブラリ「vue-shell 」をweb上にターミナルを実装する 2020.06.25
-
次の記事
Nuxt.js ライブラリ「vue-chartkick」を使用して様々な種類のチャートを実装する 2020.06.26