Windows10 IntelliJ IDEAをインストールしてkotlinを実行する
- 作成日 2020.05.08
- 更新日 2020.07.18
- IntelliJ IDEA kotlin
- IntelliJ IDEA, kotlin, windows10, インストール

kotlinの開発元である「ジェットブレインズ社」が提供している「IntelliJ IDEA」をwindows環境にインストールして、実行するまでの手順を記述してます。
環境
- OS windows10 pro 64bit
- kotlin 1.3.72
※windows10にkotlinをインストールする手順はこちら
IntelliJ IDEAダウンロード
こちらのサイトからダウンロード可能です。
ダウンロードをクリックします。

無償のコミュニティの方の「 ダウンロード」をクリックしてexe形式でダウンロードします。

ideaIC-2020.1.1.exeがダウンロードされます。

IntelliJ IDEAインストール
ダウンロードした「ideaIC-2020.1.1.exe」をダブルクリックしてインストールを開始します。
「Next」をクリックします。

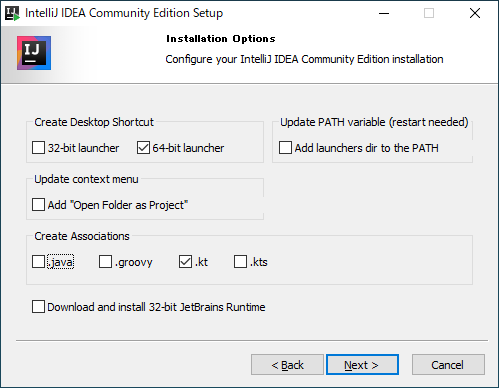
ショートカットキーの作成とファイルの関連付けです。
※ここでは、64bitのショートカットの作成とktファイルに関連付けだけ行ってます。
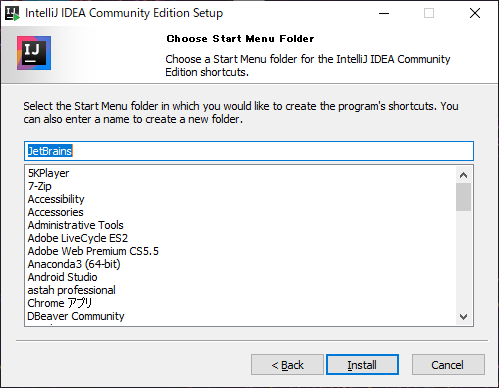
「Install」をクリックするとインストールが開始されます。
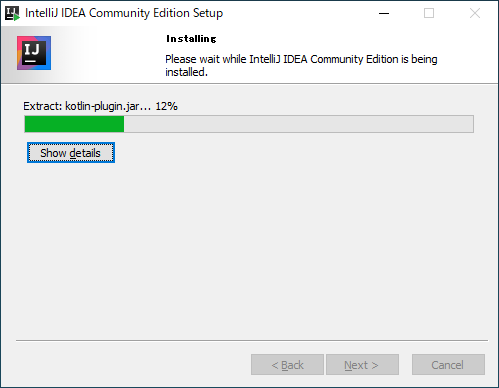
インストールが開始されます。
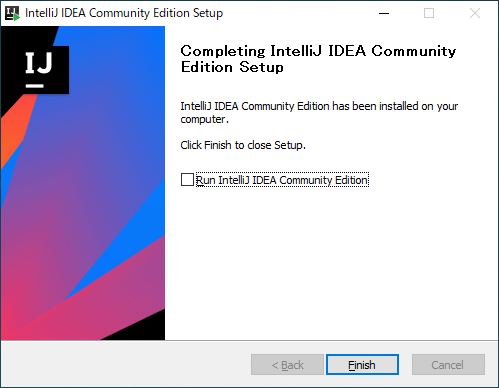
「Finish」をクリックすればインストールは完了です。
kotlin実行
ディスクトップ上のショートカットをクリックします。

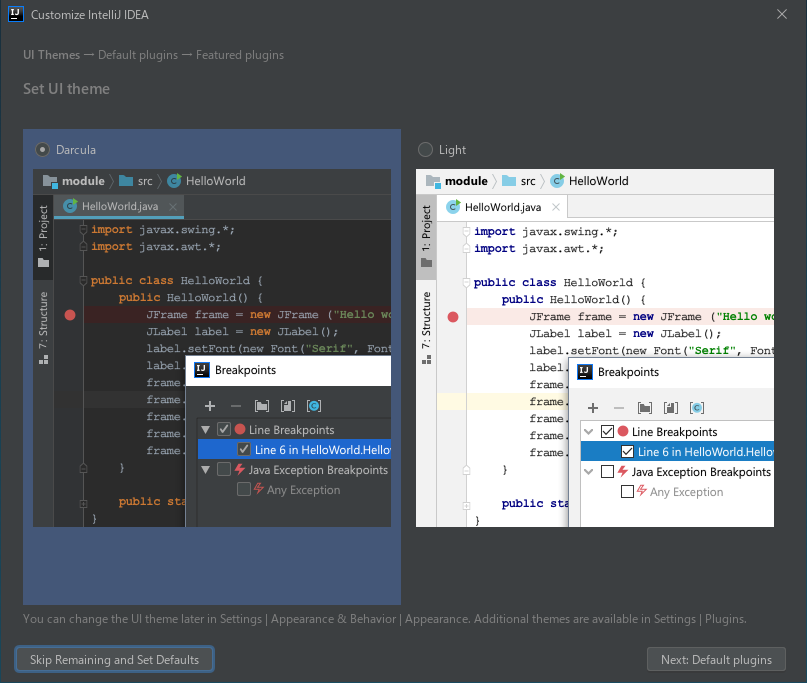
起動時にUIの選択を求められます。
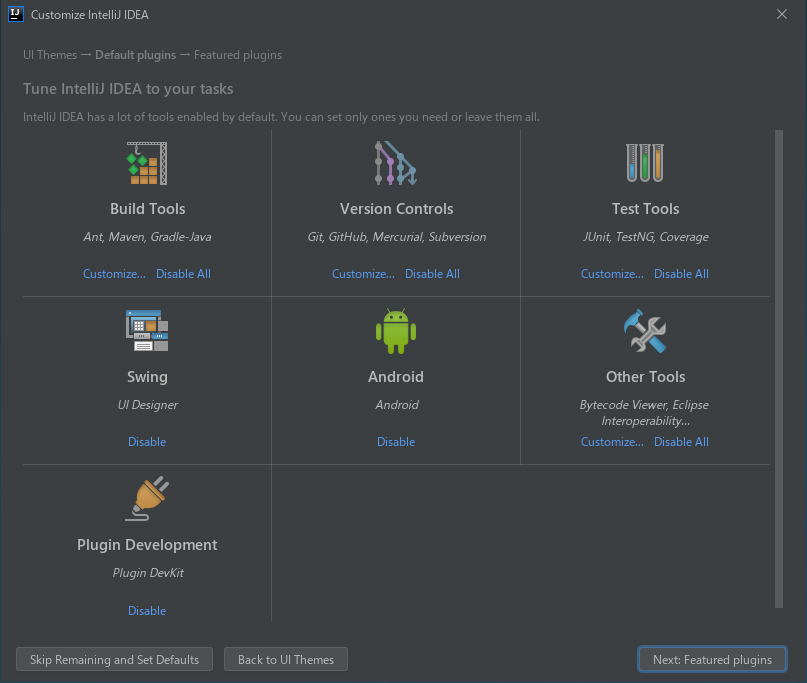
プラグインの確認です。とりあえず、「Next」をクリックします
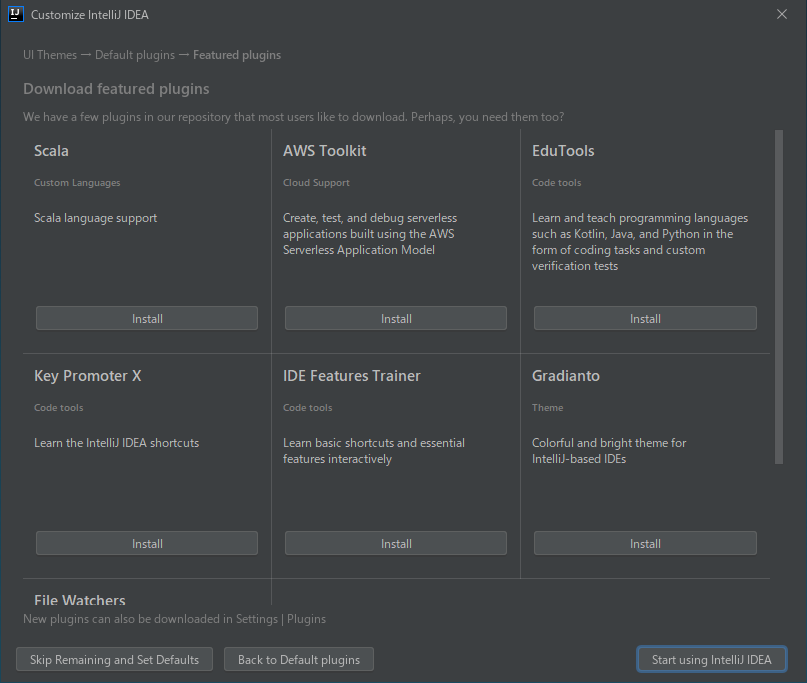
追加プラグインの確認です。ここでは特に何も追加せず「Start using IntelliJ IDEA」をクリックします。
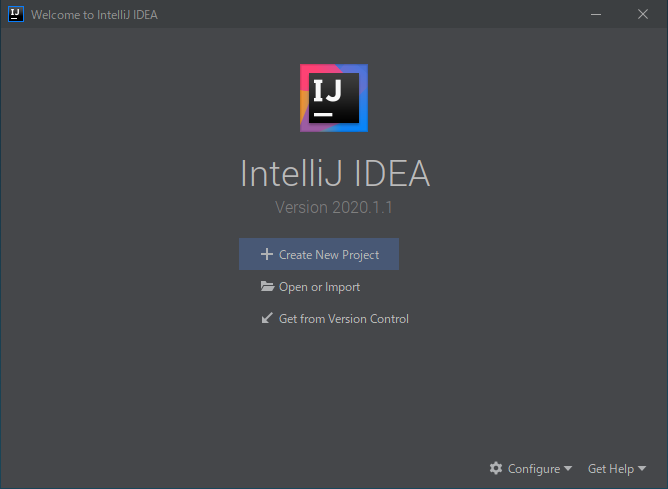
「Create New Project」をクリックして、新規プロジェクトを作成します。
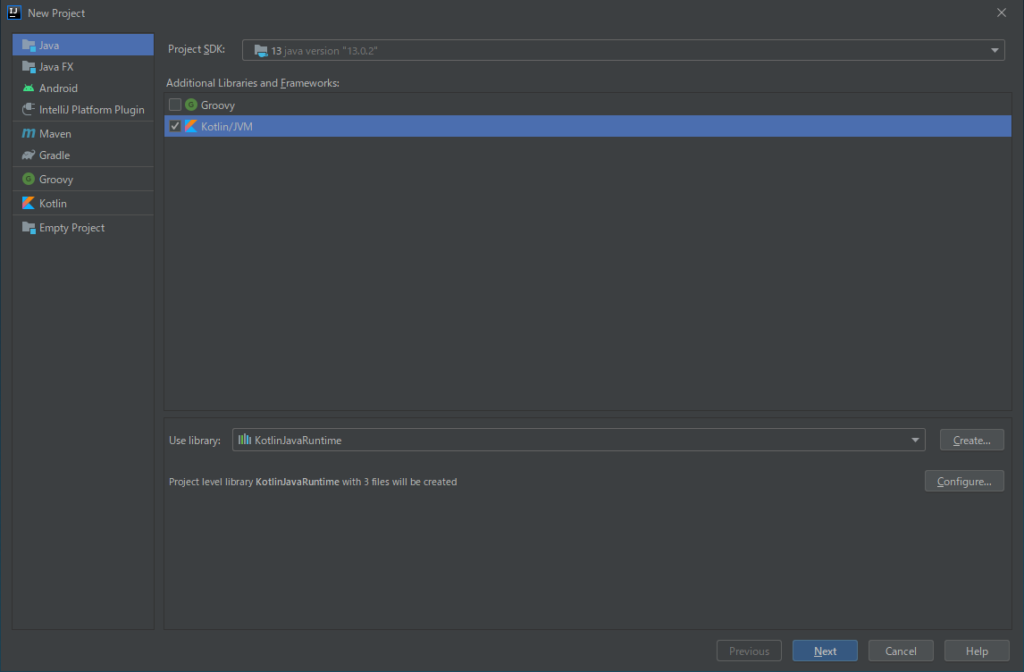
Kotlinにチェックをします。
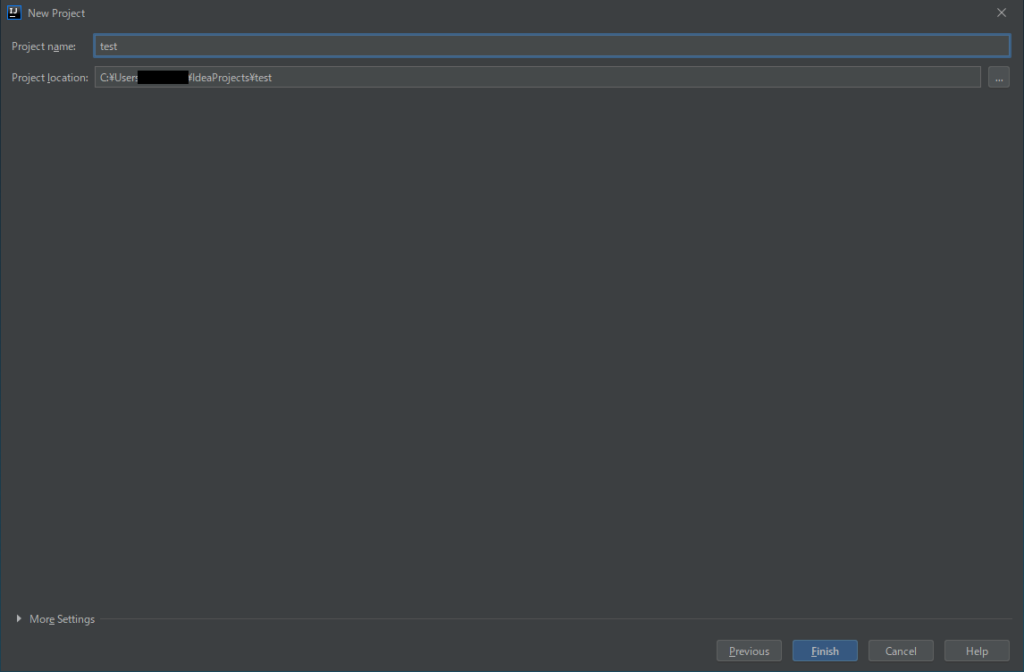
任意の名前でプロジェクトを作成します。
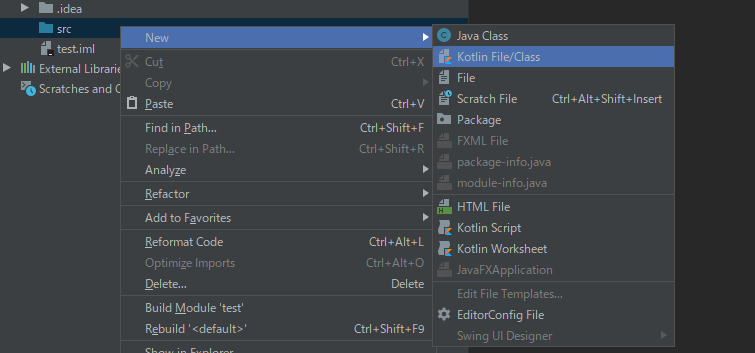
作成したプロジェクト上の「src」を右クリックし「Kotlin File/Class」を選択します。
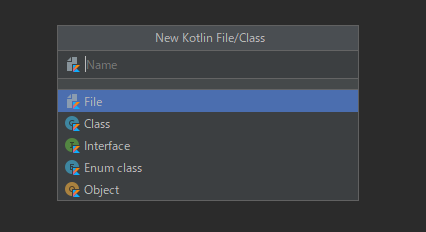
ここでは、testと入力してtest.ktファイルを作成します。
test.ktに下記のコードを記述して、hello worldを表示します。
fun main(args: Array<String>) {
println("Hello world")
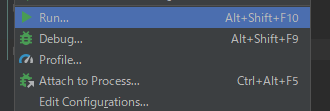
}画面上部にある「Run」をクリックして、 test.kt を実行します。
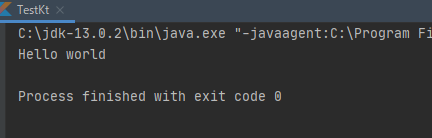
「Hello world」が表示されることが確認できます。
-
前の記事

Laravel7 Fakerの使い方 ダミーデータを作成するまでの手順 2020.05.08
-
次の記事
Laravel7 DBクラスを利用して、DBと接続してテーブルの値を表示する 2020.05.09