CentOs8 Apache ActiveMQをインストールする
- 作成日 2020.03.13
- 更新日 2020.07.22
- ActiveMQ centos8
- Apache ActiveMQ, centos8, インストール
Centos8にJavaで開発された「ActiveMQ」のインストール手順となります。javaがインストールされていることが前提条件となります。
環境
- OS CentOS Linux release 8.0.1905 (Core)
ActiveMQダウンロード
こちらのページより最新バージョンを確認してダウンロードします。
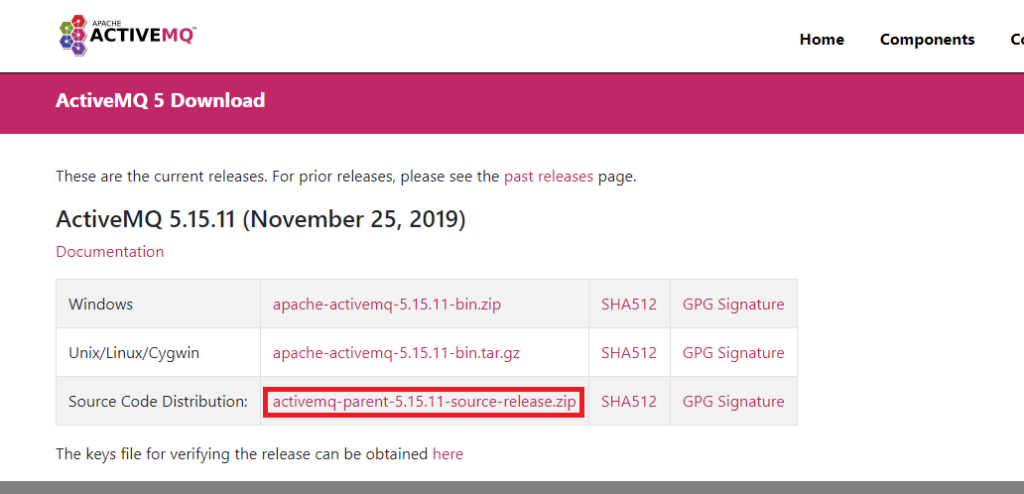
wget https://www.apache.org/dist/activemq/5.15.11/apache-activemq-5.15.11-bin.tar.gzダウンロードしたファイルを解凍します。
tar xvf apache-activemq-5.15.11-bin.tar.gz解凍したファイルを移動させます。
sudo mv apache-activemq-*/ /opt/apache-activemqActiveMQ起動
サービスを実行するためのユーザーを作成しておきます。
sudo useradd activemqディレクトリにアクセス権を付与します。
sudo chown -R activemq:activemq /opt/apache-activemq/サービスファイルを作成します。
sudo vim /etc/systemd/system/apache-activemq.service

<編集内容>
[Unit]
Description=Apache ActiveMQ Messaging Server
After=network.target

[Service]
Type=forking
User=activemq
Group=activemq

ExecStart=/opt/apache-activemq/bin/activemq start
ExecStop=/opt/apache-activemq/bin/activemq stop

[Install]
WantedBy=multi-user.target
起動します。
## 起動
systemctl daemon-reload && systemctl start activemq

## 自動起動設定
sudo systemctl enable apache-activemq.service
ステータスを確認します。
systemctl status  apache-activemq.service

<出力結果>
● apache-activemq.service - Apache ActiveMQ Messaging Server
   Loaded: loaded (/etc/systemd/system/apache-activemq.service; enabled; vendor preset: disabled)
   Active: active (running) since Fri 2020-03-13 10:36:02 JST; 6s ago
  Process: 2224 ExecStart=/opt/apache-activemq/bin/activemq start (code=exited, status=0/SUCCESS)
 Main PID: 2276 (java)
    Tasks: 45 (limit: 23276)
   Memory: 297.9M
   CGroup: /system.slice/apache-activemq.service
FireWall設定
ポート8161を開放しておきます。
## 8161開放
sudo firewall-cmd --add-port=8161/tcp --zone=public --permanent

## 再起動
sudo firewall-cmd --reload
ActiveMQアクセス
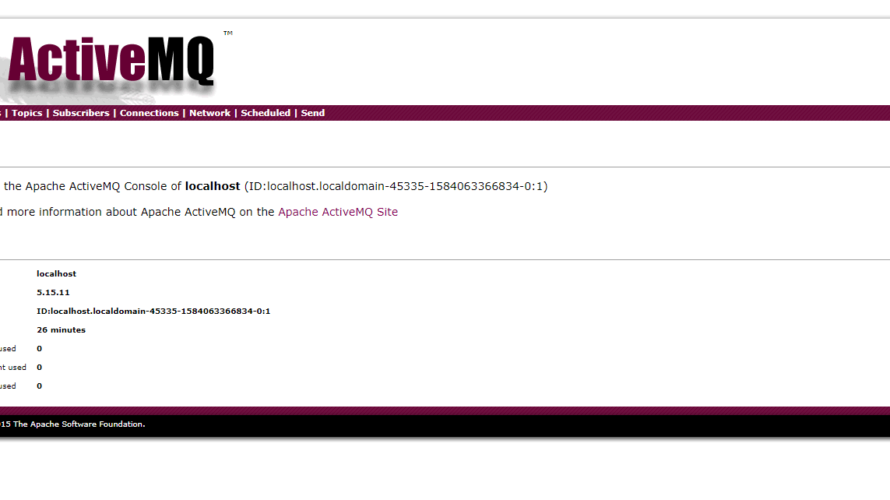
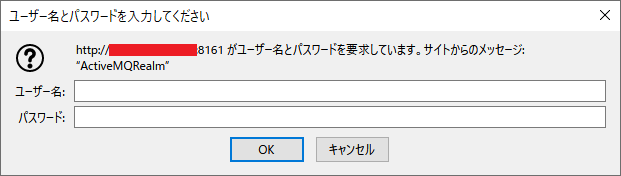
ブラウザから http://プライベートIP:8161/adminにアクセスします。
ベーシック認証がかかっているので、
ユーザー : admin
パスワード : admin
と入力してログインします。
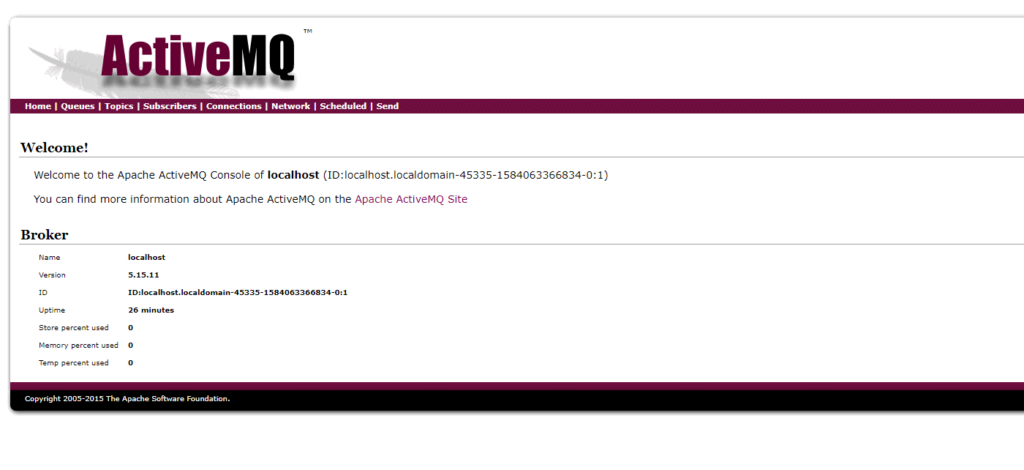
下記の画面が表示されれば、インストールは完了です。
ActiveMQ使ってみる
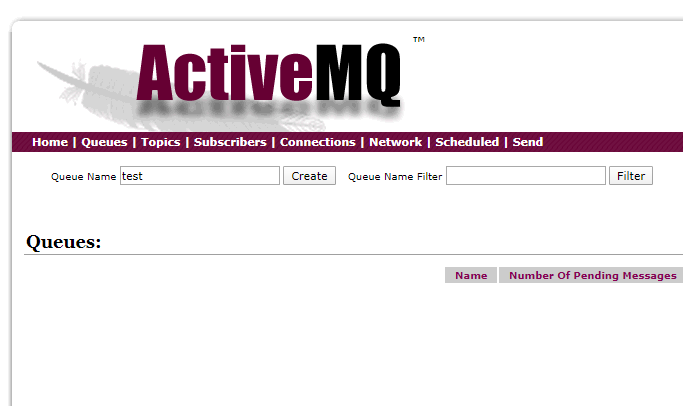
Queue Nameを「test」とし、createボタンをクリックします。
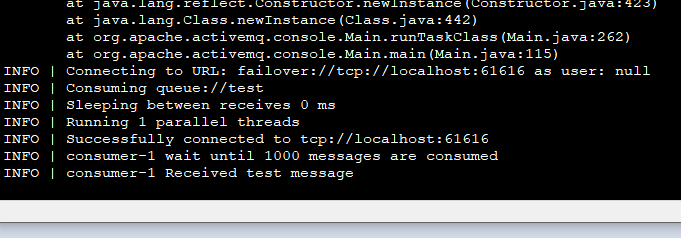
consumer立ち上げてリスニングを開始します。
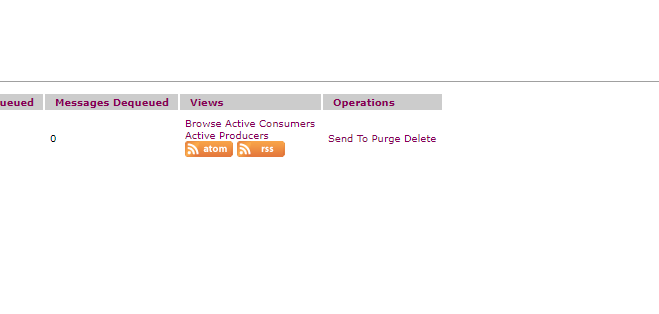
/opt/apache-activemq/bin/activemq consumer --destination queue://testWEBの画面に戻り、作成したtestの「Send To」をクリックします。
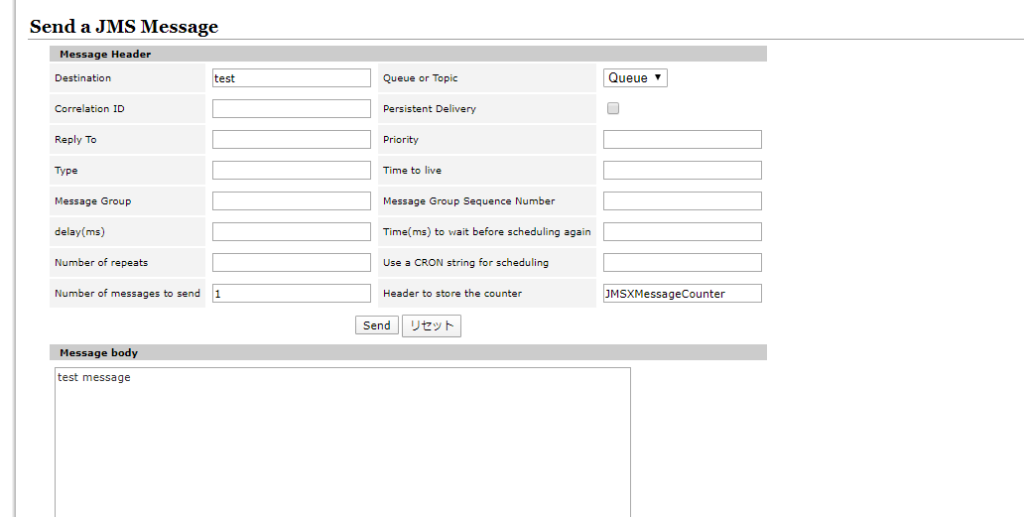
ここでは「test message」とメッセージを入力して、「send」ボタンをクリックします。
consumer側でメッセージが受信できたことが確認できます。
-
前の記事

React.js ライブラリ「react-sparklines」を使用して色んなタイプのグラフを作成する 2020.03.13
-
次の記事
Vue.js vue-simple-flowchartを利用してシンプルなフローチャートを実装する 2020.03.13