ASP.NET CoreでAPIを作成する
- 作成日 2021.03.06
- ASP.NET Core
- ASP.NET Core

ASP.NET CoreでAPIを作成するまでの手順を記述してます。.NET Coreのバージョンは3.1を使用してます。
環境
- OS windows10 pro
- IDE Visual Studio 2019
- .NET Core 3.1
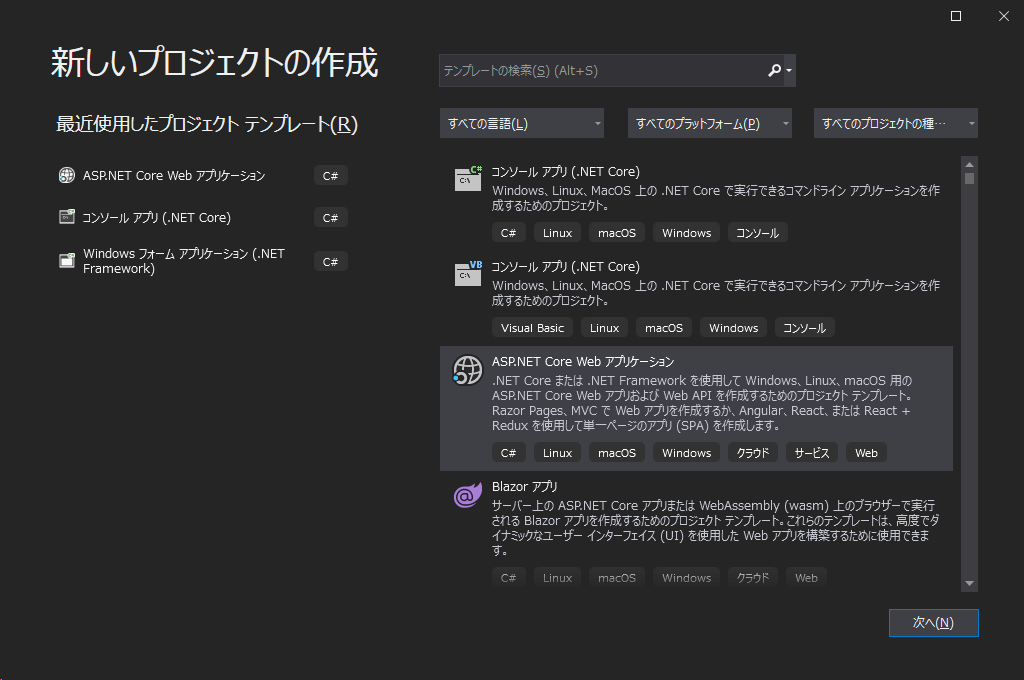
プロジェクト作成
Visual Studio 2019からプロジェクトを作成します。
ASP.NET Core Webアプリケーションを選択します。
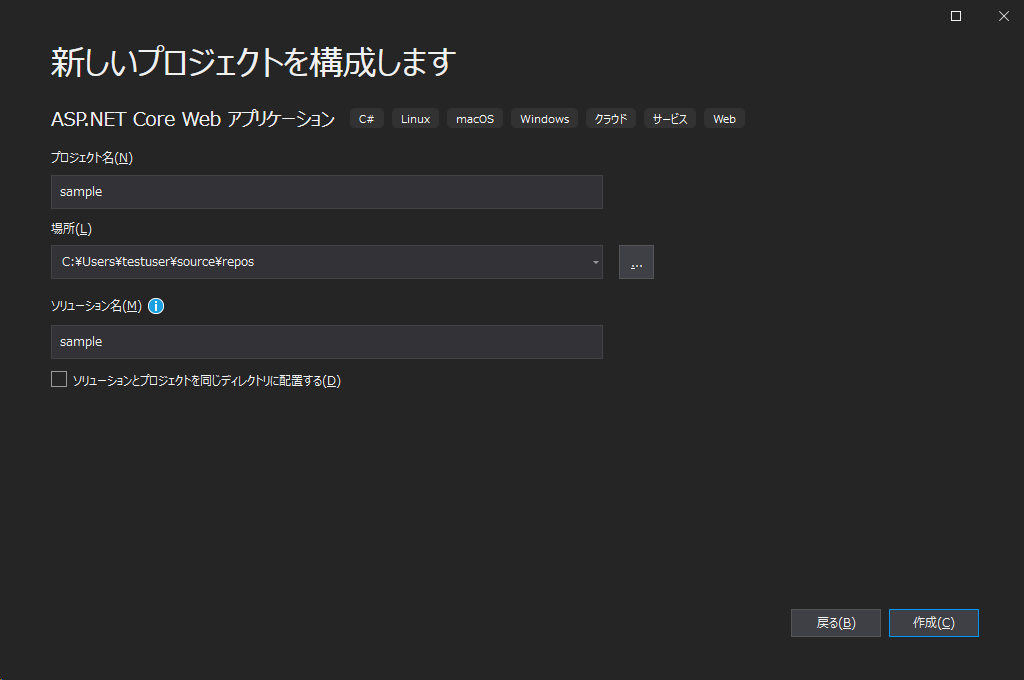
任意の名前でプロジェクトを作成します。
※ここでは「sample」として作成してます。
「API」を選択します。
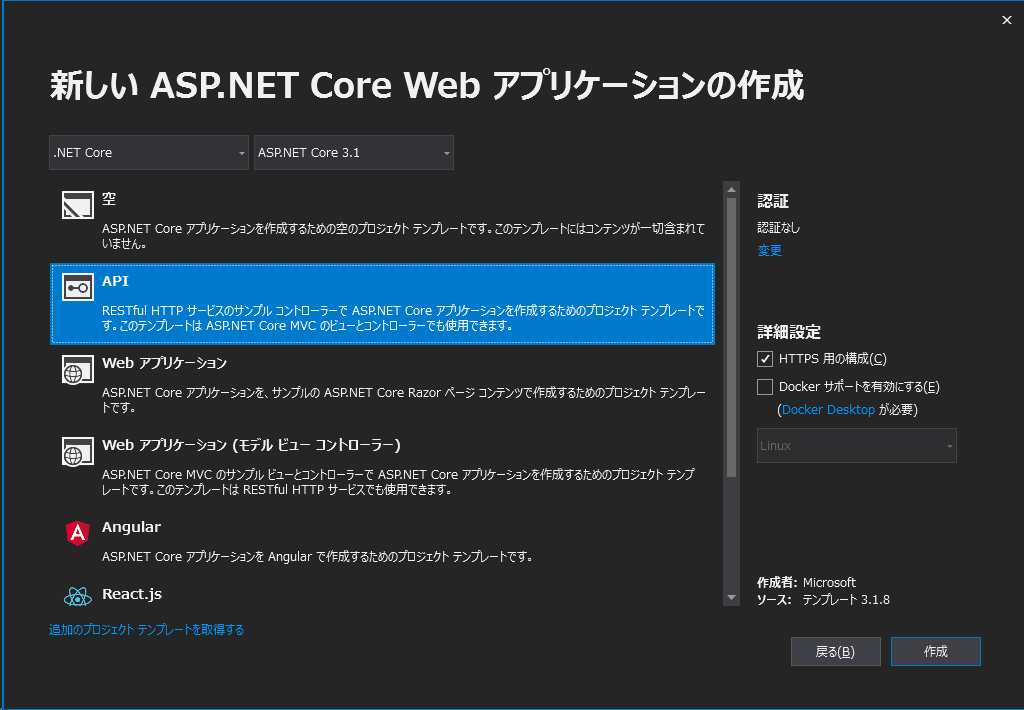
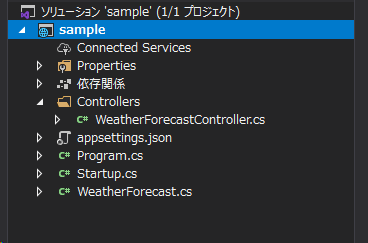
プロジェクトが作成されます。
起動
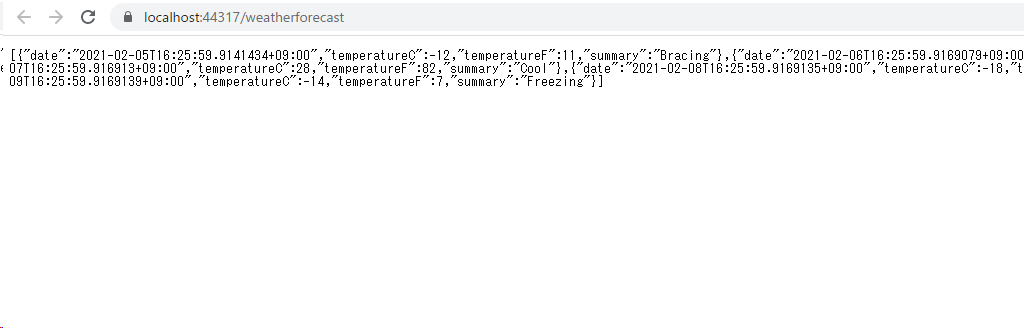
一度起動してみます。「IIS Express」をクリックして起動します。
jsonデータが取得できていることが確認できます。
API作成
簡単なAPIを作成してみます。
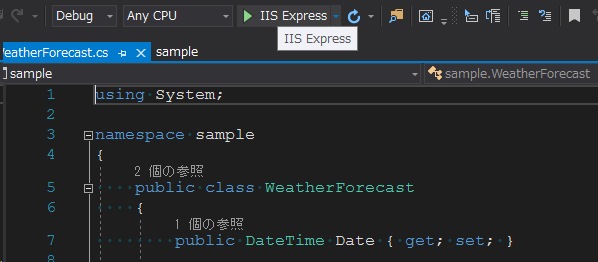
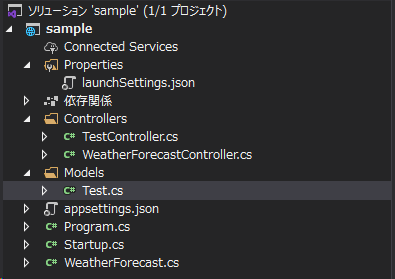
「Models」フォルダを作成して「Test.cs」を作成します。
「Test.cs」を以下のように編集します。
using System;
using System.Collections.Generic;
using System.Linq;
using System.Threading.Tasks;
namespace sample.Models
{
public class Test
{
public int Id { get; set; }
public string Name { get; set; }
}
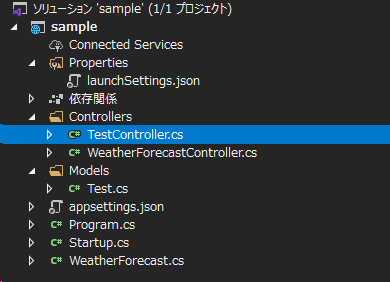
}「Controllers」フォルダ配下に「TestController.cs」を作成します。
「TestController.cs」を以下のように編集します。
using System;
using System.Collections.Generic;
using System.Linq;
using System.Threading.Tasks;
using Microsoft.AspNetCore.Http;
using Microsoft.AspNetCore.Mvc;
using sample.Models;
namespace sample.Controllers
{
[Route("api/[controller]")]
[ApiController]
public class TestController : ControllerBase
{
private static List<Test> items = new List<Test>() {
new Test() { Id = 1, Name = @"a" },
new Test() { Id = 2, Name = @"b" },
new Test() { Id = 3, Name = @"c" },
};
[HttpGet]
public ActionResult<List<Test>> GetAll()
=> items;
[HttpGet("{id}", Name = "Test")]
public ActionResult<Test> GetById(int id)
{
var item = items.Find(i => i.Id == id);
if (item == null)
return NotFound();
return item;
}
}
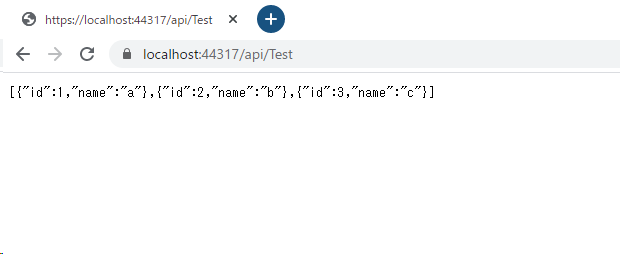
}デバックを実行して、https://localhost:任意ポート/api/Testにアクセスすると、作成したjsonデータが取得できていることが確認できます。
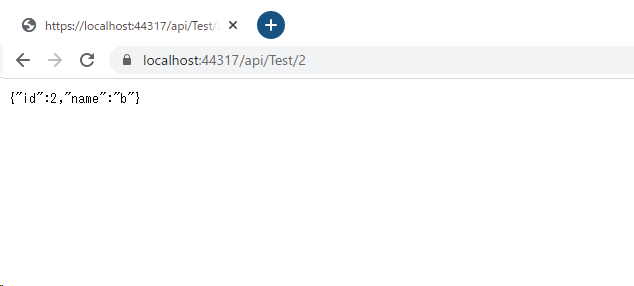
idを指定して、getすることも可能です。
-
前の記事

windows server2016 w32tmのTypeをNTPに変更する 2021.03.06
-
次の記事

python クラスを作成する 2021.03.06