Laravel7 REST APIの実装手順
Laravel7でREST APIの実装するまでの簡単な手順を記述してます。
環境
- OS windows10 pro 64bit
- Composer 1.10.5
- PHP 7.4.5
- MariaDB 10.4.12
- Laravel Framework 7.6.2
※windows10に Laravel のインストールはこちら
※windows10に Composer のインストールはこちら
※windows10に PHP のインストールはこちら
※windows10に MariaDB のインストールはこちら
モデル作成
まずはモデルを下記のコマンドで作成します。
※ここではIpsという名前で作成します。-m でマイグレーションも同時に作成します。
php artisan make:model Ips -mappフォルダ配下に「Ips.php」が生成されます。
<?php

namespace App;

use Illuminate\Database\Eloquent\Model;

class Ips extends Model
{
    //
}
テストテーブル作成
次にtableを作成します。database\migrations配下に「xxxx_xx_xx_xxxx_create_ips_table.php」が生成されているので編集します。
<?php

use Illuminate\Database\Migrations\Migration;
use Illuminate\Database\Schema\Blueprint;
use Illuminate\Support\Facades\Schema;

class CreateIpsTable extends Migration
{
    /**
     * Run the migrations.
     *
     * @return void
     */
    public function up()
    {
        Schema::create('ips', function (Blueprint $table) {
            $table->id();
            $table->string('name');
            $table->timestamps();
        });
    }

    /**
     * Reverse the migrations.
     *
     * @return void
     */
    public function down()
    {
        Schema::dropIfExists('ips');
    }
}
マイグレーションを実行してipsテーブルを作成します。
php artisan migrateテーブルipsが作成されたので適当なデータをinsertしておきます。
insert into ips (name) VALUES ('192.168.1.1');
insert into ips (name) VALUES ('192.168.1.2');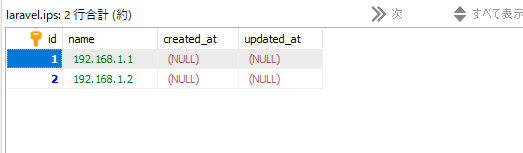
コントローラー作成
次にコントローラーを作成します。 –resourceを付けるとCRUD機能のひな型が生成されます。
php artisan make:controller IpsController --resourceapp\Http\Controllers配下の「IpsController.php」を編集します。
<?php

namespace App\Http\Controllers;

use Illuminate\Http\Request;
use App\Ips;

class IpsController extends Controller
{
    /**
     * Display a listing of the resource.
     *
     * @return \Illuminate\Http\Response
     */
    public function index()
    {
        return response(Ips::all());
    }

    /**
     * Show the form for creating a new resource.
     *
     * @return \Illuminate\Http\Response
     */
    public function create()
    {
        //
    }

    /**
     * Store a newly created resource in storage.
     *
     * @param  \Illuminate\Http\Request  $request
     * @return \Illuminate\Http\Response
     */
    public function store(Request $request)
    {
        //
    }

    /**
     * Display the specified resource.
     *
     * @param  int  $id
     * @return \Illuminate\Http\Response
     */
    public function show($id)
    {
        return response(Ips::find($id));
    }

    /**
     * Show the form for editing the specified resource.
     *
     * @param  int  $id
     * @return \Illuminate\Http\Response
     */
    public function edit($id)
    {
        //
    }

    /**
     * Update the specified resource in storage.
     *
     * @param  \Illuminate\Http\Request  $request
     * @param  int  $id
     * @return \Illuminate\Http\Response
     */
    public function update(Request $request, $id)
    {
        //
    }

    /**
     * Remove the specified resource from storage.
     *
     * @param  int  $id
     * @return \Illuminate\Http\Response
     */
    public function destroy($id)
    {
        //
    }
}
ルーティング追加
アクセスするURLを設定するため、routes配下の「web.php」にルーティングを記述します。
ここでは「/ips」に設定します。
Route::resource('ips', 'IpsController');確認
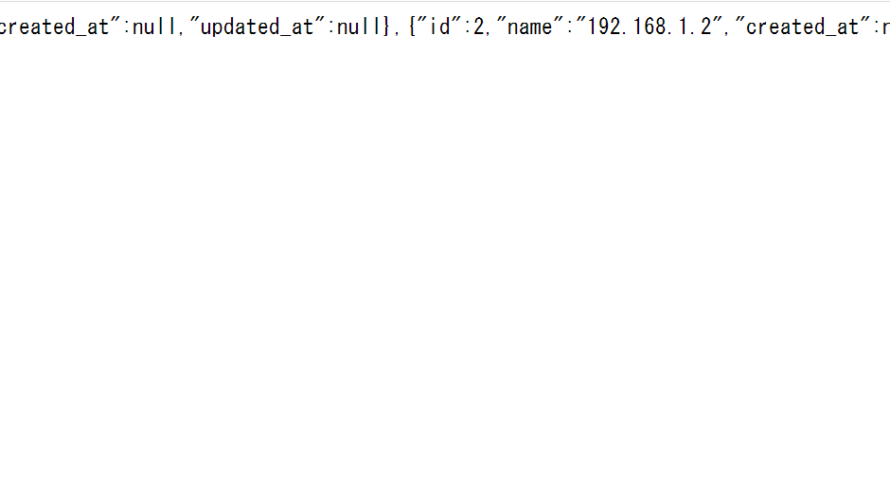
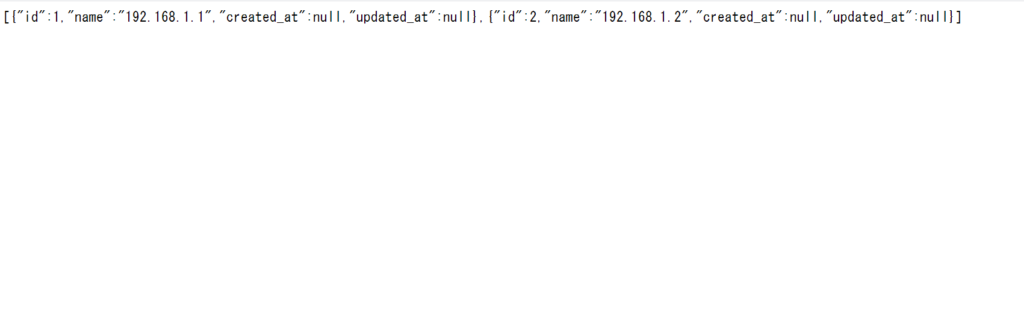
ブラウザから http://localhost:8000/ipsにアクセスしてみて、jsonデータが取得できることが確認できます。
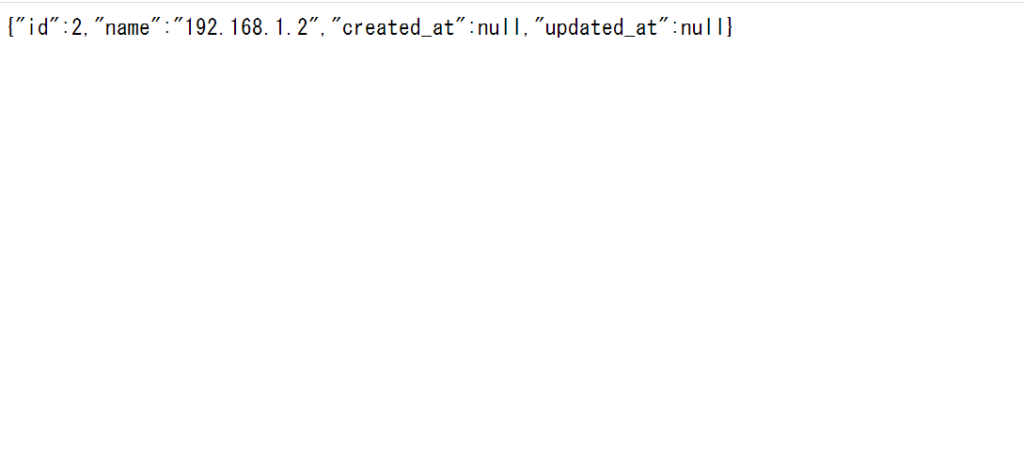
また、ブラウザから http://localhost:8000/ips/2にアクセスするとId2のデータのみが取得できることが確認できます。
-
前の記事

Nuxt.js ライブラリ「vue-unicons」を使用してSVGアイコンを利用する 2020.06.01
-
次の記事

Ubuntu20.04にComposerをインストールする手順 2020.06.02