javascript lodashを使って配列データの後ろからの位置を指定してデータを取得する
- 作成日 2021.07.27
- 更新日 2022.04.25
- javascript lodash
- javascript, lodash

javascriptで、lodashを使って配列データの後ろからの位置を指定してデータを取得するサンプルコードを掲載してます。ブラウザはchromeを使用しています。
環境
- OS windows10 pro 64bit
- Apache 2.4.43
- lodash 4.17.21
- ブラウザ chrome 91.0.4472.77
lodash使用
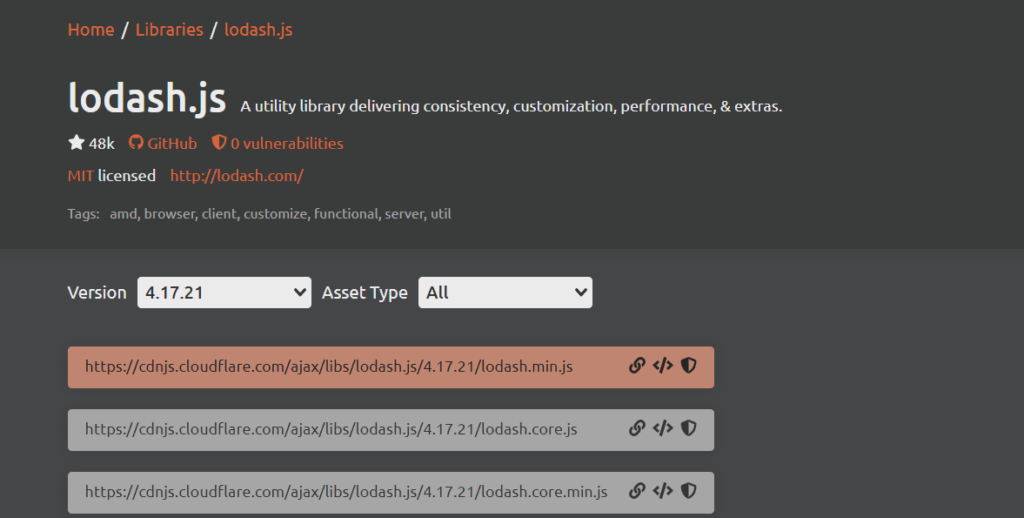
こちらのサイトから最新版を確認して、CDN版を使用してます。
<script type="text/javascript" src="https://cdnjs.cloudflare.com/ajax/libs/lodash.js/4.17.21/lodash.min.js"></script>
後ろからの位置を指定してデータを取得
後ろからの位置を指定してデータを取得するには、「_.nth」を使用します。
'use strict';

const arr = [
    1,
    2,
    3,
    4,
    5,
    6,
    7
]

console.log(
  _.nth(arr,-1) // 7
);

console.log(
  _.nth(arr,-2) // 6
);

console.log(
  _.nth(arr,-3) // 5
);

console.log(
  _.nth(arr,1) // 2
);

console.log(
  _.nth(arr,2) // 3
);実行結果を確認すると、マイナス値を指定することでデータが取得されていることが確認できます。

サンプルコード
以下は、
「実行」ボタンをクリックして、後ろからの位置を指定してデータを取得して表示するだけのサンプルコードとなります。
※cssには「tailwind」を使用して、アロー関数で関数は定義してます。
<!DOCTYPE html>
<html lang="ja">

<head>
  <meta charset="utf-8">
  <title>mebeeサンプル</title>
  <link href="https://unpkg.com/tailwindcss@^2/dist/tailwind.min.css" rel="stylesheet">
  <script type="text/javascript" src="https://cdnjs.cloudflare.com/ajax/libs/lodash.js/4.17.21/lodash.min.js"></script>
</head>

<script>

  const hoge = () => {

    // ランダムな「0~9」までの5個の配列を用意
    const arr = Array(5).fill().map(x => ~~(Math.random() * 10));

    disp(arr, "foo");

    fuga.innerHTML = `後ろから3つ目のデータは${_.nth(arr,-3)}`;

  }

  //フロントに表示する関数
  const disp = (arr, id) => {

    let text = [];

    arr.forEach((x, i) => text.push('<li class="list-group-item">' + arr[i] + '</li>'))

    document.getElementById(id).innerHTML = text.join('');

  }

  window.onload = () => {

    btn.onclick = () => { hoge() };

  }

</script>

<body>
  <div class="container mx-auto my-56 w-64 px-4">

    <div id="sample" class="flex flex-col justify-center">

      <h1 class="font-semibold text-yellow-700 text-lg mr-auto">配列</h1>
      <ul id="foo" class="font-semibold text-lg mr-auto"></ul>

      <h1 class="font-semibold text-yellow-700 text-lg mr-auto">取得後</h1>
      <h1 id="fuga" class="font-semibold text-lg mr-auto"></h1>

      <button id="btn"
        class="mb-2 md:mb-0 bg-transparent hover:bg-purple-500 text-purple-700 font-semibold hover:text-white py-2 px-4 border border-purple-500 hover:border-transparent rounded">
        実行
      </button>

    </div>

  </div>
</body>

</html>
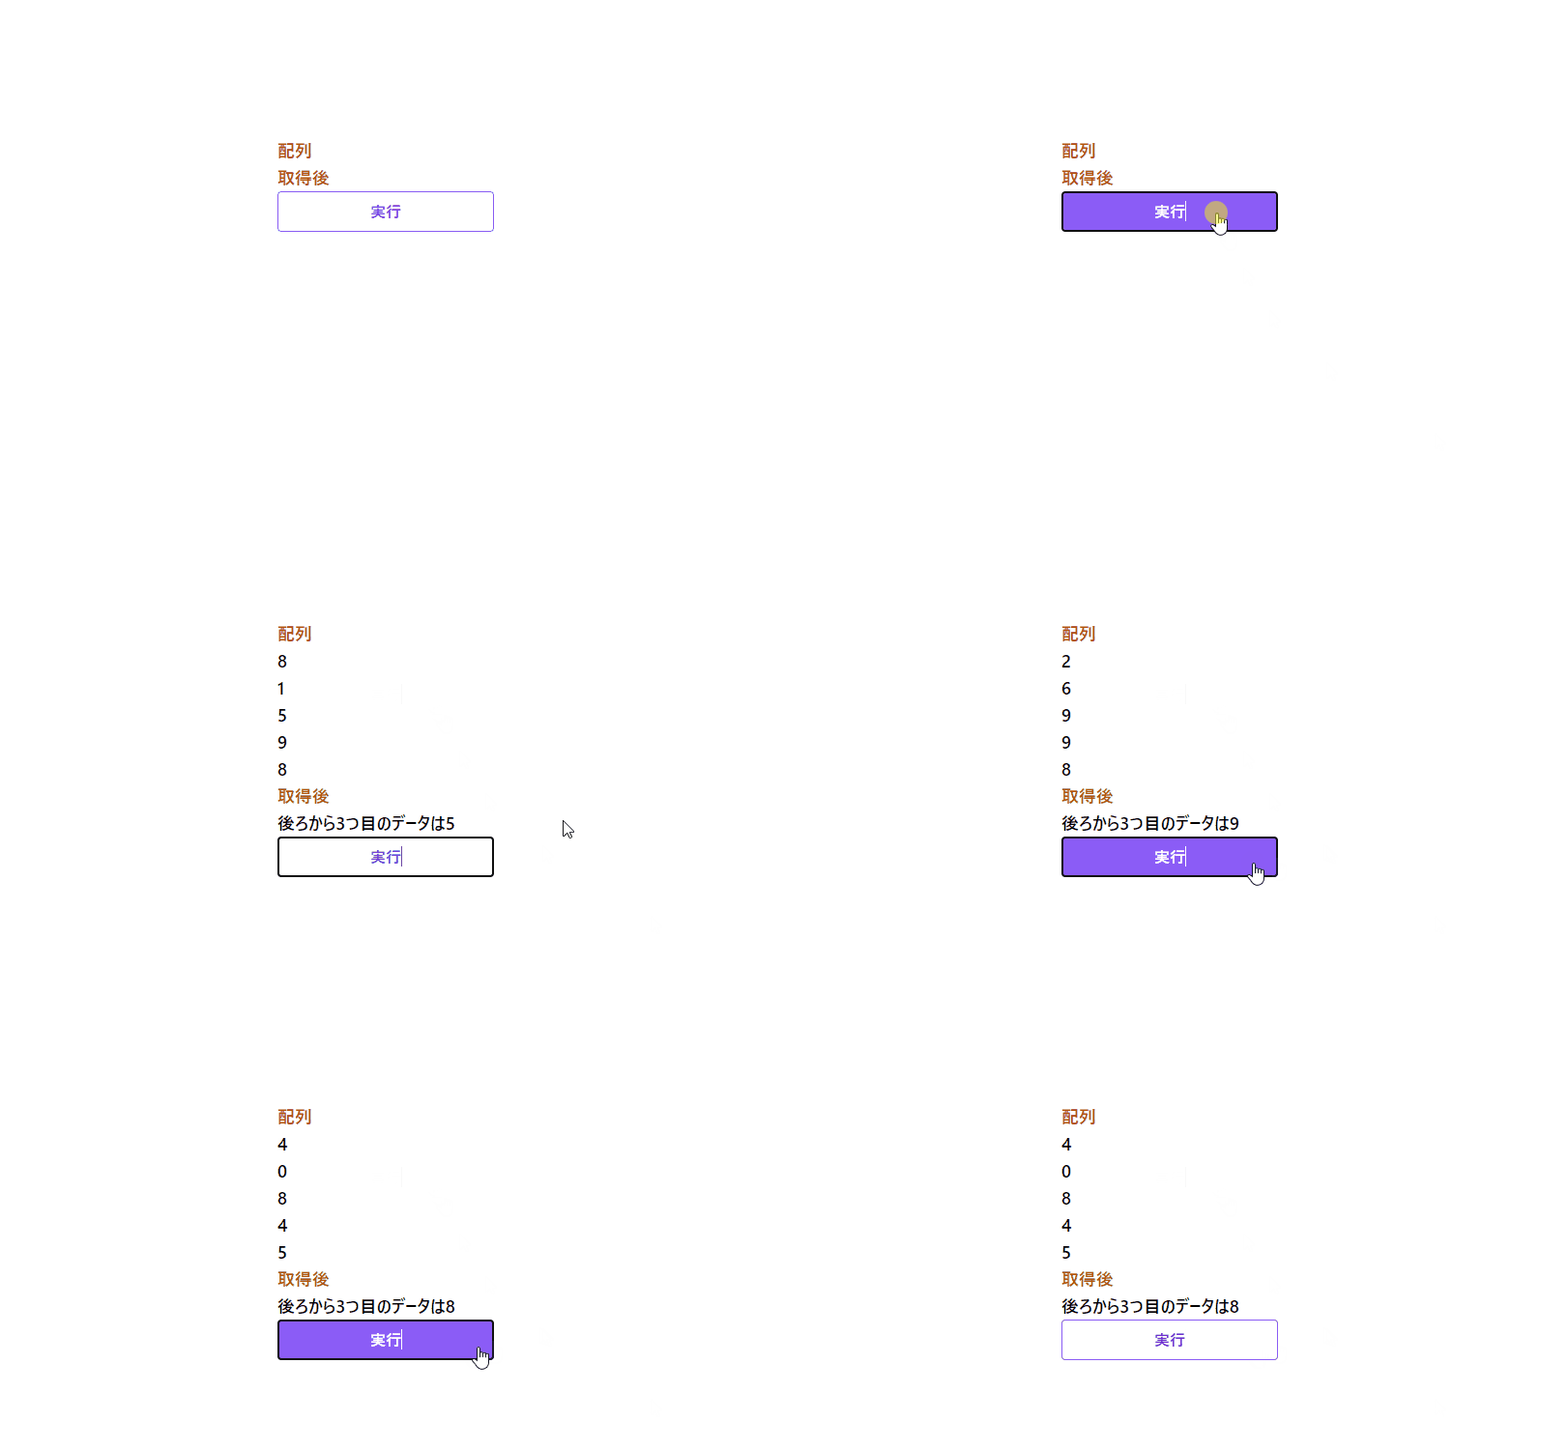
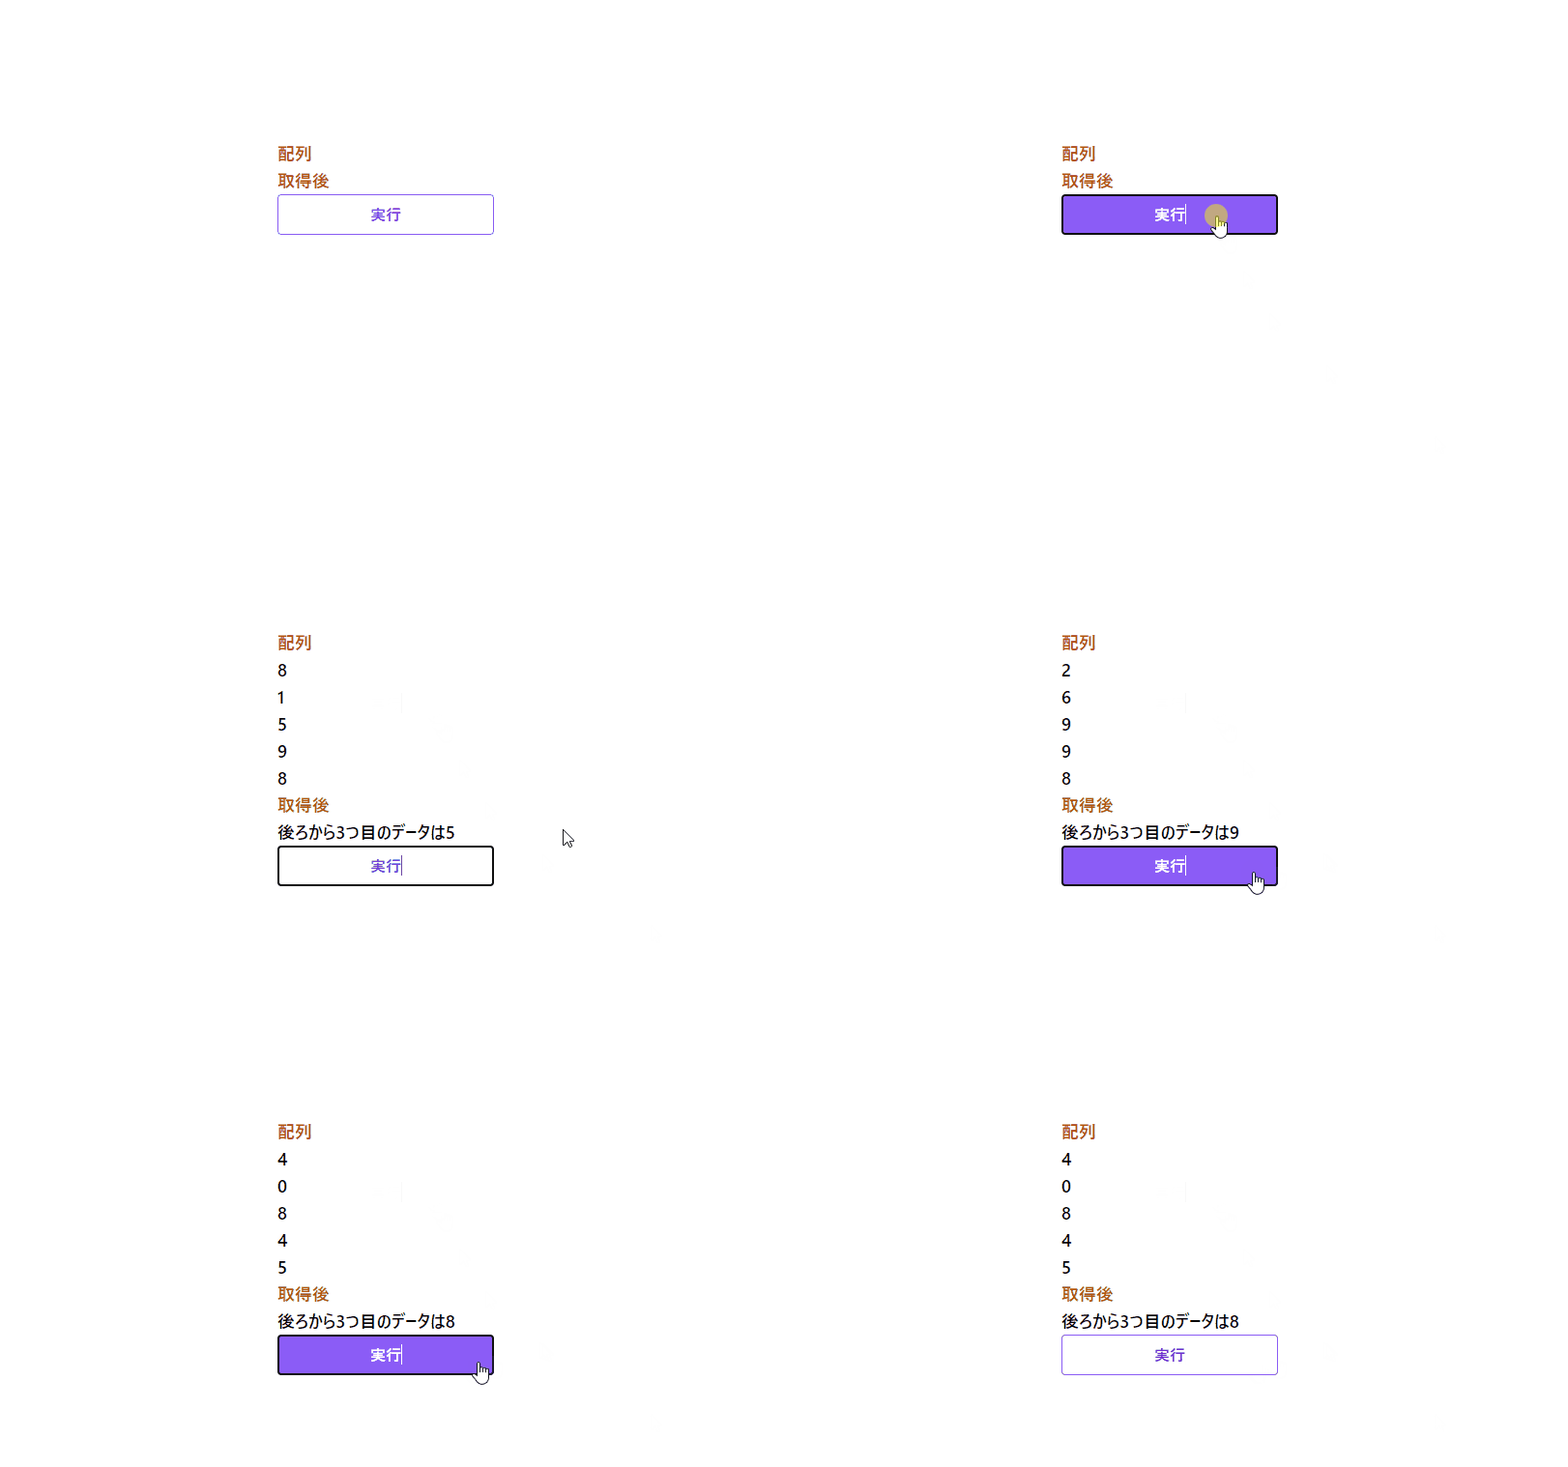
実行結果を確認すると、データが取得されてフロントに表示されていることが確認できます。

-
前の記事

C# 配列またはリストの先頭の値を取得する 2021.07.26
-
次の記事

C# treeViewのテキストの色を変更する 2021.07.27


コメントを書く