javascript autocomplete属性を取得して変更を行う
- 作成日 2021.06.02
- 更新日 2022.08.30
- javascript
- javascript
javascriptで、autocomplete属性を取得して変更を行うサンプルコードを掲載してます。ブラウザはchromeを使用しています。
環境
- OS windows11 pro 64bit
- Apache 2.4.43
- ブラウザ chrome 104.0.5112.101
autocomplete属性を取得
「autocomplete」属性を取得する場合は「autocomplete」プロパティを確認することで可能です。
<input id="hoge" type="email" autocomplete="email" name="email" />
<input id="btn" type="button" value="ボタン" />

<script>

'use strict';

document.getElementById('btn').onclick = function(){

  const elm = document.getElementById('hoge');

  // コンソールに出力
  console.log(elm.autocomplete);

  // current-passwordに変更
  elm.autocomplete = "current-password";

}

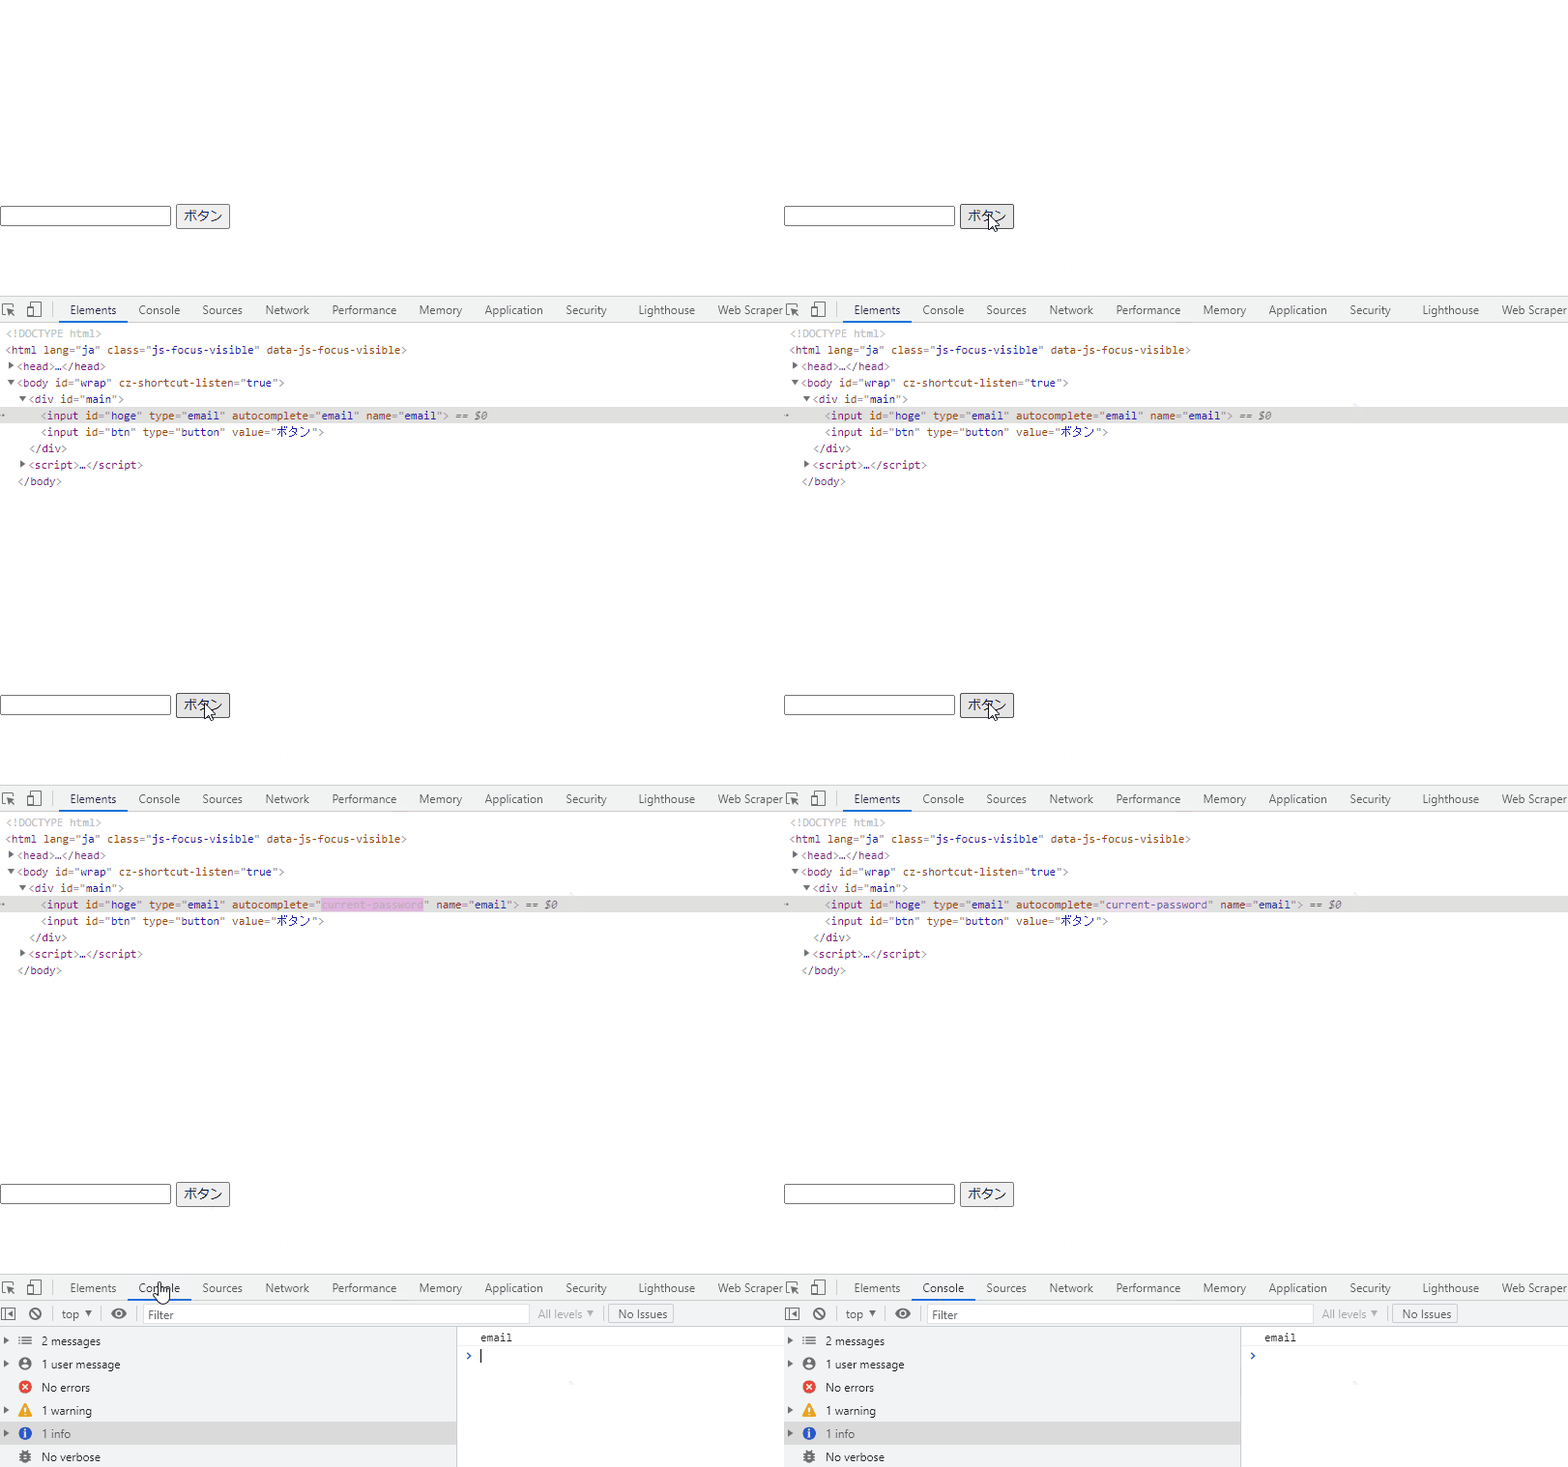
</script>実行結果を確認すると、「autocomplete」属性がコンソールに出力された後に、変更されていることが確認できます。
複数のautocomplete属性を取得
複数の「autocomplete」属性を取得する場合は「querySelectorAll」などを使用します。
<input type="file" name="hoge" multiple />
<input type="file" name="hoge"/>
<input type="file" name="hoge" multiple />

<input id="btn" type="button" value="ボタン" />

<script>

document.getElementById('btn').onclick = function () {

    const elm = document.querySelectorAll('input');

    console.log(elm); // NodeList

    elm.forEach(v => {
        console.log(v.multiple);
    });

}

</script>
コードの簡略化
以下のコードを、
document.getElementById('btn').onclick = function(){

  const elm = document.getElementById('hoge')
  // コンソールに出力
  console.log(elm.autocomplete);
  // current-passwordに変更
  elm.autocomplete = "current-password";

}
アロー関数とdocument.getElementByIdを省略して、簡潔に記述することもできます。
btn.onclick = () =>{

  // コンソールに出力
  console.log(hoge.autocomplete);

  // current-passwordに変更
  hoge.autocomplete = "current-password";

}サンプルコード
以下は、
「実行」ボタンをクリックして、autocomplete属性の値を切り替えて、状態を出力するサンプルコードとなります。
※cssには「tailwind」を使用して、アロー関数で関数は定義してます。三項演算子も使用してます。
<!DOCTYPE html>
<html lang="ja">

<head>
  <meta charset="utf-8">
  <title>mebeeサンプル</title>
  <link href="https://unpkg.com/tailwindcss@^2/dist/tailwind.min.css" rel="stylesheet">
</head>

<script>

  const hoge = () => {

    foo.autocomplete === "email" ? foo.autocomplete = "current-password" : foo.autocomplete = "email";

    disp.innerHTML = foo.autocomplete;

  }

  window.onload = () => {

    btn.onclick = () => { hoge() };

  }

</script>

<body>
  <div class="grid min-h-screen place-items-center">
    <div class="w-11/12 p-12 bg-white sm:w-8/12 md:w-1/2 lg:w-5/12">
      <h1 id="disp" class="text-xl font-semibold">状態</h1>

        <input id="foo" type="email" name="email" autocomplete="email" class="block w-full p-3 mt-2 text-gray-700 bg-gray-200 appearance-none focus:outline-none focus:bg-gray-300 focus:shadow-inner"/>

        <button id="btn" class="w-full py-3 mt-6 font-medium tracking-widest text-white uppercase bg-black shadow-lg focus:outline-none hover:bg-gray-900 hover:shadow-none">
          実行
        </button>

    </div>
  </div>
</body>

</html>
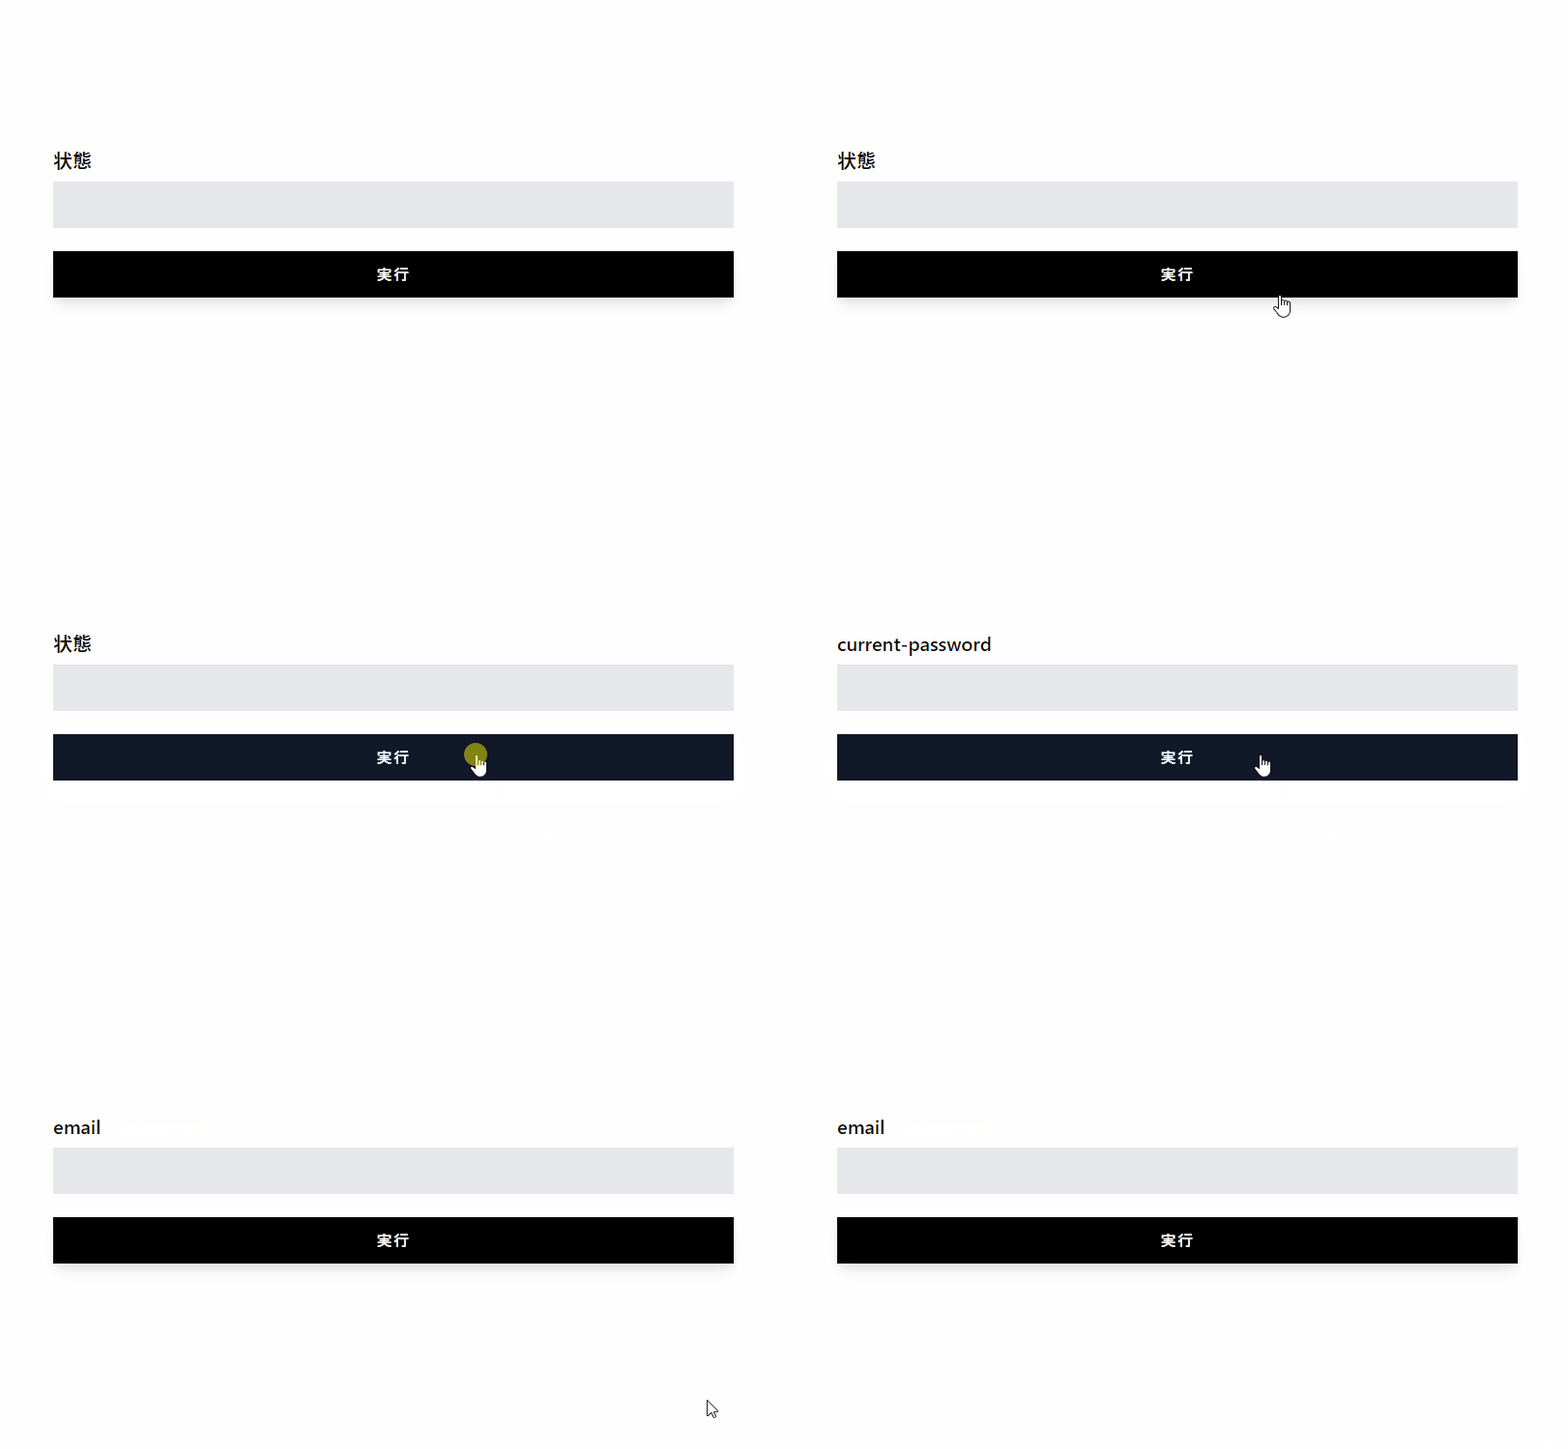
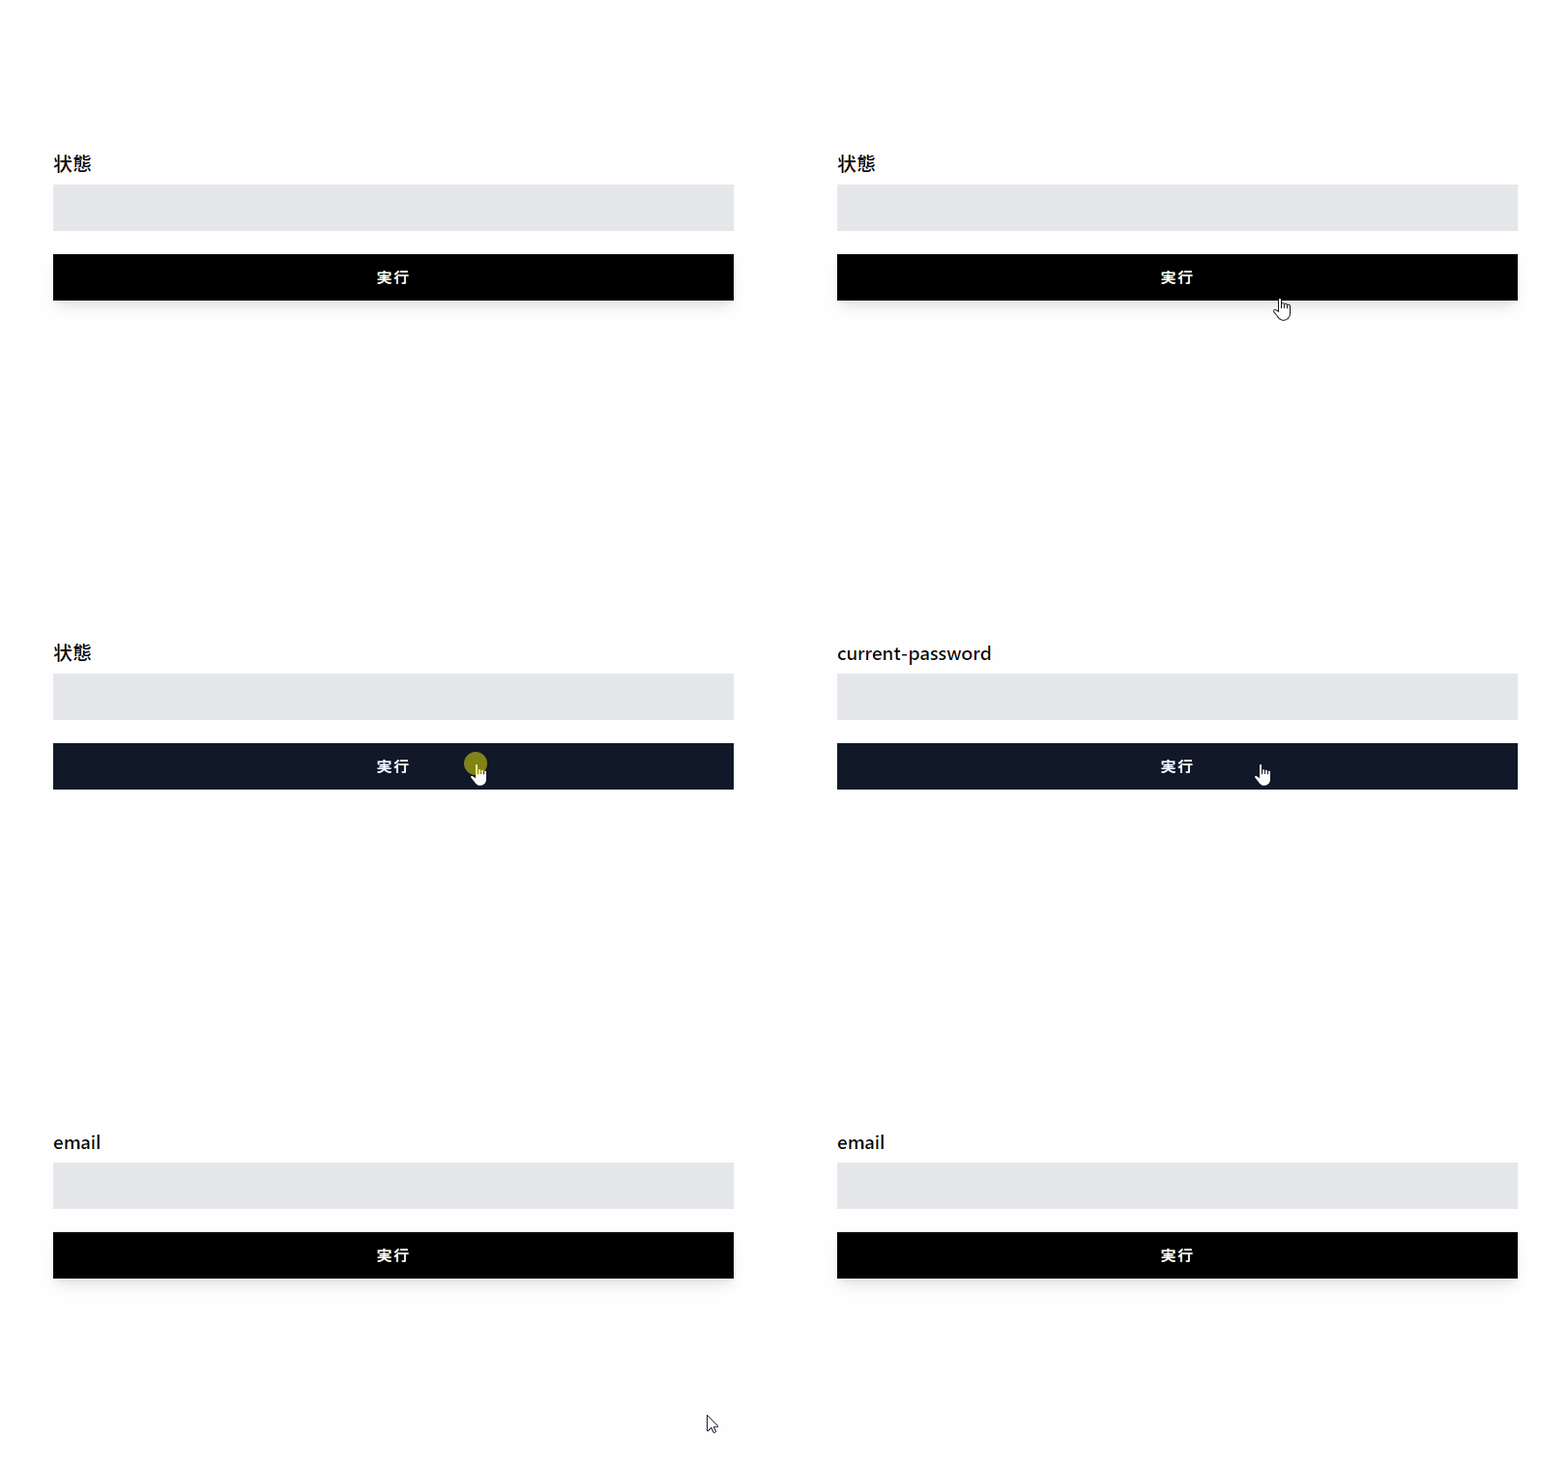
実行結果を確認すると「autocomplete」が切り替わって、値が表示されていることが確認できます。
-
前の記事

go言語 カレントフォルダを取得する 2021.06.01
-
次の記事
Nuxt.js ライブラリ「vue-step-progress-indicator」を使用してプログレスインジケータを作成する 2021.06.02





コメントを書く