javascript setAttributeで属性を作成する
- 作成日 2021.01.09
- 更新日 2022.08.01
- javascript
- javascript

javascriptで、setAttributeを使用して、属性を作成するサンプルコードを掲載してます。ブラウザはchromeを使用しています。
環境
- OS windows10 pro 64bit
- Apache 2.4.43
- ブラウザ chrome 103.0.5060.134
setAttribute使い方
setAttributeを使用すると、属性を作成することが可能です。
要素.setAttribute("属性名", "値");setAttribute使い方
<img id="main" src="https://mebee.info/wp-content/uploads/2019/08/mebee_logo.png" />

<script>

'use strict';

const elm = document.getElementById('main');

elm.setAttribute("width", "164");
elm.setAttribute("height", "50");

</script>実行結果をみると、指定した「html要素」の「width属性」と「height属性」が追加されていることが確認できます。

また、以下のコードを、
const elm = document.getElementById('main');

elm.setAttribute("width", "164");
elm.setAttribute("height", "50");
document.getElementByIdの省略して、簡潔に記述することもできます。
main.setAttribute("width", "164");
main.setAttribute("height", "50");存在しない要素を指定
存在しない要素を指定すると「エラー」が発生します。
<img id="main" src="https://mebee.info/wp-content/uploads/2019/08/mebee_logo.png" />

<script>

'use strict';

const elm = document.getElementById('hoge');

elm.setAttribute("width", "164");
// Uncaught TypeError: Cannot read properties of null (reading 'setAttribute')

elm.setAttribute("height", "50");

</script>
なので、使用する前は要素が存在するかをチェックする必要があります。
const elm = document.getElementById('hoge');

if(elm !== null){

    elm.setAttribute("width", "164");
    elm.setAttribute("height", "50");

}
第二引数を指定しない
第二引数を指定しなかった場合もエラーとなります。
<img id="main" src="https://mebee.info/wp-content/uploads/2019/08/mebee_logo.png" />

<script>

'use strict';

if(elm !== null){

    const elm = document.getElementById('main');

    elm.setAttribute("width");
    // Uncaught TypeError: Failed to execute 'setAttribute' on 'Element': 2 arguments required, but only 1 present.

}

</script>
getAttribute
逆に、属性名から値を取得するには「getAttribute」を使用します。
<img id="main" src="https://mebee.info/wp-content/uploads/2019/08/mebee_logo.png" />

<script>

'use strict';

const elm = document.getElementById('main');

if(elm !== null){

    elm.setAttribute("width", "164");
    elm.setAttribute("height", "50");

    console.log( elm.getAttribute('width') ); // 164
    console.log( elm.getAttribute('height') ); // 50
    console.log( elm.getAttribute('src') ); // https://mebee.info/wp-content/uploads/2019/08/mebee_logo.png

}

</script>
サンプルコード
以下は、
「属性追加」ボタンをクリックして、img要素を作成してから、属性を追加するだけの
サンプルコードとなります。
※cssには「tailwind」を使用して、アロー関数で関数は定義してます。
<!DOCTYPE html>
<html lang="ja">

<head>
  <meta charset="utf-8">
  <title>mebeeサンプル</title>
  <link href="https://unpkg.com/tailwindcss@^2/dist/tailwind.min.css" rel="stylesheet">
</head>

<script>

  const hoge = () => {

    const elm = document.createElement("img");

    elm.setAttribute("src", "https://mebee.info/wp-content/uploads/2019/08/mebee_logo.png");
    elm.setAttribute("width", "128");
    elm.setAttribute("height", "64");

    sample.appendChild(elm);

  }

  window.onload = () => {

    add.onclick = () => { hoge() };

  }

</script>

<body>
  <div class="container mx-auto my-56 w-64 px-4">

    <div id="sample" class="flex flex-col justify-center">

      <button id="add"
        class="bg-gradient-to-r from-blue-400 via-green-500 to-green-500 text-white py-2 px-4 rounded-full mb-3 mt-4">
        属性要素追加
      </button>

    </div>

  </div>
</body>

</html>
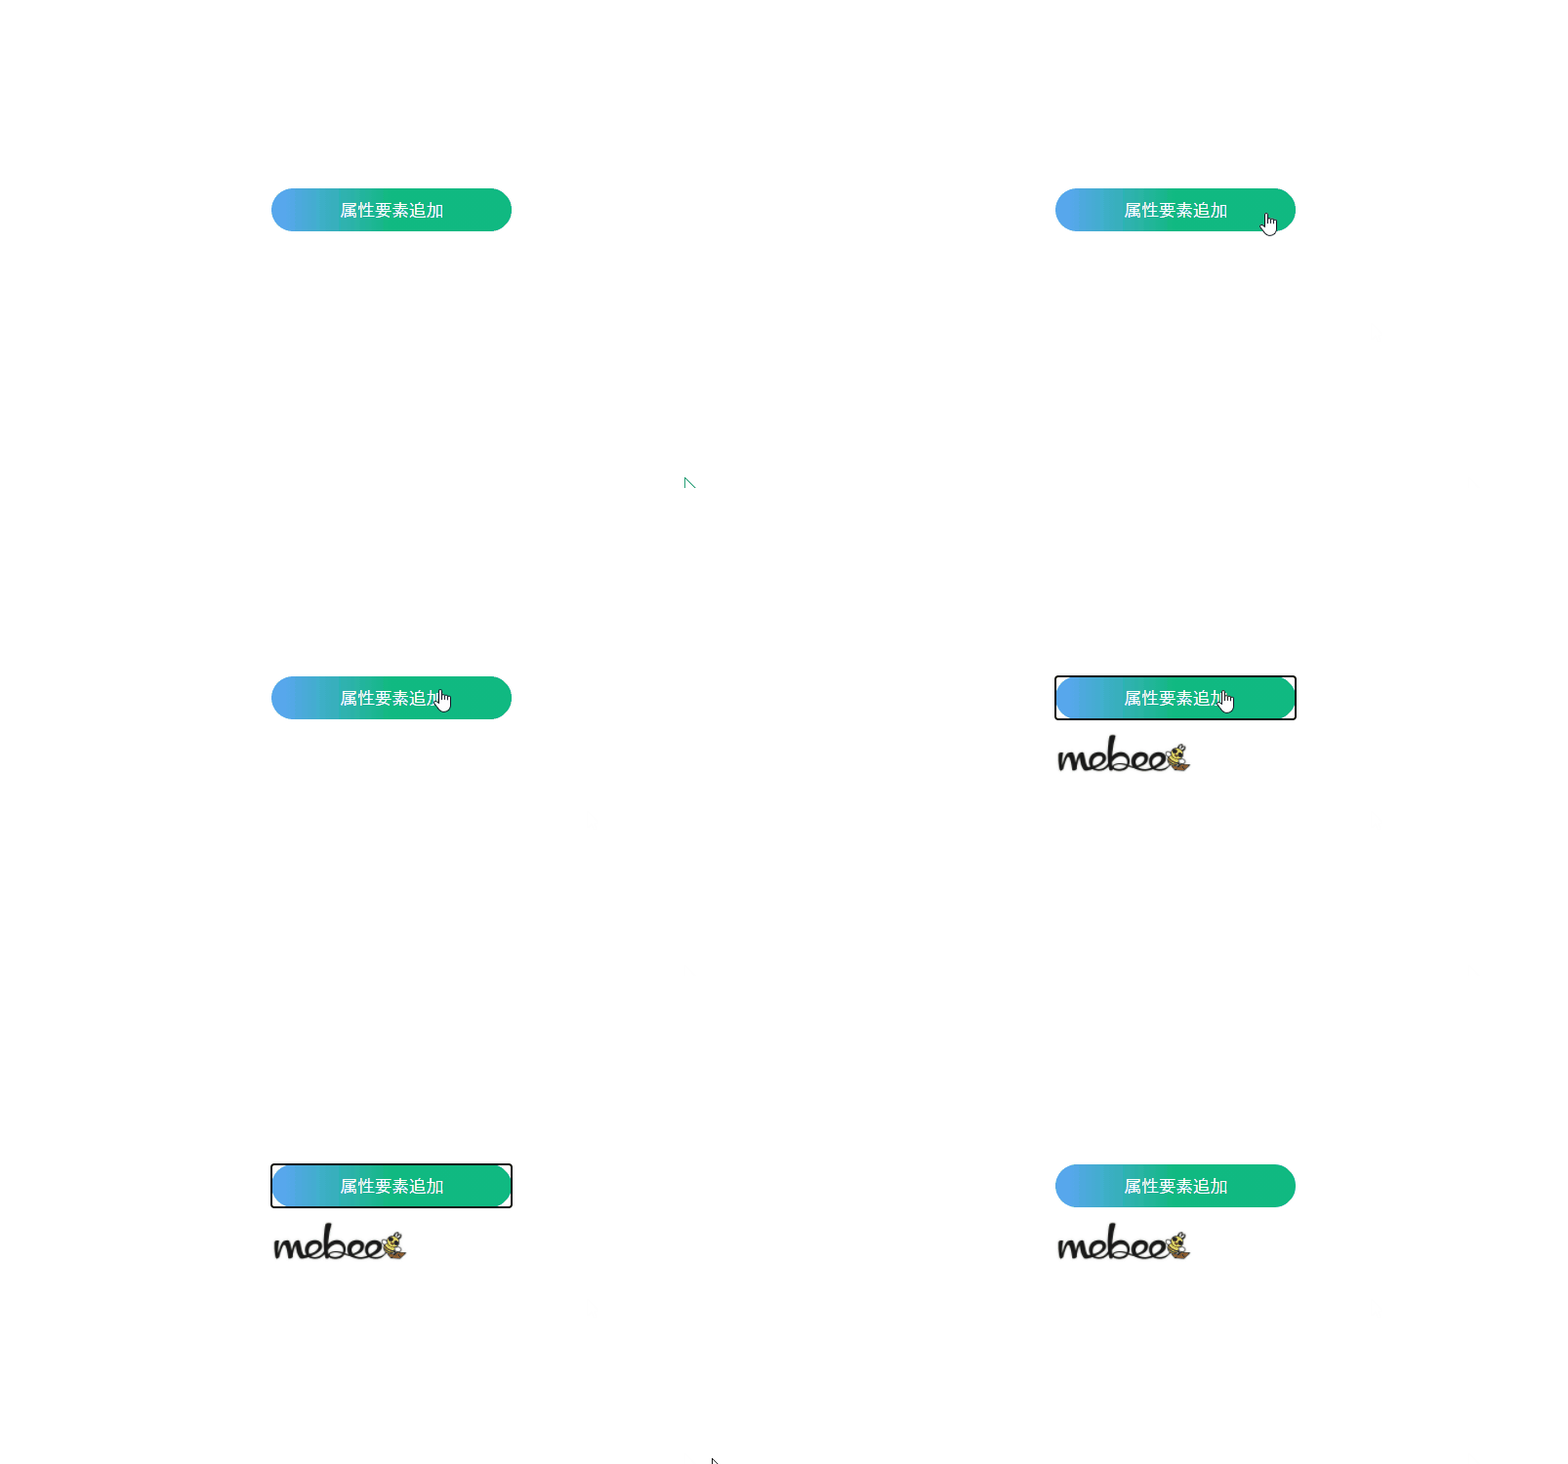
属性が追加されていることが確認できます。

-
前の記事

Django エラー「1366, “Incorrect string value:」が発生した場合の対処法 2021.01.08
-
次の記事

React.js ライブラリ「react-inner-image-zoom」を使って画像をZOOMさせる 2021.01.09


コメントを書く