CentOs8 caddy2.0をインストールする
CentOs8にcaddy2.0をインストールするまでの手順を記述してます。ここではdnfコマンドを使用してインストールしてます。
環境
- OS CentOS Linux release 8.0.1905 (Core)
- caddy 2.0.0
caddy2.0インストール
下記のコマンドを実行してインストールします。
sudo dnf install 'dnf-command(copr)'
sudo dnf copr enable @caddy/caddy
sudo dnf install caddy
caddy2.0起動
インストールが完了したので、caddyを起動してみます。
sudo systemctl start caddyfirewallが設定されている場合は、ポート80番を許可しておきます。
sudo firewall-cmd --add-port=8080/tcp --zone=public --permanent
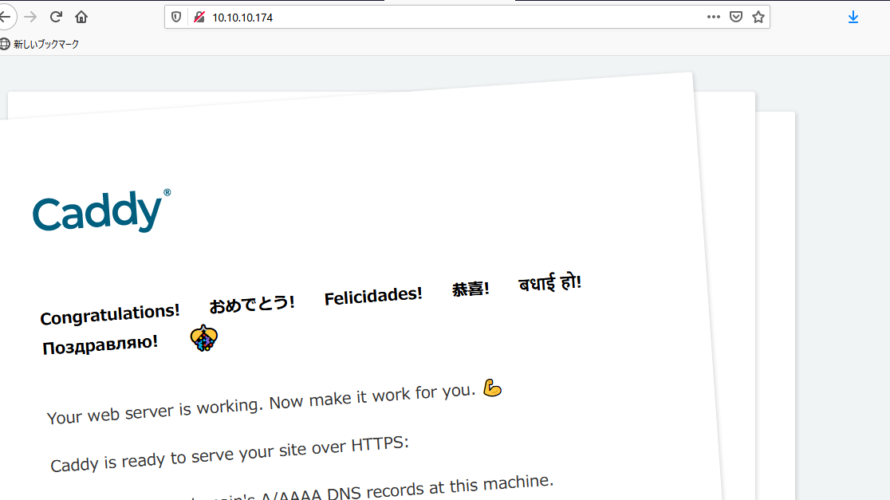
sudo firewall-cmd --reloadブラウザから http://プライベートIP or サーバーアドレスにアクセスして、下記の画面が表示されていればインストールは完了です。
caddy2.0設定確認
下記のコマンドで、バージョン確認が可能です。
caddy version

<出力結果>
v2.0.0 h1:pQSaIJGFluFvu8KDGDODV8u4/QRED/OPyIR+MWYYse8=
ドキュメントルートはデフォルトだと「/usr/share/caddy」のようです。
cat /etc/caddy/Caddyfile

<出力結果>
# The Caddyfile is an easy way to configure your Caddy web server.
#
# Unless the file starts with a global options block, the first
# uncommented line is always the address of your site.
#
# To use your own domain name (with automatic HTTPS), first make
# sure your domain's A/AAAA DNS records are properly pointed to
# this machine's public IP, then replace the line below with your
# domain name.
:80

# Set this path to your site's directory.
root * /usr/share/caddy

# Enable the static file server.
file_server

# Another common task is to set up a reverse proxy:
# reverse_proxy localhost:8080

# Or serve a PHP site through php-fpm:
# php_fastcgi localhost:9000

# Refer to the Caddy docs for more information:
# https://caddyserver.com/docs/caddyfile
試しに「/usr/share/caddy」に「test.html」を作成してみます。
cd /usr/share/caddytest.html作成
vi vi test.html

<編集>
test
ブラウザから http://プライベートIP or サーバーアドレスにアクセスすると、testと表示されることが確認できます。

-
前の記事
Symfony5をインストールする手順 2020.07.07
-
次の記事

Laravel7 Vue.jsを使用してSPAを実装する手順 2020.07.07