windows10 Elasticsearchをインストールする手順
- 作成日 2020.05.15
- 更新日 2020.07.17
- elasticsearch windows
- windows10

大量データを高速に文字列で検索できるオープソースの全文検索エンジンである「elasticsearch」のwindows10へのインストール手順を記述してます。
環境
- OS windows10 64bit
- Elasticsearch 7.7.0
Elasticsearchダウンロード
こちらのサイトからダウンロードします。windowsを選択します。
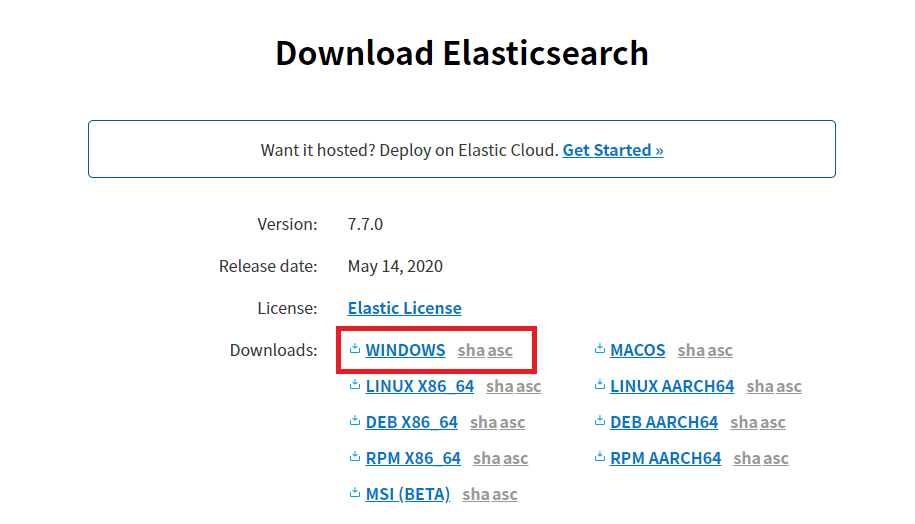
「elasticsearch-7.7.0-windows-x86_64.zip」がダウンロードされます。

Elasticsearch起動
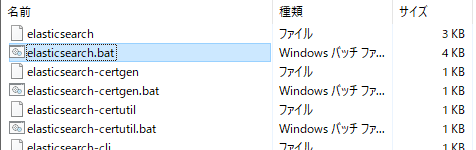
ダウンロードしたファイルを解凍して適当な場所に移動させます。
自分の場合は名前を変更して「elasticsearch」にしてC直下に置きました

binファルダ配下になる「elasticsearch.bat」をダブルクリックして起動します。
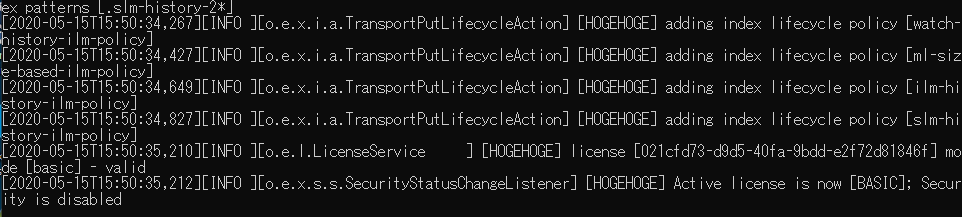
下記を実行しても同じです。
C:\elasticsearch\bin>elasticsearch.bat起動するとコマンドプロンプトが立ち上がり、ステータスが表示されていきます。
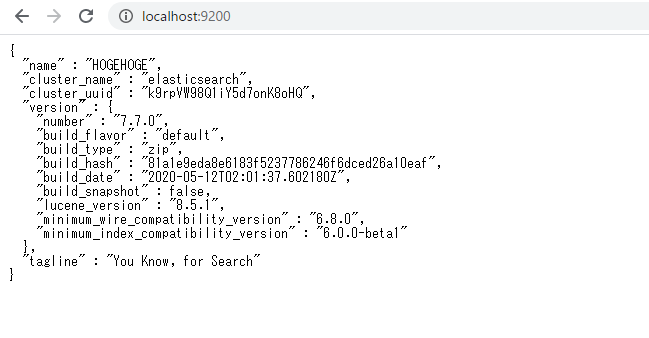
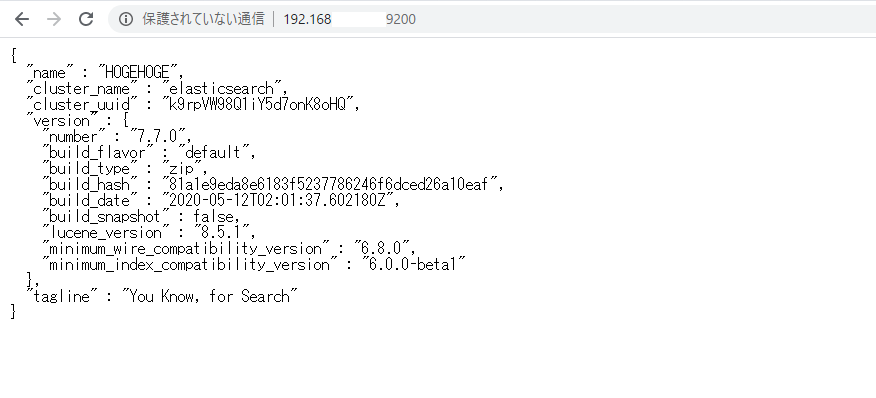
ブラウザから http://localhost:9200にアクセスし、下記のデータが取得できていれば起動成功です。
外部からの接続も許可しておきます。
configフォルダ配下の「elasticsearch.yml」を編集します。
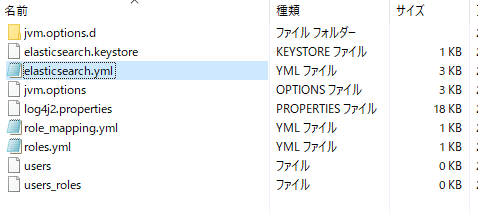
編集内容
#network.host: 192.168.0.1
network.host: 0.0.0.0
http.port: 9200
transport.host: localhost
transport.tcp.port: 9300
elasticsearchを再起動します。
「Ctrl + C」で停止します。
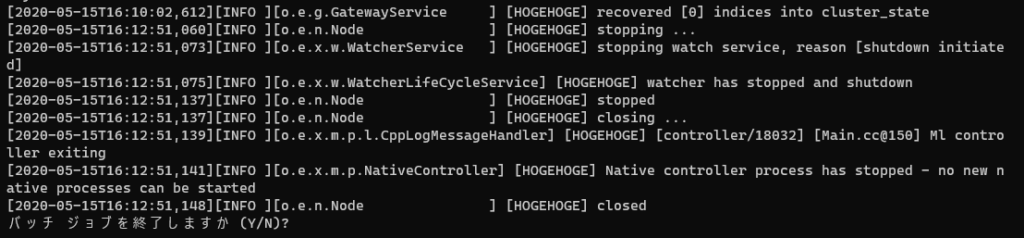
再度起動します。

別マシンからブラウザから http://プライベートIP:9200 にアクセスできることを確認します。
-
前の記事

Nuxt.js ライブラリ「vue-heroicons」をインストールしてSVGアイコンを利用する 2020.05.15
-
次の記事

Laravel7 Sessionの使い方 2020.05.16