CentOs8に全文検索ツール「Apache Solr」をインストールする手順
- 作成日 2020.07.20
- Apache Solr centos8
- Apache Solr, centos8, インストール
CentOs8にオープンソースの全文検索ツールである「Apache Solr」をインストールする手順する手順を記述してます。
環境
- OS CentOS Linux release 8.2.2004 (Core)
Javaインストール
ここではjava11を使用します。
詳細はこちらに記述してます。まずリポジトリを追加します。
sudo vi /etc/yum.repos.d/adoptopenjdk.repo

<編集>
[AdoptOpenJDK]
name=AdoptOpenJDK
baseurl=http://adoptopenjdk.jfrog.io/adoptopenjdk/rpm/centos/8/x86_64
enabled=1
gpgcheck=1
gpgkey=https://adoptopenjdk.jfrog.io/adoptopenjdk/api/gpg/key/public
インストールを行います。
dnf list adoptopenjdk*

## 11をインストール
sudo dnf -y install adoptopenjdk-11-hotspot.x86_64
Apache Solrインストール
こちらより最新版を確認して、変数にセットします。
ここでは最新版は8.6.0だったので下記のようにセットします。
export LATEST_VER="8.6.0"ダウンロードします。
wget https://www-eu.apache.org/dist/lucene/solr/${LATEST_VER}/solr-${LATEST_VER}.tgz解凍します。
tar xvf solr-${LATEST_VER}.tgzシェルがある場所に移動します。
cd solr-${LATEST_VER}/bin/インストールを実行します。
sudo ./install_solr_service.sh ~/solr-${LATEST_VER}.tgzステータスを確認します。
sudo systemctl status solr

<出力結果>
● solr.service - LSB: Controls Apache Solr as a Service
   Loaded: loaded (/etc/rc.d/init.d/solr; generated)
   Active: failed (Result: exit-code) since
     Docs: man:systemd-sysv-generator(8)
  Process: 194285 ExecStart=/etc/rc.d/init.d/solr start (code=exited, status=1/FAILURE)

localhost.localdomain solr[194285]:  If you no longer wish to see this warning, set SOLR_ULIMIT_CHECKS to false in your profile or solr.in.sh
localhost.localdomain solr[194285]: *** [WARN] ***  Your Max Processes Limit is currently 14989.
localhost.localdomain solr[194285]:  It should be set to 65000 to avoid operational disruption.
localhost.localdomain solr[194285]:  If you no longer wish to see this warning, set SOLR_ULIMIT_CHECKS to false in your profile or solr.in.sh
localhost.localdomain solr[194285]: Port 8983 is already being used by another process (pid: 192884)
localhost.localdomain solr[194285]: Please choose a different port using the -p option.
localhost.localdomain su[194287]: pam_unix(su-l:session): session closed for user solr
localhost.localdomain systemd[1]: solr.service: Control process exited, code=exited status=1
localhost.localdomain systemd[1]: solr.service: Failed with result 'exit-code'.
localhost.localdomain systemd[1]: Failed to start LSB: Controls Apache Solr as a Service.
自分の場合は既にポートが使用されていたので失敗しました。
Port 8983 is already being used by another process (pid: 192884)killしても問題なかったので、killして再度実行します。
sudo kill -9 192884sudo systemctl status solr
<出力結果>
● solr.service - LSB: Controls Apache Solr as a Service
Loaded: loaded (/etc/rc.d/init.d/solr; generated)
Active: active (exited) since
Docs: man:systemd-sysv-generator(8)
Process: 194519 ExecStart=/etc/rc.d/init.d/solr start (code=exited, status=0/SUCCESS)
localhost.localdomain solr[194519]: *** [WARN] *** Your open file limit is currently 1024.
localhost.localdomain solr[194519]: It should be set to 65000 to avoid operational disruption.
localhost.localdomain solr[194519]: If you no longer wish to see this warning, set SOLR_ULIMIT_CHECKS to false in your profile or solr.in.sh
localhost.localdomain solr[194519]: *** [WARN] *** Your Max Processes Limit is currently 14989.
localhost.localdomain solr[194519]: It should be set to 65000 to avoid operational disruption.
localhost.localdomain solr[194519]: If you no longer wish to see this warning, set SOLR_ULIMIT_CHECKS to false in your profile or solr.in.sh
localhost.localdomain solr[194519]: [554B blob data]
localhost.localdomain solr[194519]: Started Solr server on port 8983 (pid=194664). Happy searching!
localhost.localdomain solr[194519]: [14B blob data]
localhost.localdomain systemd[1]: Started LSB: Controls Apache Solr as a Service.正常に起動できたことが確認できました。
firewallが設定されている場合は、8983ポートを許可します。
sudo firewall-cmd --add-port=8983/tcp --zone=public --permanent
sudo firewall-cmd --reload
Apache Solraアクセス
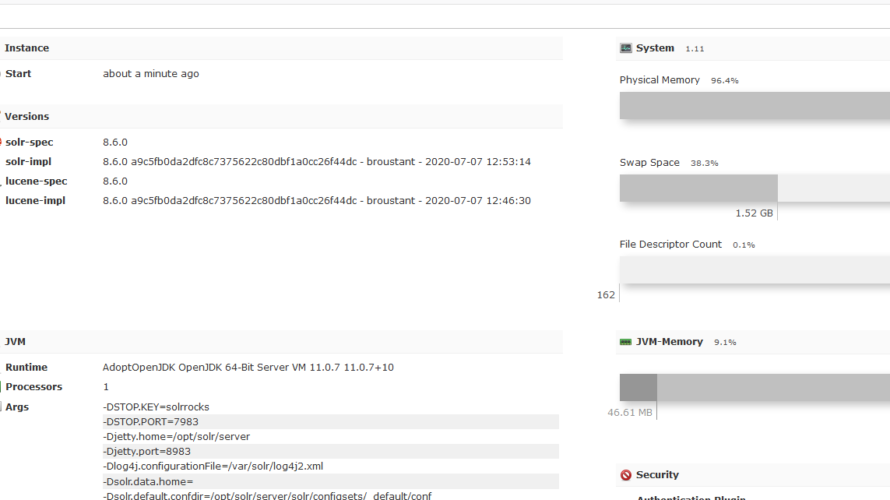
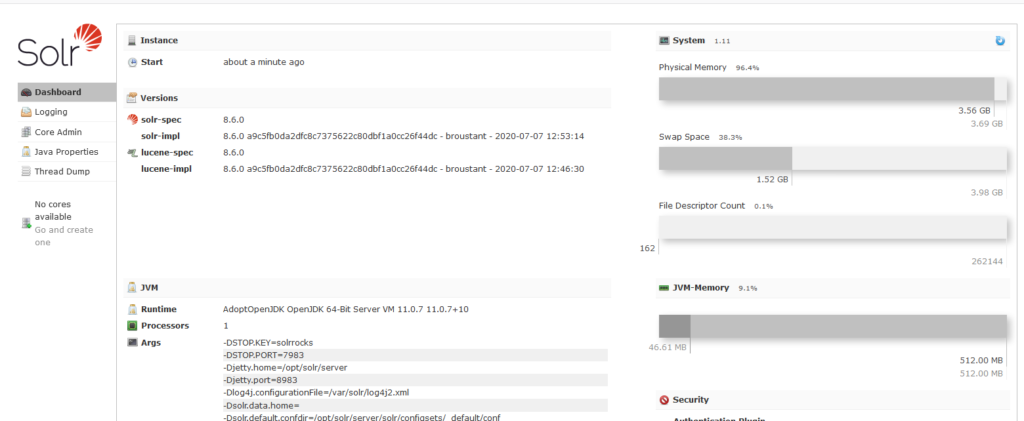
ブラウザから http://プライベートIP or サーバーアドレス:8983 にアクセスします。
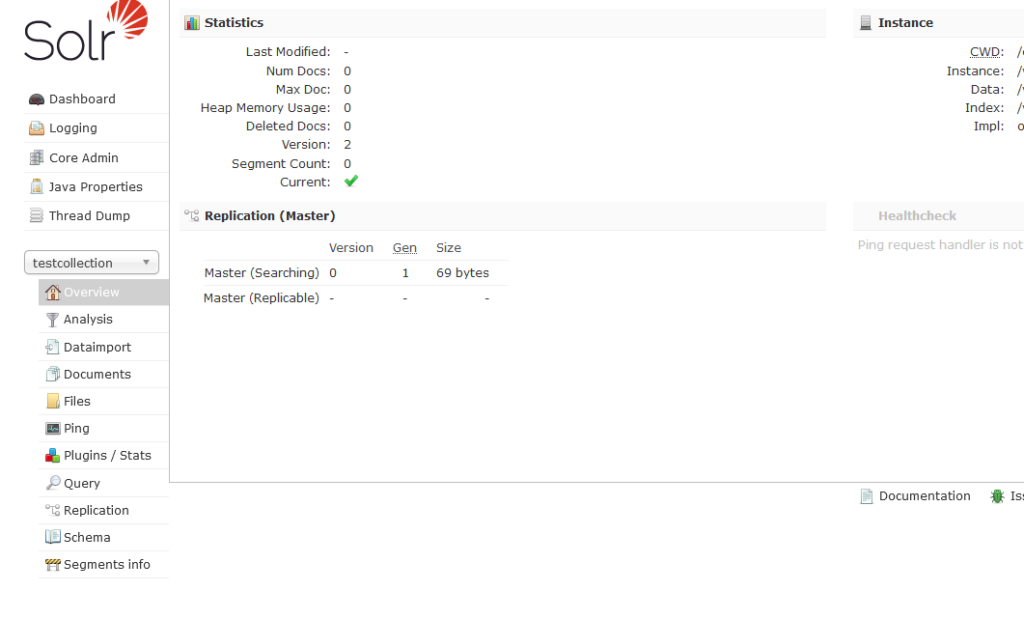
testcollectionを作成してみます。
sudo su - solr -c "/opt/solr/bin/solr create -c testcollection -n data_driven_schema_configs"

<出力結果>
Created new core 'testcollection'
管理画面上にtestcollectionが作成されていることが確認できます。
-
前の記事

OpenSUSE 15.1から15.2にアップデートする手順 2020.07.20
-
次の記事

dockerを使ってオンラインストレージ「Pydio Cells」をインストールする 2020.07.20