windows10 jekyllをインストールして使用する
windows10環境でRubyで開発されたの静的サイトジェネレーター「jekyll」をインストールして実行するまでの手順を記述してます。
環境
- OS windows10 pro 64bit
- ruby 2.6.6
- gem 3.0.3
※windows10にrubyのインストール手順はこちら
jekyllインストール
gemでインストールを行います。
※bundlerもインストールしてます。
gem install bundler jekylljekyllプロジェクト作成
適当なプロジェクト名でjekyllプロジェクトを作成します。
jekyll new test-sitejekyll起動
プロジェクトに移動します。
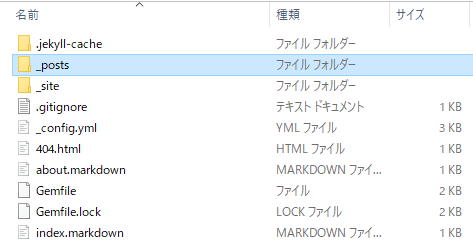
cd test-site「test-site」フォルダは下記のように構成されてます。
jekyllを起動します。
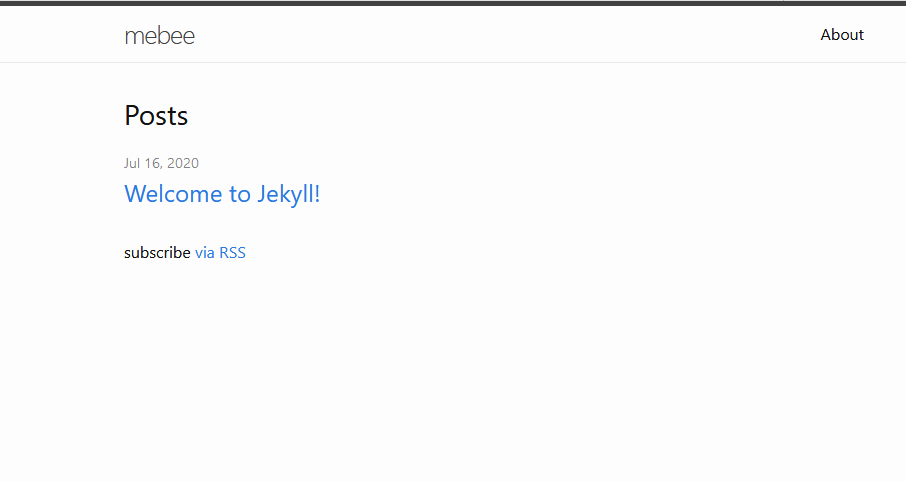
bundle exec jekyll serveブラウザから http://127.0.0.1:4000 にアクセスするとフロント画面が表示されます。

jekyll設定
サイトのタイトルやdescriptionなどは「_config.yml」を編集します。
titleを「mebee」に変更します。
title: mebee
email: your-email@example.com
description: >- # this means to ignore newlines until "baseurl:"
  Write an awesome description for your new site here. You can edit this
  line in _config.yml. It will appear in your document head meta (for
  Google search results) and in your feed.xml site description.
baseurl: "" # the subpath of your site, e.g. /blog
url: "" # the base hostname & protocol for your site, e.g. http://example.com
twitter_username: jekyllrb
github_username:  jekyll

# Build settings
theme: minima
plugins:
  - jekyll-feed
サーバーを再起動します。
※serveコマンドは短縮形の「s」に変更してます。
bundle exec jekyll sタイトルが変更されていることが確認できます。
次にTOPページに表示されている記事「Welcome to Jekyll!」を変更してみます。
「_posts」フォルダ配下に生成されているmarkdownファイルを変更します。

titleを変更します。
title: "Welcome to Jekyll!"
<編集>
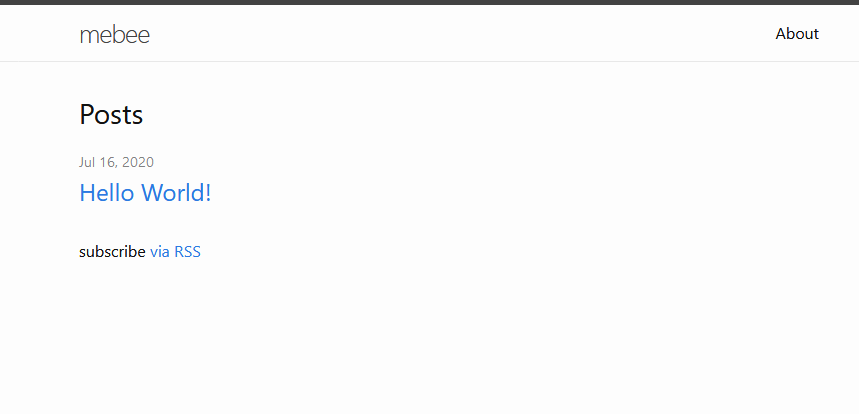
title: "Hello World!"TOPページをリロードすると変更されていることが確認できます。
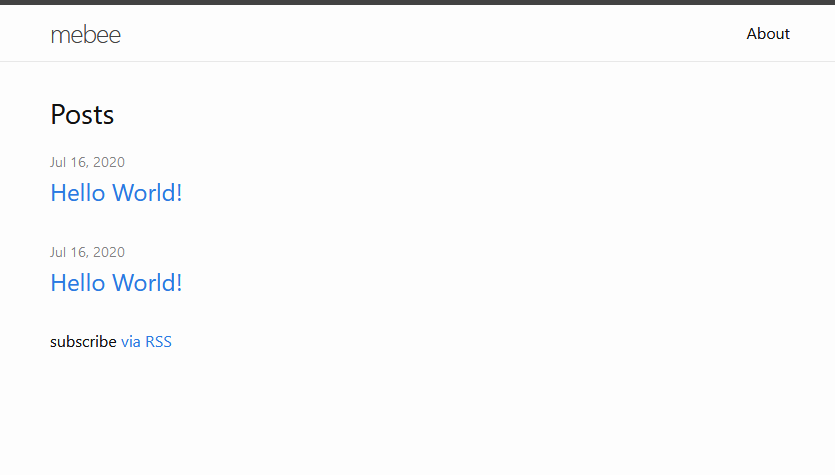
さきほど編集したmarkdownファイルをコピーしていくことで、記事を投稿することが可能です。

リロードすると記事が追加されたことが確認できます。
-
前の記事

「OpenLiteSpeed」をphpのバージョンを変更する手順 2020.07.17
-
次の記事

Centos8 php8.0をインストールする方法 2020.07.17