Ubuntu21.10 mysqlをインストールする

Ubuntu21.10に、mysqlをインストールするするまでの手順を記述してます。
環境
- OS Ubuntu21.10
- mysql Ver 8.0.27-0ubuntu0.21.10.1
mysqlインストール
バージョンを確認したら、最新だったので「apt」でインストールします。
$ sudo apt info mysql-server

Package: mysql-server
Version: 8.0.27-0ubuntu0.21.10.1
Priority: optional
Section: database
Source: mysql-8.0
Origin: Ubuntu
Maintainer: Ubuntu Developers <ubuntu-devel-discuss@lists.ubuntu.com>
Original-Maintainer: Debian MySQL Maintainers <pkg-mysql-maint@lists.alioth.debian.org>
Bugs: https://bugs.launchpad.net/ubuntu/+filebug
Installed-Size: 110 kB
Depends: mysql-server-8.0
Homepage: http://dev.mysql.com/
Task: lamp-server
Download-Size: 9,536 B
APT-Manual-Installed: yes
APT-Sources: http://jp.archive.ubuntu.com/ubuntu impish-updates/main amd64 Packages
Description: MySQL database server (metapackage depending on the latest version)
 This is an empty package that depends on the current "best" version of
 mysql-server (currently mysql-server-8.0), as determined by the MySQL
 maintainers. Install this package if in doubt about which MySQL version
 you need. That will install the version recommended by the package
 maintainers.
 .
 MySQL は、高速で安定しており、真の意味でマルチユーザな、マルチスレッドの SQL データベースサーバです。SQL (Structured
 Query Language) は世界で 最も普及しているデータベース問合せ言語です。MySQL は速さ、堅牢性および使い
 やすさを主な目標としています。
インストールします。
$ sudo apt install mysql-servermysql起動
mysqlを起動します。
$ sudo service mysql start自動起動も設定する場合は「enable –now」を使用します。
$ sudo service mysql enable --nowmysql設定
初期設定を行います。
$ mysql_secure_installation

## パスワード設定
Press y|Y for Yes, any other key for No: y

## パスワードのポリシー設定 2を選択
Please enter 0 = LOW, 1 = MEDIUM and 2 = STRONG: 2

## rootのパスワードの設定
New password:
Re-enter new password:

## 設定したパスワードで問題なければ y
Do you wish to continue with the password provided?(Press y|Y for Yes, any other key for No) : y

## 匿名ユーザーはいらないので y
Remove anonymous users? (Press y|Y for Yes, any other key for No) : y

## rootでのリモート接続はさせないので y
Disallow root login remotely? (Press y|Y for Yes, any other key for No) : y

## テストDBは不要なので y
Remove test database and access to it? (Press y|Y for Yes, any other key for No) : y

## 設定を反映させるので y
Reload privilege tables now? (Press y|Y for Yes, any other key for No) : y
パスワードを設定したので、以下でログインしてみます。
$ mysql -u root -pさきほど作成したパスワードでログインできれば成功です。「exit」で抜けます。
外部接続許可
設定ファイルを編集します。ここでは、bind-addressを「0.0.0.0」に設定して全ての外部接続を許可してます。
$ sudo nano /etc/mysql/mysql.conf.d/mysqld.cnf

# bind-address            = 127.0.0.1
bind-address            = 0.0.0.0
再起動します。
$ sudo service mysql restart接続用のユーザーとDBを作成します。
まずは「testuser」というユーザーを作成します。「password」は任意のものを設定してください。
CREATE USER 'testuser'@'%' IDENTIFIED WITH mysql_native_password BY 'password';「testdb」を作成します。
CREATE DATABASE testdb;権限を付与します。
GRANT ALL PRIVILEGES ON testdb.* TO 'testuser'@'%';firewallを使用している場合は「3306」ポートを許可します。
$ sudo ufw allow 3306
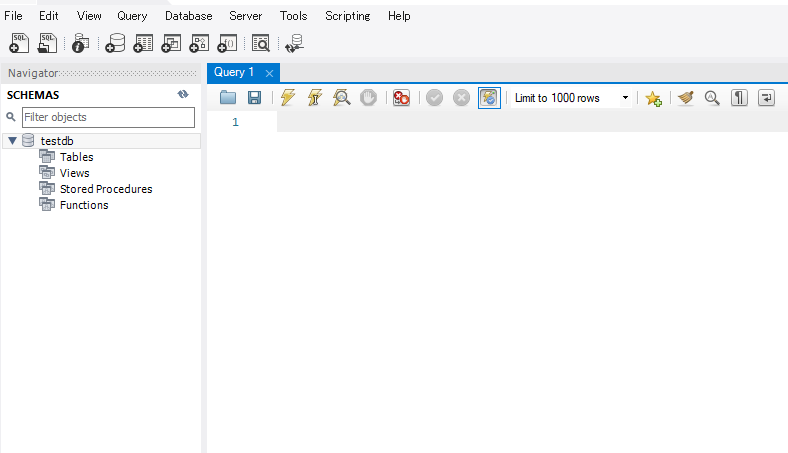
$ sudo ufw reloadこれで、外部のマシンで「Workbench」などを使用して接続することが可能です。
-
前の記事

Ruby 配列の総和を求める場合のパフォーマンスを計測する 2021.11.01
-
次の記事

python クラスを継承する 2021.11.01