Nuxt.js ライブラリ「simple-m-editor」を使用してシンプルなmarkdownエディタを作成する

ライブラリ「simple-m-editor」をインストールすると、シンプルなmarkdownエディタを作成することが可能です。ここでは、nuxt.jsで「simple-m-editor」を利用するための手順と簡単な使い方を記述してます。
環境
- OS Rocky Linux release 8.4 (Green Obsidian)
- node v14.17.3
- npm 7.19.1
- yarn 1.22.10
- nuxt 2.15.7
Nuxt.js環境構築
下記のコマンドで構築。ここでは、nuxtappという名前でプロジェクトを作成してます。
npx create-nuxt-app nuxtappここでは、下記の設定で構築してます。
create-nuxt-app v3.7.1
✨  Generating Nuxt.js project in nuxtapp
? Project name: nuxtapp
? Programming language: JavaScript
? Package manager: Yarn
? UI framework: None
? Nuxt.js modules: (Press <space> to select, <a> to toggle all, <i> to invert selection)
? Linting tools: (Press <space> to select, <a> to toggle all, <i> to invert selection)
? Testing framework: None
? Rendering mode: Universal (SSR / SSG)
? Deployment target: Server (Node.js hosting)
? Development tools: (Press <space> to select, <a> to toggle all, <i> to invert selection)
? What is your GitHub username? hoge
? Version control system: Git※yarnをインスールしているので、ここではnpmではなくyarnを選択してます。
## yarnのインスールは下記コマンド
npm install -g yarn
外部IP許可
localhostではなくプライベートIPを利用して接続して確認したいので、作成したプロジェクトnuxtappの配下にある「package.json」に下記を追加します。
"config": {
  "nuxt": {
    "host": "0.0.0.0",
    "port": "3000"
  }
},
言語設定
プロジェクトnuxtappの配下にある「nuxt.config.js」にある、言語の設定も「en」から「jp」に変更しておきます。
  head: {
    title: 'nuxtapp',
    htmlAttrs: {
      lang: 'jp'
    },
    meta: [
      { charset: 'utf-8' },
      { name: 'viewport', content: 'width=device-width, initial-scale=1' },
      { hid: 'description', name: 'description', content: '' },
      { name: 'format-detection', content: 'telephone=no' }
    ],
    link: [
      { rel: 'icon', type: 'image/x-icon', href: '/favicon.ico' }
    ]
  },
インストール
下記のコマンドでインストールします。
## 作成したプロジェクトに移動
cd nuxtapp

## インストール
yarn add simple-m-editor
plugins設定
pluginsを使用するので「nuxt.config.js」に以下を追加します。
plugins: [
    {
      src: '@/plugins/plugin',
      mode: 'client'
    }
  ],
plugins配下にplugin.jsを作成し、下記の通りに編集します。
import Vue from 'vue'
import mEditor from 'simple-m-editor'
import 'simple-m-editor/dist/simple-m-editor.css'

Vue.component('mEditor',mEditor)
simple-m-editor使い方
pages配下にあるindex.vueを下記の通りに編集します。
<template>
  <div class="relative flex items-top justify-center min-h-screen bg-gray-100 sm:items-center sm:pt-0">
    <m-editor
      v-model="text"
      @on-change="handleChange"
    />
    <div class="m-editor-preview" v-html="markdownContent"></div>
  </div>
</template>

<script>

export default {
  data() {
    return {
      text: '',
      markdownContent: ''
    };
  },
  methods: {
    handleChange(data) {
      this.markdownContent = data.htmlContent
    }
  }
};
</script>
起動します
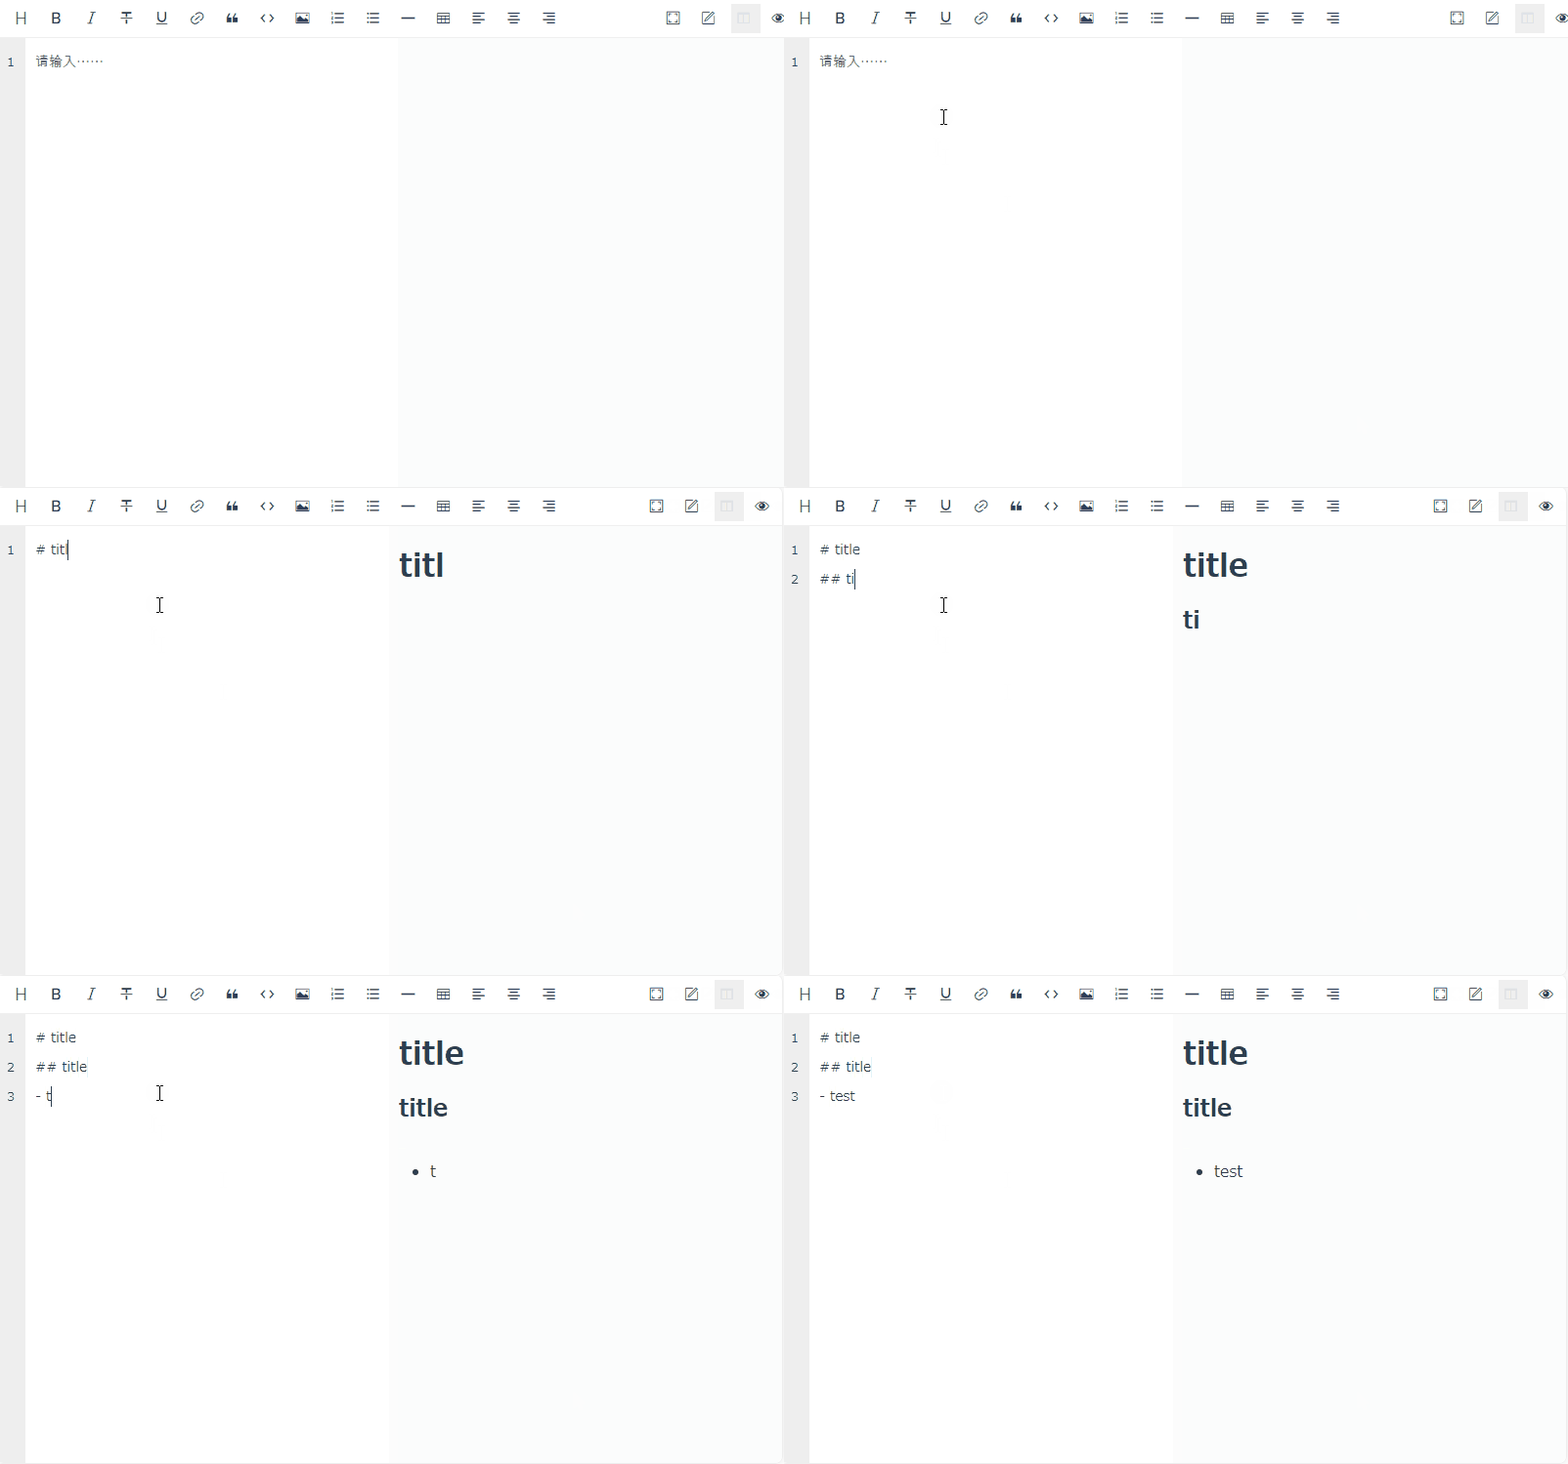
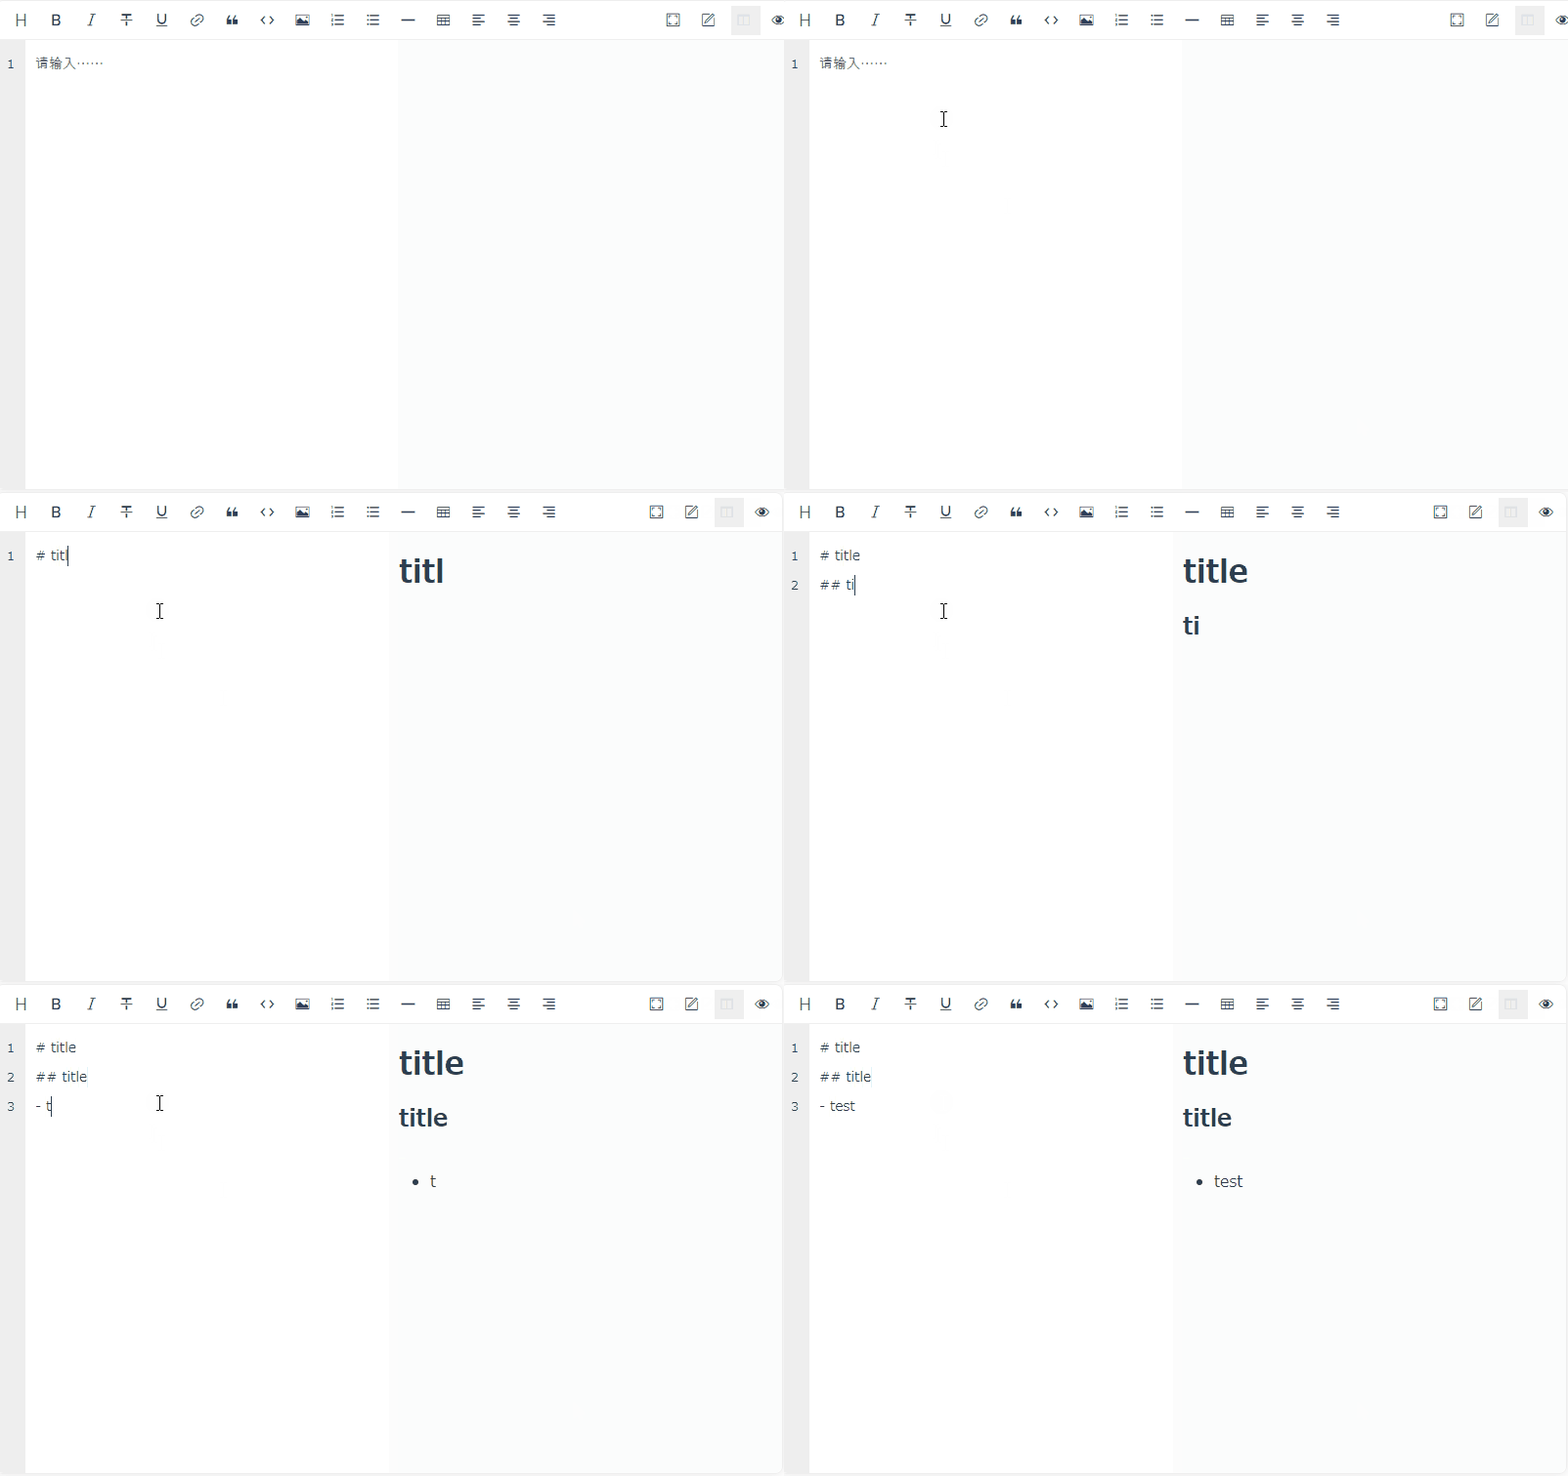
yarn devブラウザから http://プライベートIP:3000にアクセスすると、シンプルなマークダウンエディタが作成されてことが確認できます。

-
前の記事

Vue.js ホイールボタンのクリックイベントを設定する 2021.10.09
-
次の記事

Nuxt.js ライブラリ「bottom-navigation-vue」を使用してボトムにナビゲーションを作成する 2021.10.09


コメントを書く