rails6 vue.jsでaxiosを利用する

rails6で、vue.jsでaxiosを利用するまでの手順を記述してます。railsのバージョンは6.1.0です。
環境
- OS ubuntu20.10
- ruby 2.7.2
- rails 6.1.0
- Postgresql 13.1 (dockerで構築)
vue.js環境構築
以下のコマンドを実行すれば、vue.jsを利用するにあたり必要なファイルを用意してくれます。
bundle exec rails webpacker:install:vue適当なviewに以下を追加して、
<%= javascript_pack_tag 'hello_vue' %>
<%= stylesheet_pack_tag 'hello_vue' %>
「Hello Vue!!」と表示されていれば、環境構築は完了です。

Foreman導入
Webpackerを毎回ビルドしてくれるので、導入しておくと便利です。
axiosを利用
axiosを利用するのでインストールしておきます。
yarn add axiosapi接続
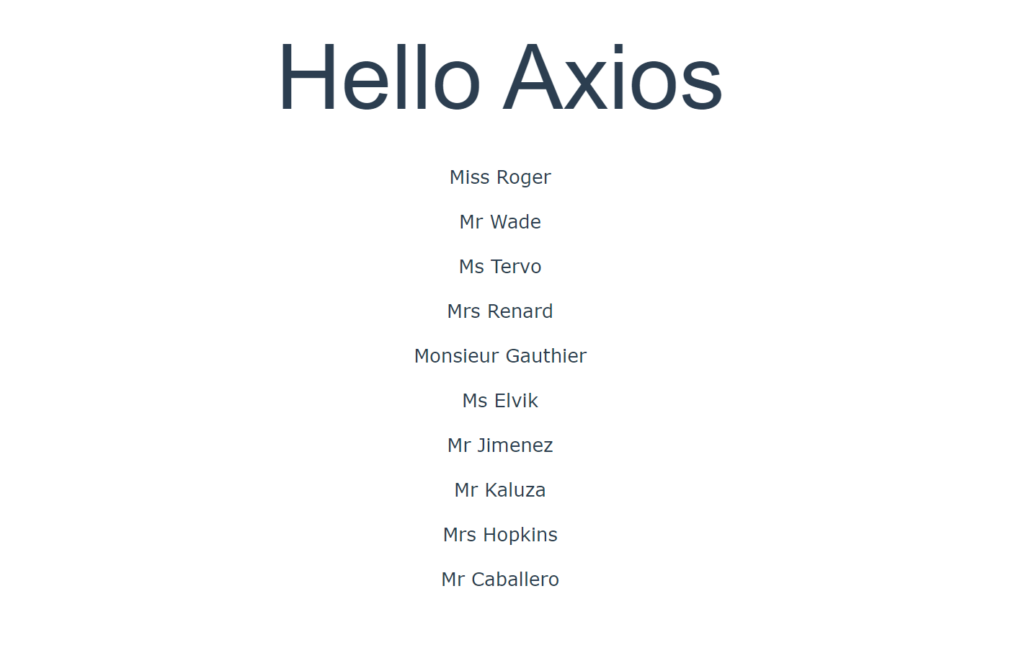
「app/javascript/packs」にある「app.vue」を以下のように編集して、axiosを使用して、APIで取得したデータを表示させます。
<template>
  <div class="style1">
    <h1>{{ message }}</h1>
    <p v-for="user in users">{{ user.name.title }} {{ user.name.last }}</p>
  </div>
</template>

<script>
import axios from 'axios';

export default {
  data() {
    return {
      message: "Hello Axios",
      users: [],
    };
  },
  created() {
    axios
      .get("https://randomuser.me/api/", {
        params: {
          results: "10",
        },
      })
      .then((response) => (this.users = response.data.results))
      .catch((response) => console.log(response));
  },
};
</script>
<style>
.style1 {
  font-family: "Avenir", Helvetica, Arial, sans-serif;
  -webkit-font-smoothing: antialiased;
  -moz-osx-font-smoothing: grayscale;
  text-align: center;
  color: #2c3e50;
  margin-top: 120px;
}
</style>
ブラウザに以下のページが表示され、APIから取得したデータが表示されます。
api用のvue.jsファイル作成
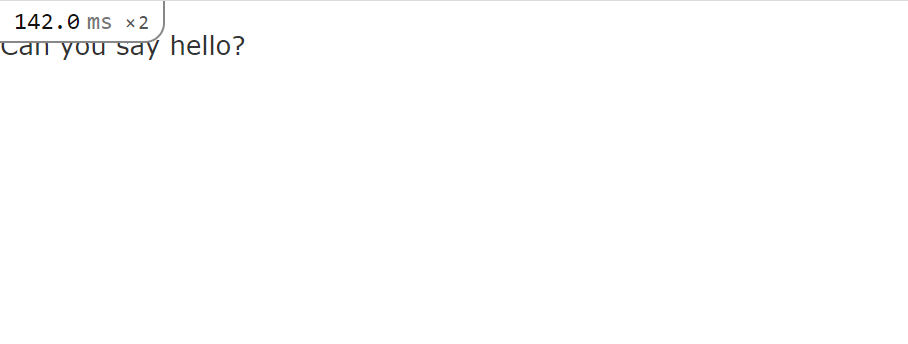
作成する前に、動作を確認するため「app/javascript/packs」にある「hello_vue.js」を編集して、「Can you say hello?」表示させてみます。
コメントアウトする
// import Vue from 'vue'
// import App from '../app.vue'

// document.addEventListener('DOMContentLoaded', () => {
//   const app = new Vue({
//     render: h => h(App)
//   }).$mount()
//   document.body.appendChild(app.$el)

//   console.log(app)
// })


// The above code uses Vue without the compiler, which means you cannot
// use Vue to target elements in your existing html templates. You would
// need to always use single file components.
// To be able to target elements in your existing html/erb templates,
// comment out the above code and uncomment the below
// Add <%= javascript_pack_tag 'hello_vue' %> to your layout
// Then add this markup to your html template:
//
// <div id='hello'>
//   {{message}}
//   <app></app>
// </div>

コメントアウトを外す
import Vue from 'vue/dist/vue.esm'
import App from '../app.vue'

document.addEventListener('DOMContentLoaded', () => {
  const app = new Vue({
    el: '#hello',
    data: {
      message: "Can you say hello?"
    },
    components: { App }
  })
})
対象のviewに以下を追加します。
<%= javascript_pack_tag 'hello_vue' %>
<%= stylesheet_pack_tag 'hello_vue' %>

<div id="hello">
    <p>{{ message }}</p>
</div>
これで、「Cna you say hello」が表示されるようになります。
同じように「hello_vue.js」と同じ階層「api_vue.js」を以下のコードで作成します。
import Vue from 'vue/dist/vue.esm'
import axios from 'axios';

document.addEventListener('DOMContentLoaded', () => {
  const app = new Vue({
    el: '#axios',
    data: {
        message: "Hello Axios",
        users: [],

    },
    created() {
      axios
        .get("https://randomuser.me/api/", {
          params: {
            results: "10",
          },
        })
        .then((response) => (this.users = response.data.results))
        .catch((response) => console.log(response));
    }
  })
})
あとは、view側にid名「axios」の要素を追加して、表示させます。
<%= javascript_pack_tag 'api_vue' %>
<%= stylesheet_pack_tag 'api_vue' %>

<div id="axios">
  <div class="style1">
    <h1>{{ message }}</h1>
    <p v-for="user in users">{{ user.name.title }} {{ user.name.last }}</p>
  </div>
</div>

<style>
.style1 {
  font-family: "Avenir", Helvetica, Arial, sans-serif;
  -webkit-font-smoothing: antialiased;
  -moz-osx-font-smoothing: grayscale;
  text-align: center;
  color: #2c3e50;
  margin-top: 120px;
}
</style>
これで、同じようにAPIを取得して表示することが可能です。
また「api_vue.js」をvuecliの「main.js」のようにコードを記述して、
import Vue from 'vue/dist/vue.esm'
import App from '../app.vue'

document.addEventListener('DOMContentLoaded', () => {
  const app = new Vue({
    render: h => h(App)
  }).$mount('#axios')
})
view側を以下のように記述するして、同様の結果は得られます。
<%= javascript_pack_tag 'api_vue' %>
<%= stylesheet_pack_tag 'api_vue' %>

<div id="axios"></div>-
前の記事

React.js ライブラリ「akar-icons」を使って 丸みのあるアイコンを使用する 2021.03.08
-
次の記事

SourceTreeでcloneからpushまでを実行する 2021.03.09