Vue3 ライブラリ「smart-tagz」を使用してタグ入力を実装する

ライブラリ「smart-tagz」を使用して、タグ入力を実装することが可能です。ここでは、smart-tagzを利用するための手順と簡単な使い方を記述してます。
環境
- OS windows10 64bit
- vue 3.0.0
- node v14.6.0
- yarn 1.22.10
- @vue/cli 4.5.9
Vue3環境構築
vue-cliを使用して構築してます。
npm install -g @vue/cli

npm init

vue upgrade --next

## vueappというプロジェクトを作成
vue create vueapp

cd vueapp
smart-tagzインストール
yarnを使用して、インストールします。
yarn add smart-tagzyarnがインストールされていない場合は、以下のコマンドでインストール可能です。
npm install -g yarnsmart-tagz使い方
src配下のApp.vueを下記のように編集します。
<template>
  <div class="container">
  <smart-tagz
    autosuggest
    editable
    inputPlaceholder="Select Countries ..."
    :sources="sources"
    :allowPaste="{delimiter: ','}"
    :allowDuplicates="false"
    :maxTags="20"
    :defaultTags="['javascript', 'node.js', 'vue.js']"
  />
  </div>
</template>

<script>
import { SmartTagz } from "smart-tagz";
import "smart-tagz/dist/smart-tagz.css";

import { defineComponent } from "vue";

export default defineComponent({
  name: "App",
  components: {
    SmartTagz,
  }
});

</script>
<style>
.container {
  margin: 0 auto;
  margin-top: 200px;
  min-height: 100vh;
  width: 500px;
  justify-content: center;
  align-items: center;
  text-align: center;
}
</style>
<style src="@vueform/multiselect/themes/default.css"></style>
起動
起動します。
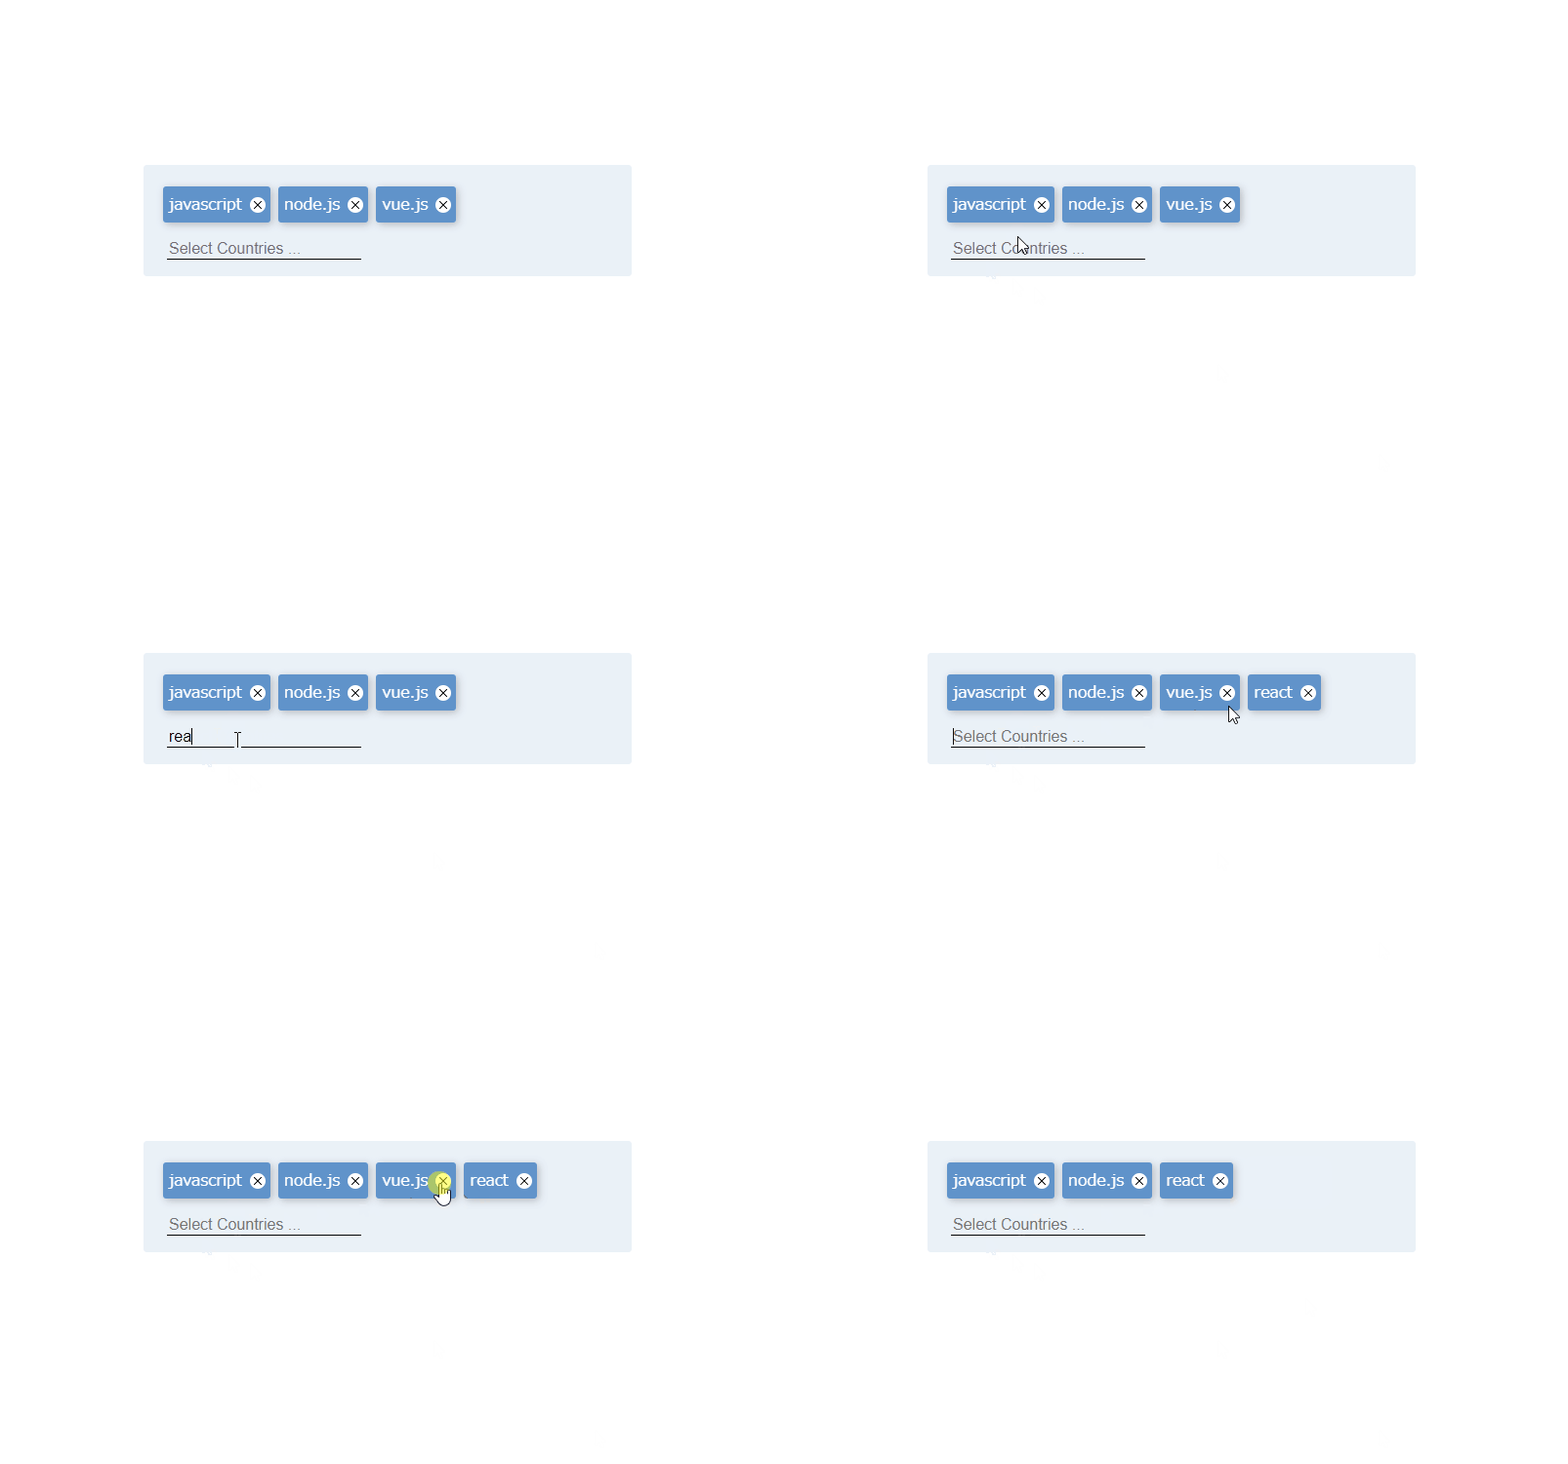
yarn serveブラウザから http://プライベートIP or localhost:8080にアクセスすると、タグ入力が実装されていることが確認できます。

-
前の記事

javascript html内に動的にコメントを追加する 2021.01.05
-
次の記事

php 二次元配列から特定のキーを指定して配列を作成する 2021.01.05


コメントを書く