CentOs7 CyberPanelを構築する手順
- 作成日 2020.06.10
- centos7 CyberPanel
- centos7, CyberPanel
WEBサーバー「OpenLiteSpeed」が入ったWebホスティングコントロールパネル である「CyberPanel」をcentos7にインスールする手順を記述してます。CPUの状態やdockerも管理できるので、非常に使い勝手がいいです。
環境
- OS CentOS 7.8.2003
CyberPanelインスール
スクリプトをダウンロードします。
wget -O installer.sh https://cyberpanel.net/install.sh権限を変更します。
chmod 755 installer.shrootユーザーで実行します。
## rootに変更
su

##rootで実行します
sh installer.sh
1を入力します。
CyberPanel Installer v2.01

  1. Install CyberPanel.

  2. Addons and Miscellaneous

  3. Exit.


  Please enter the number[1-3]: 1
WEBサーバー「OpenLiteSpeed」もインスールします。
                CyberPanel Installer v2.01

  RAM check : 503/990MB (50.81%)

  Disk check : 11/40GB (26%) (Minimal 10GB free space)

  1. Install CyberPanel with OpenLiteSpeed.

  2. Install Cyberpanel with LiteSpeed Enterprise.

  3. Exit.


  Please enter the number[1-3]: 1
「Y」と入力します。
Install Full service for CyberPanel? This will include PowerDNS, Postfix and Pure-FTPd.

Full installation [Y/n]: Y
最新バージョンで問題ないので、そのまま「ENTER」キーを押下します。
Full installation selected...

Press Enter key to continue with latest version or Enter specific version such as: 1.9.4 , 1.9.5 ...etc
パスワードの設定です。ここでは「default」のものを選択します。
Branch name set to v2.0.1

Please choose to use default admin password 1234567, randomly generate one (recommended) or specify the admin password?
Choose [d]fault, [r]andom or [s]et password: [d/r/s]
Memcachedのインスールです。「Y」にしてます。
Do you wish to install Memcached extension and backend?
Please select [Y/n]:Y
Redisのインスールです。「Y」にしてます。
Do you wish to install Redis extension and backend?
Please select [Y/n]:
Yesと入力すれば、インスールが開始されます。
Would you like to set up a WatchDog (beta) for Web service and Database service ?
The watchdog script will be automatically started up after installation and server reboot
If you want to kill the watchdog , run watchdog kill
Please type Yes or no (with capital Y, default Yes):
Firewall設定
firewallが設定されている場合は、必要なポートを許可しておきます。
sudo firewall-cmd --add-port=8090/tcp --zone=public --permanent
sudo firewall-cmd --add-port=80/tcp --zone=public --permanent
sudo firewall-cmd --add-port=443/tcp --zone=public --permanent
CyberPanelアクセス
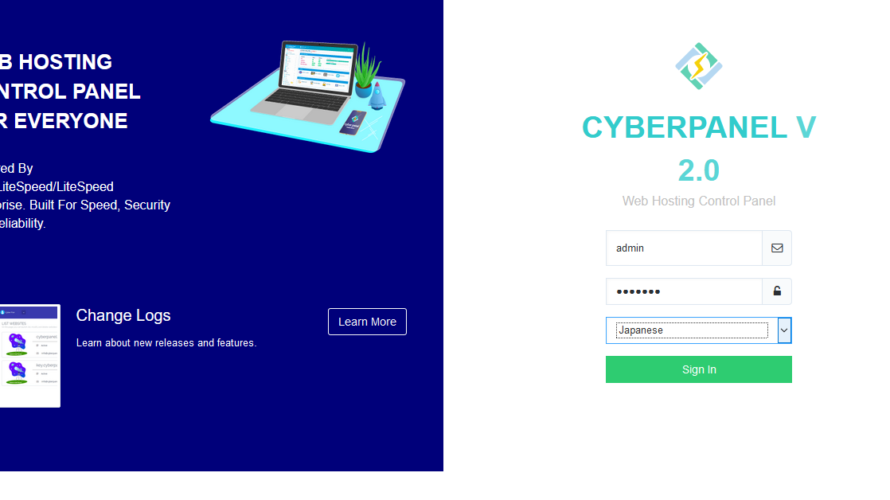
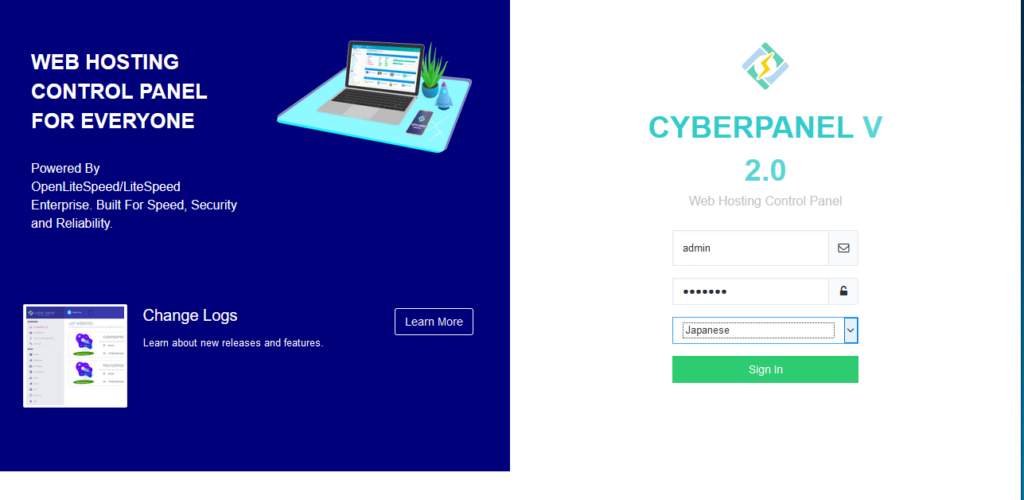
ブラウザから http://プライベートIP or サーバーアドレス:8090 にアクセスします。
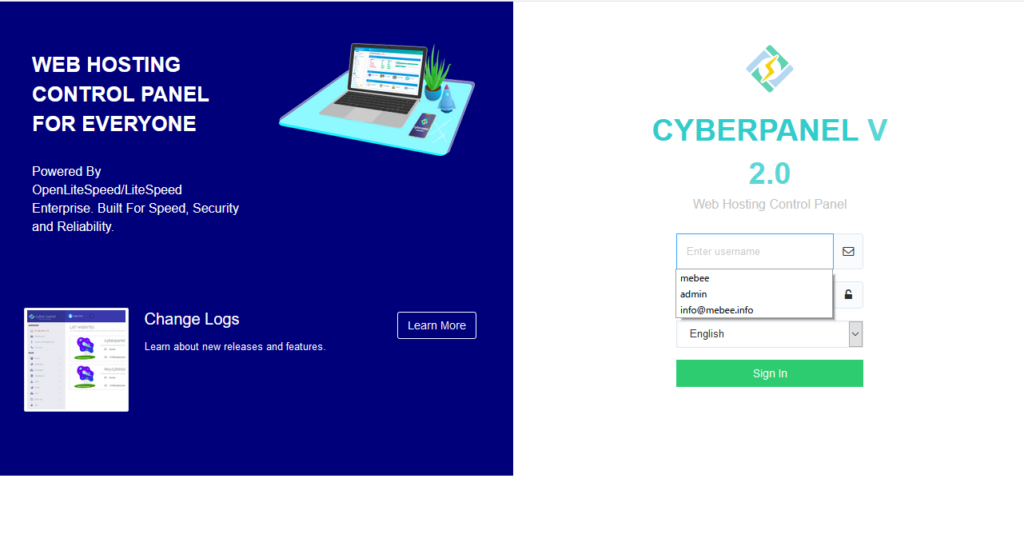
パスワードはdefaultで設定したので、
ID admin
PASS 1234567
言語にはJapaneseを設定してサインインします。
ログインするとダッシュボード表示されます。これで構築は完了となります。

-
前の記事

CentOs7 csh系コマンド「setenv」を利用する手順 2020.06.10
-
次の記事

CentOs8 KDE Plasma5をインスールしてディスクトップ環境を構築する手順 2020.06.10