javascript lodashを使ってオブジェクトの条件に一致した最初のキーを返す
- 作成日 2021.12.11
- 更新日 2022.05.11
- javascript lodash
- javascript, lodash

javascriptで、lodashを使ってオブジェクトの条件に一致した最初のキーを返すサンプルコードを掲載してます。ブラウザはchromeを使用しています。
環境
- OS windows10 pro 64bit
- Apache 2.4.43
- lodash 4.17.21
- ブラウザ chrome 91.0.4472.77
lodash使用
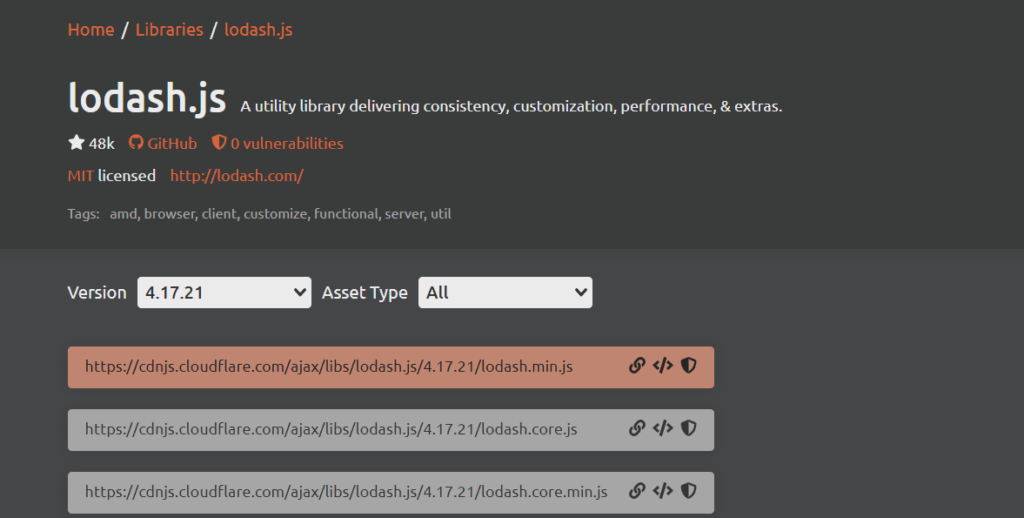
こちらのサイトから最新版を確認して、CDN版を使用してます。
<script type="text/javascript" src="https://cdnjs.cloudflare.com/ajax/libs/lodash.js/4.17.21/lodash.min.js"></script>
オブジェクトの条件に一致した最初のキーを返す
オブジェクトの条件に一致した最初のキーを返すには、「_.findKey」を使用します。
'use strict';

const obj = {
  'sato': { 'age': 25, 'active': true },
  'tanaka': { 'age': 30, 'active': false },
  'kojima': { 'age': 15, 'active': true },
  'takahashi': { 'age': 15, 'active': false },
  'yasuda': { 'age': 15, 'active': true }
}

// 最初にみつかったものを返す
console.log(
  _.findKey(obj, function(v) { return v.age < 35; } )
  // sato
)

// 最初にみつかったものを返す
console.log(
  _.findKey(obj, { 'active': false } )
  // tanaka
)

// 最初にみつかったものを返す
console.log(
  _.findKey(obj, ['active',false] )
  // tanaka
)実行結果を確認すると、最初にみつかったキーが返えされていることが確認できます。

サンプルコード
以下は、
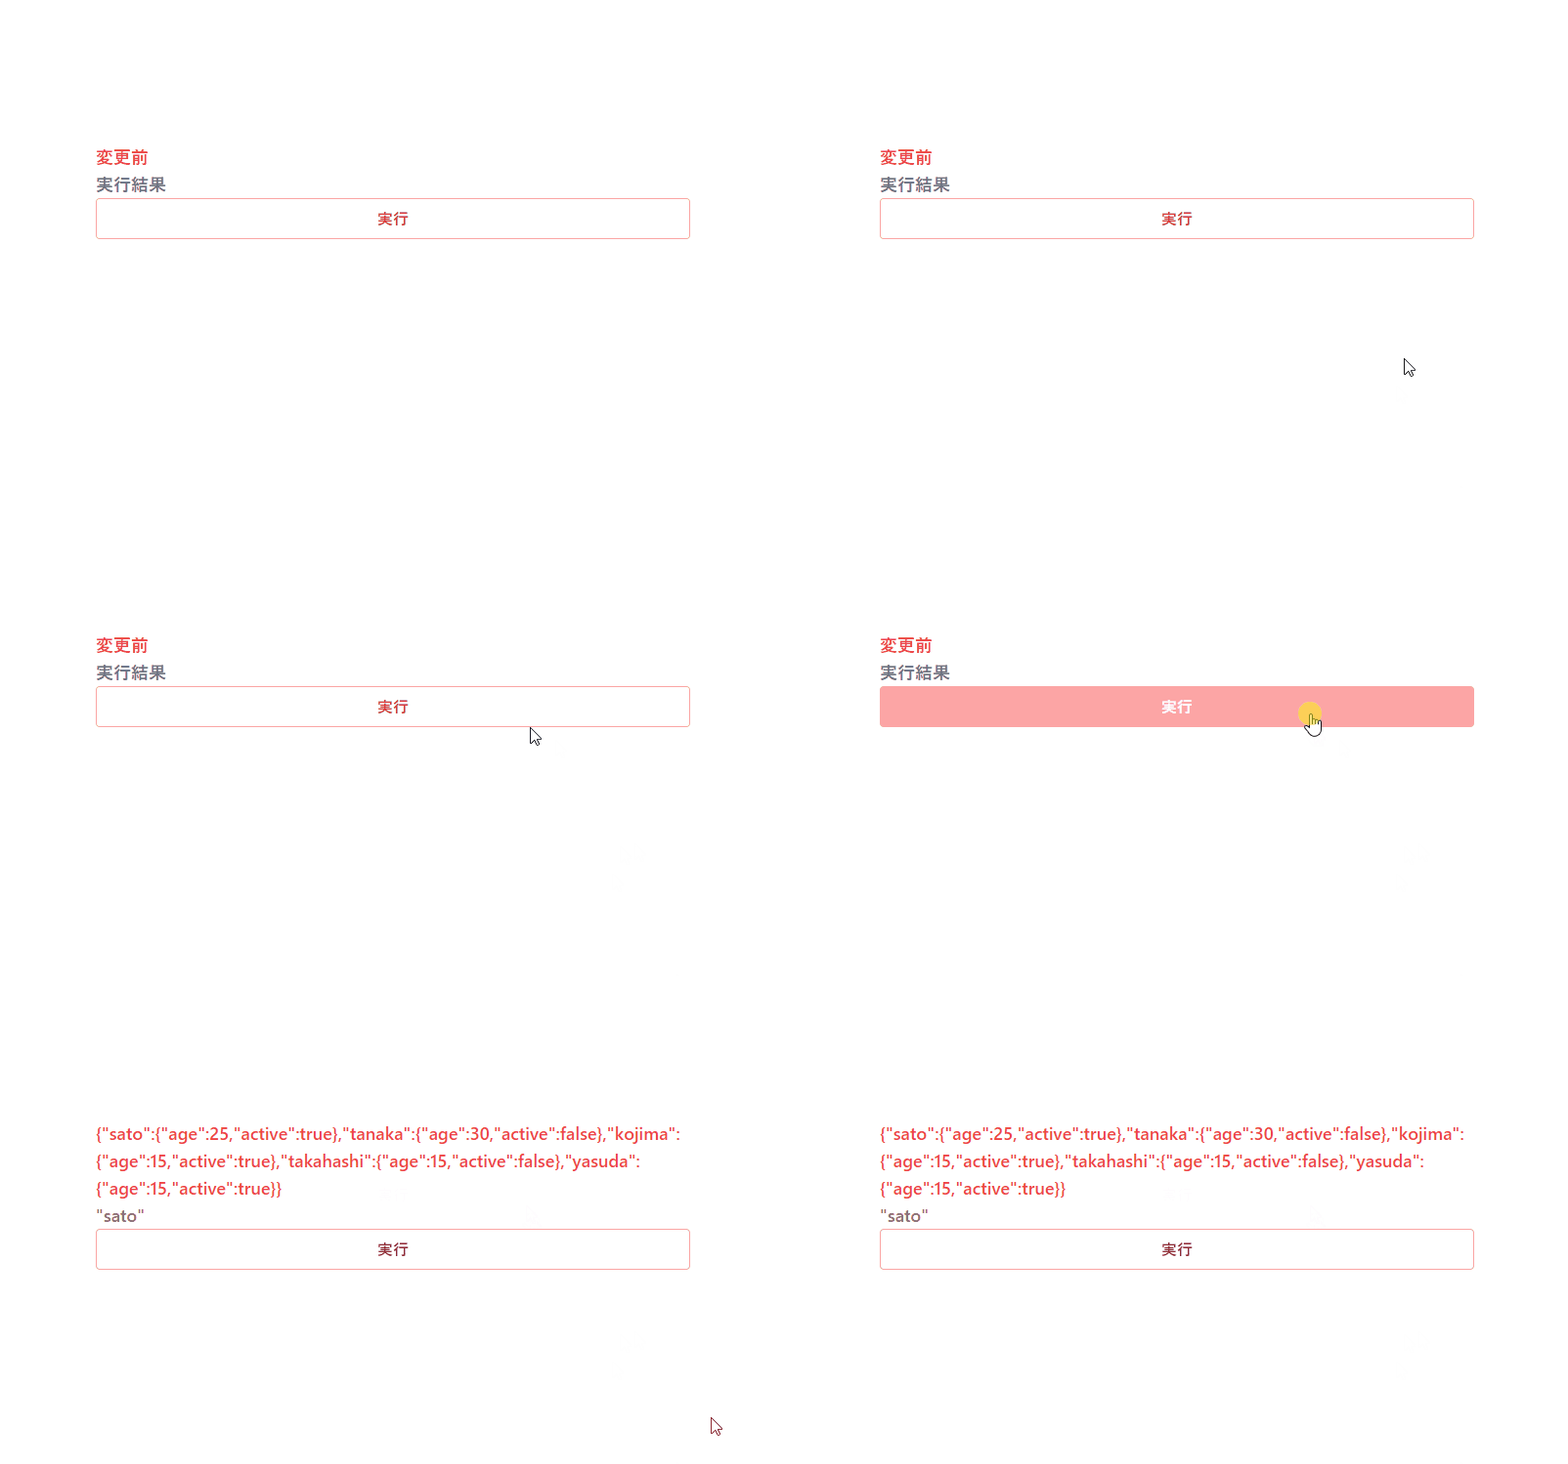
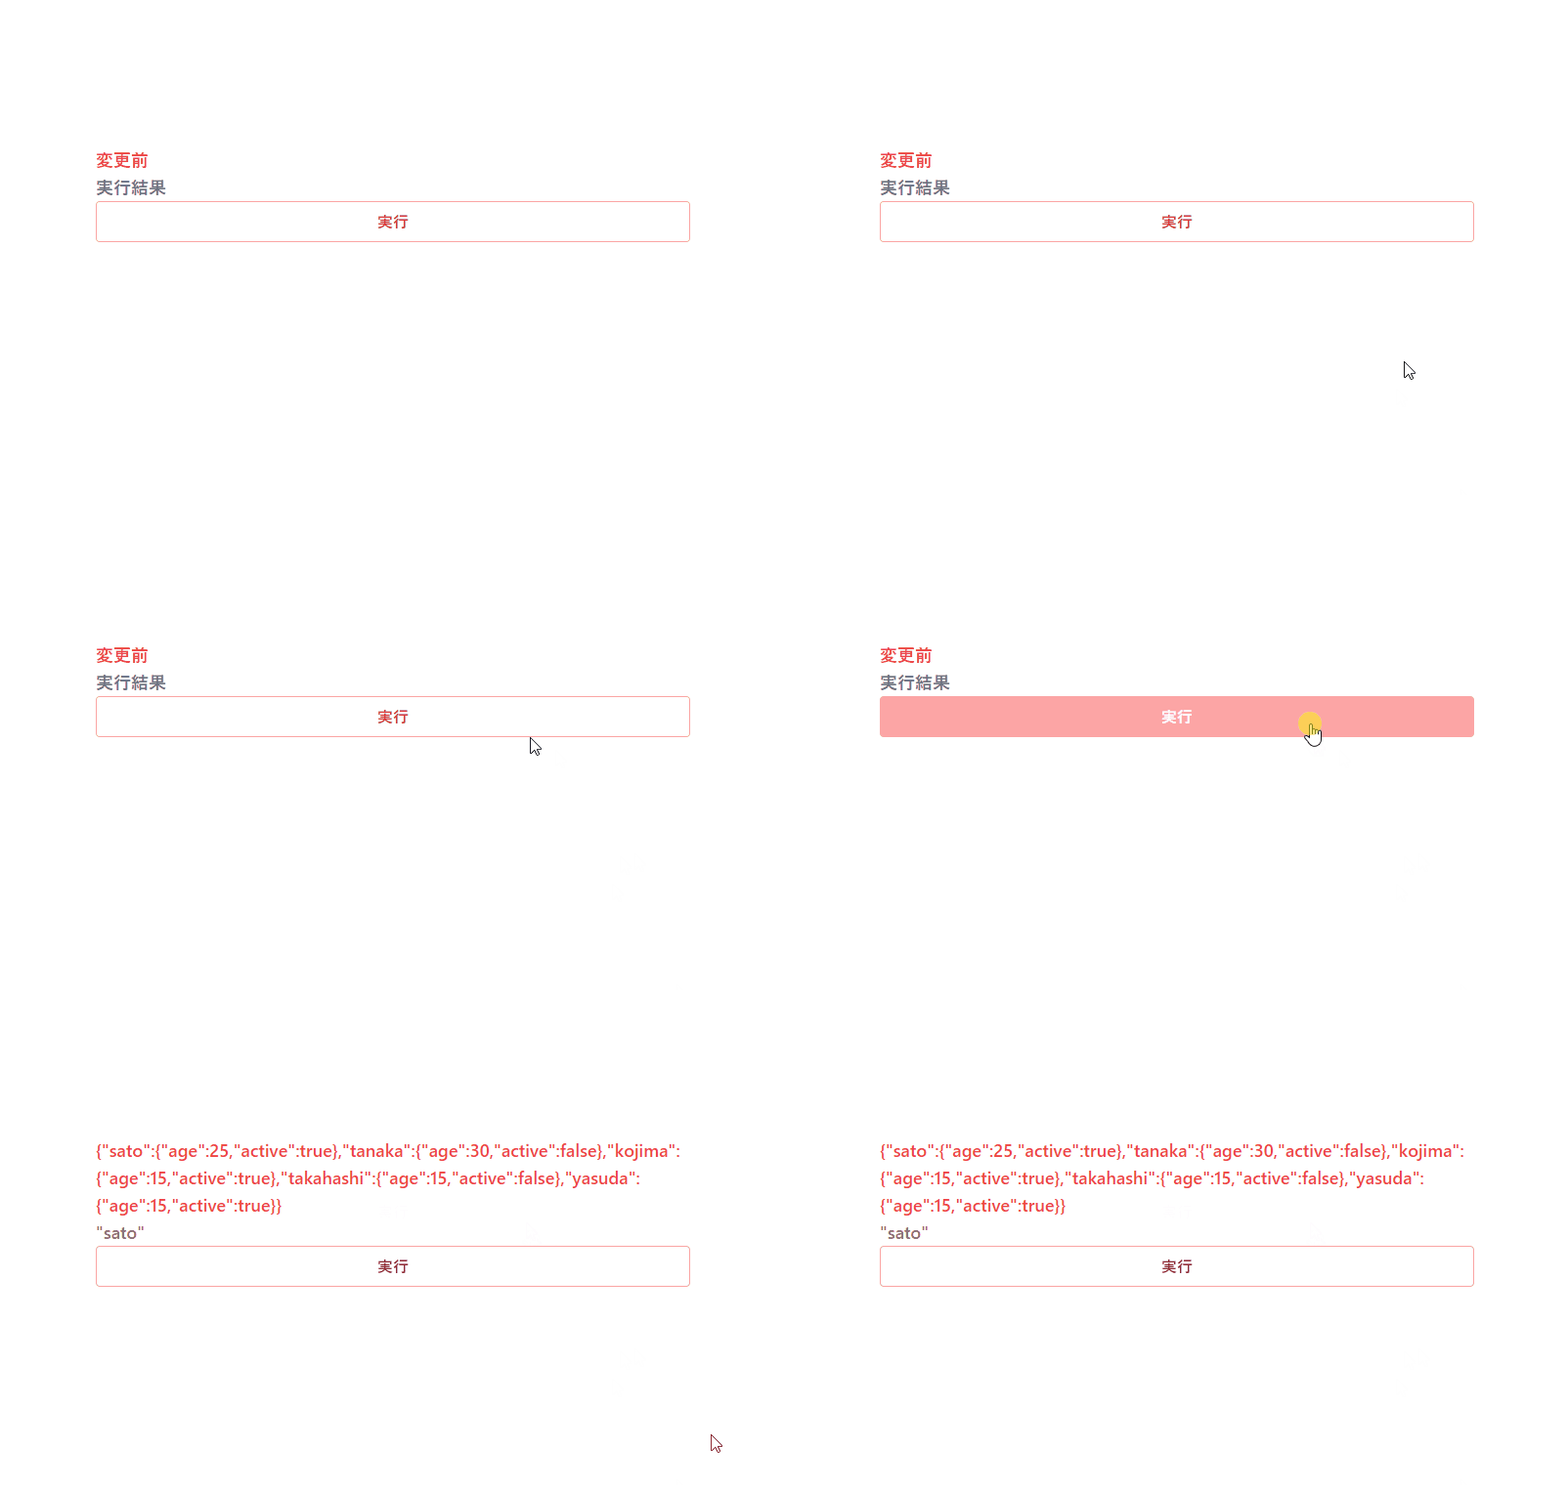
「実行」ボタンをクリックして、オブジェクトに指定した条件で最初にみつかったキーを表示するサンプルコードとなります。
※cssには「tailwind」を使用して、アロー関数で関数は定義してます。
<!DOCTYPE html>
<html lang="ja">

<head>
  <meta charset="utf-8">
  <title>mebeeサンプル</title>
  <link href="https://unpkg.com/tailwindcss@^2/dist/tailwind.min.css" rel="stylesheet">
  <script type="text/javascript" src="https://cdnjs.cloudflare.com/ajax/libs/lodash.js/4.17.21/lodash.min.js"></script>
</head>

<script>

  const hoge = () => {

    const obj = {
      'sato': { 'age': 25, 'active': true },
      'tanaka': { 'age': 30, 'active': false },
      'kojima': { 'age': 15, 'active': true },
      'takahashi': { 'age': 15, 'active': false },
      'yasuda': { 'age': 15, 'active': true }
    }

    foo.innerHTML = JSON.stringify(obj)

    bar.innerHTML = JSON.stringify(_.findKey(obj, v => v.age < 35) )

  }

  window.onload = () => {

    btn.onclick = () => { hoge() }

  }

</script>

<body>
  <div class="container mx-auto my-56 w-1/3 px-4">

    <div id="sample" class="flex flex-col justify-center">

      <h1 id="foo" class="font-semibold text-red-500 text-lg mr-auto">変更前</h1>

      <h1 id="bar" class="font-semibold text-gray-500 text-lg mr-auto">実行結果</h1>

      <button id="btn"
        class="mb-2 md:mb-0 bg-transparent hover:bg-red-300 text-red-700 font-semibold hover:text-white py-2 px-4 border border-red-300 hover:border-transparent rounded">
        実行
      </button>

    </div>

  </div>
</body>

</html>
実行結果を確認すると、結果が表示されていることが確認できます。

-
前の記事

python PySimpleGUIでProgressBarの最大値を設定する 2021.12.11
-
次の記事

Rocky Linux CUIに変更する 2021.12.11


コメントを書く