Firebase Databaseの簡単な使い方
FirebaseのDatabaseへのアクセスや、簡単なデータの利用するためのサンプルコード
ローカル環境
- OS windows10 pro
- node V10.16.3
- npm 6.9.0
- firebase CLI 7.11.0
※firebase CLIのインストールはこちら
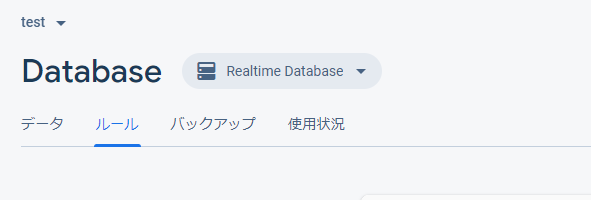
DATABASE作成
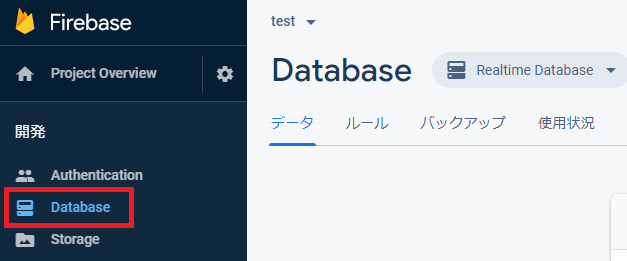
firebaseでdatabaseを作成します。左にあるDatabaseをクリックして下さい。
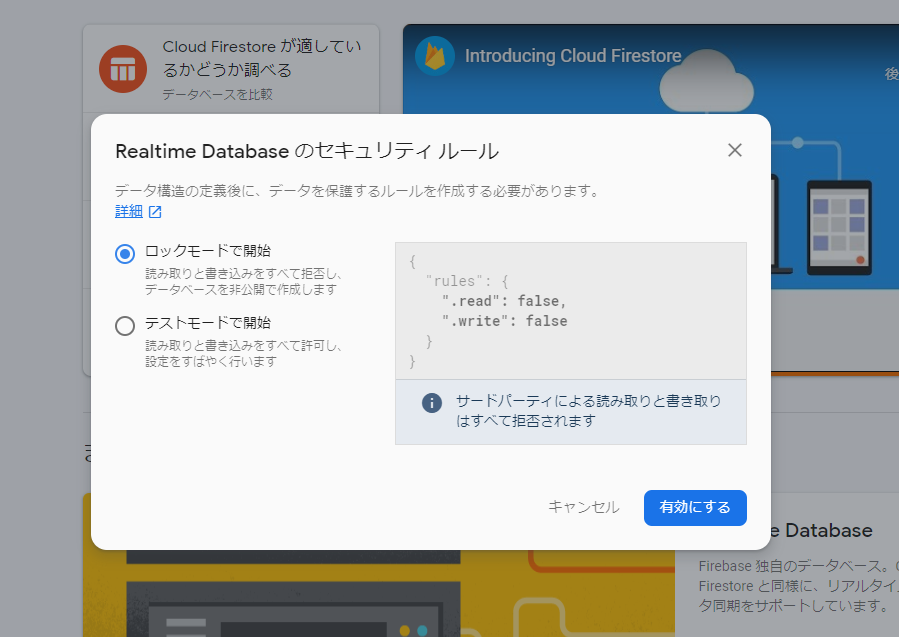
後で変更しますが、ロックモードで開始します。
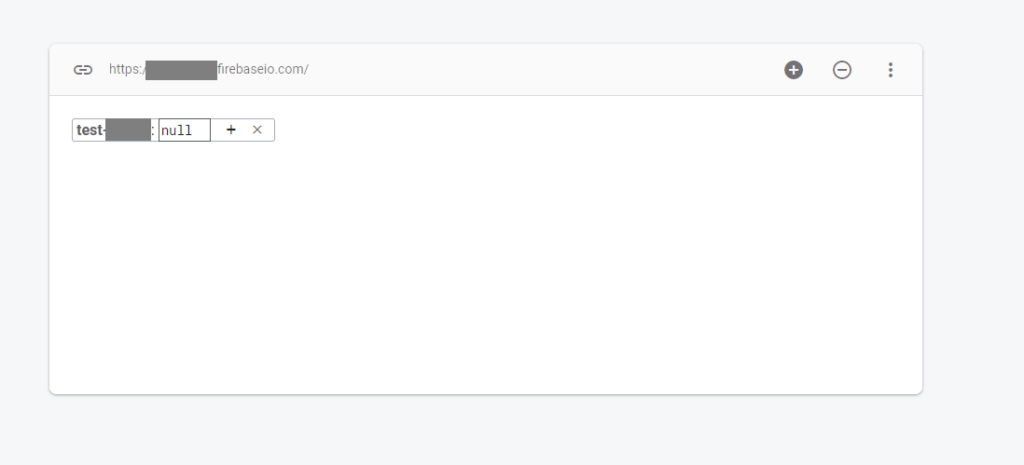
「+」ボタンをクリックして、データを作成します。
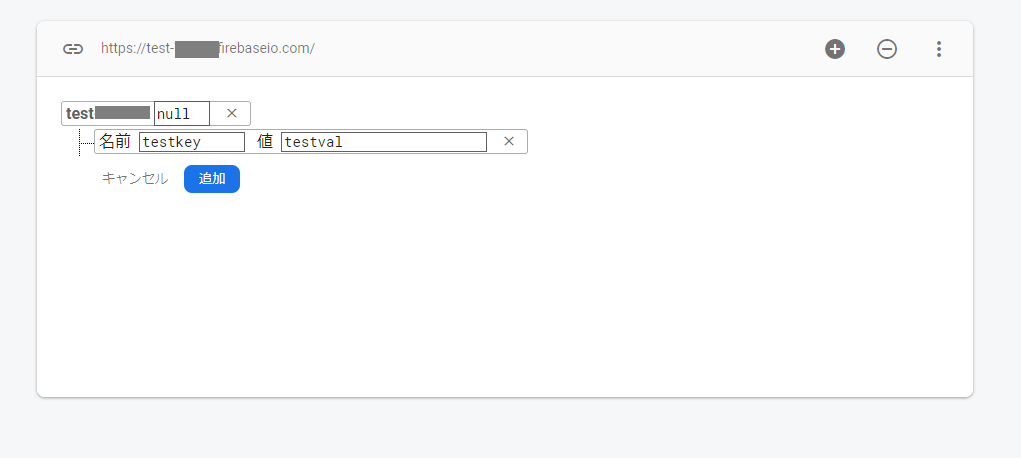
今回は、名前にtestkey,値にtestvalを設定します。
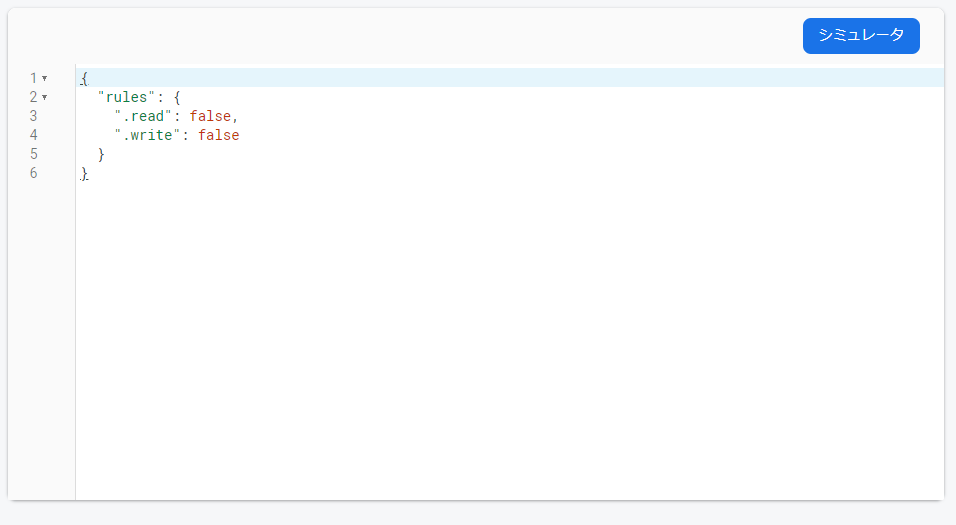
次にルールをクリックします。
ルールをtrueからfalseに変更して、テストモードに変更します。
Database接続
下記のコードで、firebase initで作成したpublic配下のindex.htmlを編集します。
※web app’s Firebase configurationの追加方法はこちら
<!DOCTYPE html>
<html>
<head>
<meta charset="utf-8">
<meta name="viewport" content="width=device-width, initial-scale=1">
<title>Welcome to Firebase Hosting</title>
<style media="screen">
body { background: #ECEFF1; color: rgba(0,0,0,0.87); font-family: Roboto, Helvetica, Arial, sans-serif; margin: 0; padding: 0; }
#message { background: white; max-width: 360px; margin: 100px auto 16px; padding: 32px 24px; border-radius: 3px; }
#message h2 { color: #ffa100; font-weight: bold; font-size: 16px; margin: 0 0 8px; }
#message h1 { font-size: 22px; font-weight: 300; color: rgba(0,0,0,0.6); margin: 0 0 16px;}
#message p { line-height: 140%; margin: 16px 0 24px; font-size: 14px; }
#message a { display: block; text-align: center; background: #039be5; text-transform: uppercase; text-decoration: none; color: white; padding: 16px; border-radius: 4px; }
#message, #message a { box-shadow: 0 1px 3px rgba(0,0,0,0.12), 0 1px 2px rgba(0,0,0,0.24); }
#load { color: rgba(0,0,0,0.4); text-align: center; font-size: 13px; }
@media (max-width: 600px) {
body, #message { margin-top: 0; background: white; box-shadow: none; }
body { border-top: 16px solid #ffa100; }
}
</style>
<!-- The core Firebase JS SDK is always required and must be listed first -->
<script src="https://www.gstatic.com/firebasejs/7.6.1/firebase-app.js"></script>
<script src="https://www.gstatic.com/firebasejs/7.6.1/firebase-database.js"></script>
<script src="https://cdnjs.cloudflare.com/ajax/libs/jquery/3.0.0-alpha1/jquery.min.js"></script>
<script>
// Your web app's Firebase configuration
var firebaseConfig = {
apiKey: "XXXXXXXXXXXXXXXXXXXXXXXX",
authDomain: "XXXXXX.firebaseapp.com",
databaseURL: "https://XXXXXX.firebaseio.com",
projectId: "XXXXXX",
storageBucket: "XXXXXX.appspot.com",
messagingSenderId: "XXXXXX",
appId: "XXXXXXXXXXXXXXXXXXXXXXXX"
};
// Initialize Firebase
firebase.initializeApp(firebaseConfig);
</script>
</head>
<body>
<div id="message">
testKey :
<input type="text" id="getval" />
<input type="button" id="updateBtn" value="update"/>
</div>
<script>
var db = firebase.database();
var root = db.ref("/");
root.on("value", function(snapshot) {
$('#getval').val(snapshot.val().testKey);
});
$('#updateBtn').click(function(){
root.set({testKey:$('#getval').val()});
});
</script>
</body>
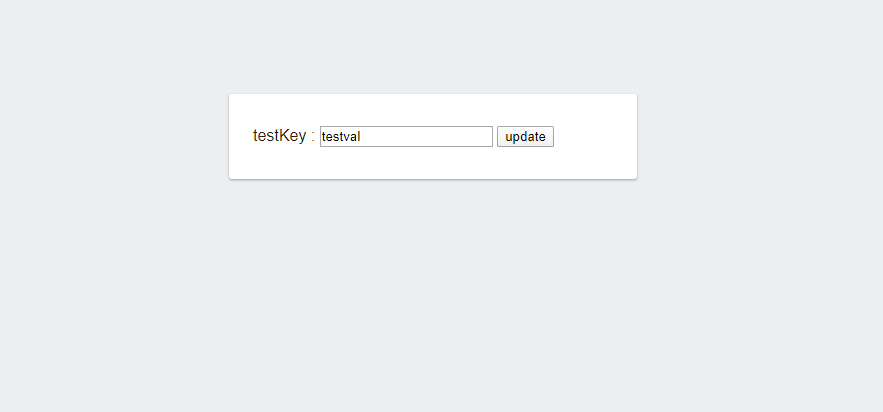
</html>実行します。
firebase serveブラウザから http://localhost:5000 にアクセスすると、下記の画面が表示され、設定した値が取得されます。
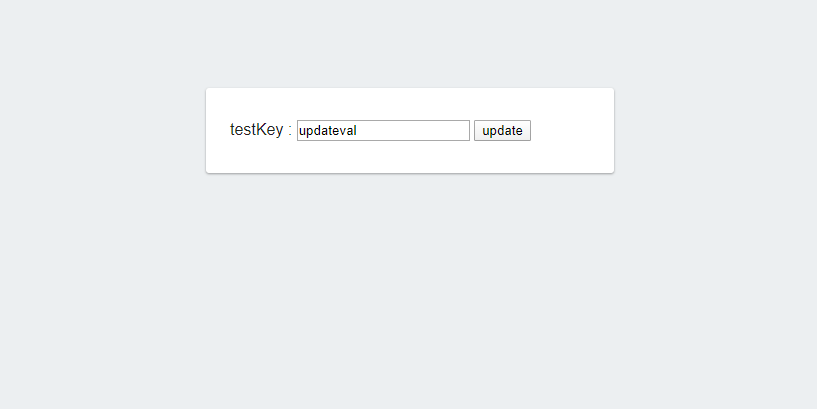
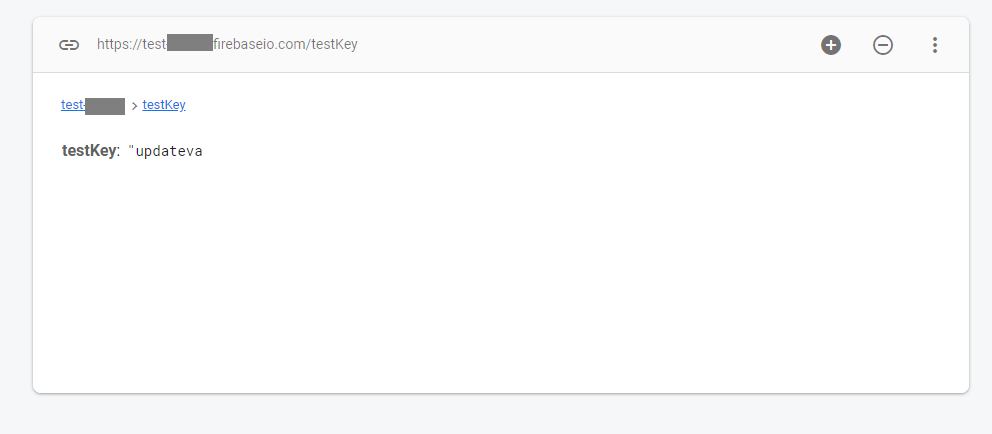
次に、適当な値を入力してtestkeyを「update」ボタンをクリックして、更新します。
今回は「updateval」と入力して更新します。
firebaseから確認すると、データが更新されていることが確認できます。
-
前の記事

windows10 Electron-Nuxt.jsでjsonファイルを利用して、通知を行う 2020.02.28
-
次の記事

Vue.jsのライブラリvue-scroll-snapをインストールしてOne Page Scrollを実装する手順 2020.02.28