qwikを実行するまでの手順
- 作成日 2023.01.26
- qwik
JavaScriptフレームワークでjsxやtsxで記述するreactと似ているqwikを実行するまでの手順を記述してます。「node」をインストールしておく必要があります。
環境
- OS CentOS Stream release 9
- qwik 0.16.2
環境構築
「node」がインストールされていれば環境は、すぐに構築可能です。
まずは、以下のコマンドでプロジェクトを作成します。一瞬で構築されます。
※ここでは「sample」という名前でプロジェクトを作成してます。
$ npm create qwik@latest

> would you like to create your new project? … sampl
次に「starter」を選択します。ここではBasicを選択してます。
? Select a starter › (use ↓↑ arrows, hit enter)
❯   Basic App (QwikCity)
    └─App with Routing built-in (recommended)
    Documentation site (QwikCity)
    Component library
依存するパッケージのインストールの有無です。「y」を選択しています。
? Would you like to install npm dependencies? › (Y/n)これで環境構築は完了です。
🐰 Let's create a Qwik app 🐇   v0.16.2

✔ Where would you like to create your new project? … sample

✔ Select a starter › Basic App (QwikCity)

✔ Would you like to install npm dependencies? … yes

✖ Installing npm dependencies...


🦄  Success!  Project created in sample directory

🐰 Next steps:
   cd sample
   npm install
   npm start

🔌 Integrations? Add Netlify, Cloudflare, Tailwind...
   npm run qwik add

📚 Relevant docs:
   https://qwik.builder.io/docs/getting-started/

💬 Questions? Start the conversation at:
   https://qwik.builder.io/chat
   Tweets by QwikDev

📺 Presentations, Podcasts and Videos:
   https://qwik.builder.io/media/
移動して、インストールを行います。
$ cd sample
$ npm i
起動します。
$ npm start

> start
> vite --open --mode ssr


  VITE v4.0.3  ready in 1608 ms

  ➜  Local:   http://127.0.0.1:5173/
  ➜  Network: use --host to expose
  ➜  press h to show help
自分の場合は、外部からアクセスしたかったので「vite.config.ts」に「host」を追加してから実行してます。
import { defineConfig } from 'vite';
import { qwikVite } from '@builder.io/qwik/optimizer';
import { qwikCity } from '@builder.io/qwik-city/vite';
import tsconfigPaths from 'vite-tsconfig-paths';

export default defineConfig(() => {
  return {
    plugins: [qwikCity(), qwikVite(), tsconfigPaths()],
     server: {
        host: '0.0.0.0',
        },
    preview: {
      headers: {
        'Cache-Control': 'public, max-age=600',
      },
    },
  };
});
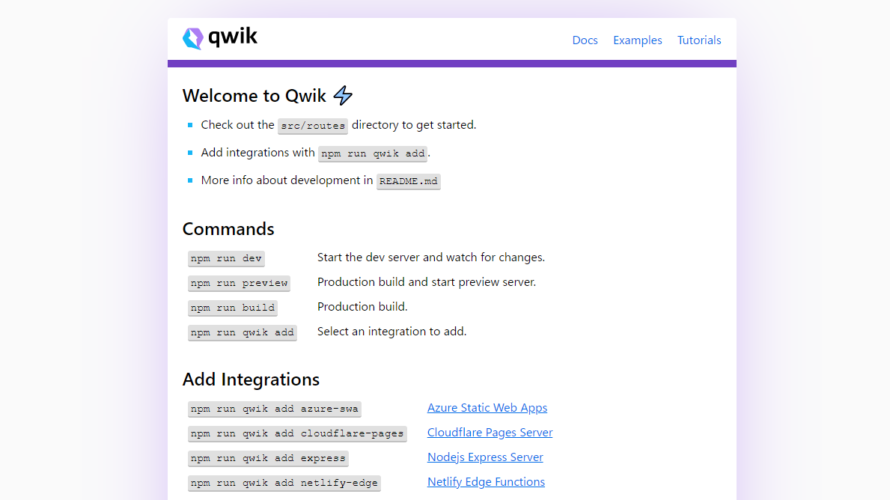
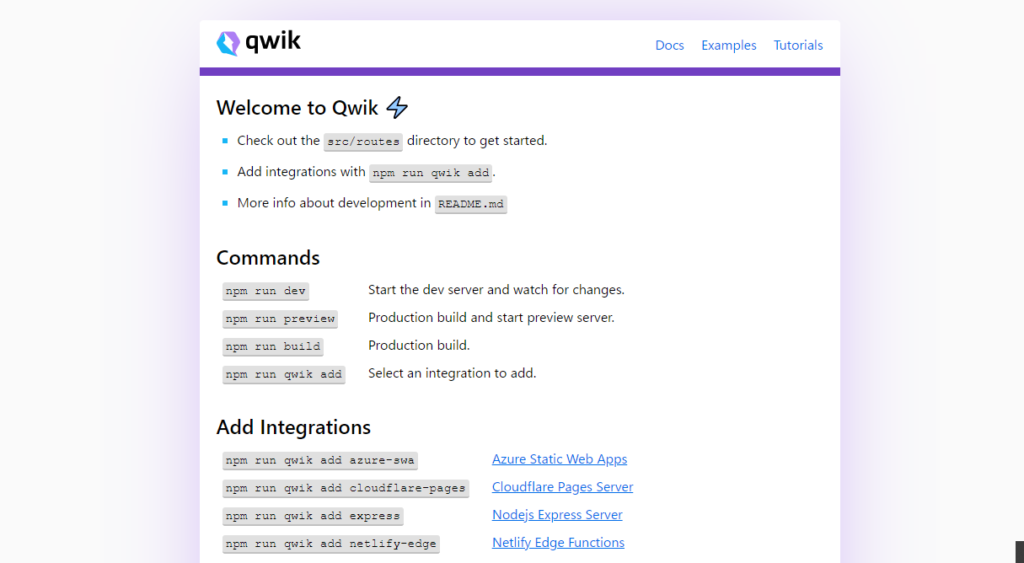
ブラウザか「http://127.0.0.1:5173/」にアクセスすると、以下の画面が表示されます
Hello Worldを表示
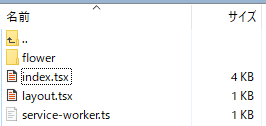
「Hello World」を表示してみます。「src」配下にある「routes」にある「index.tsx」を編集します。
編集します。
import { component$ } from '@builder.io/qwik';
import type { DocumentHead } from '@builder.io/qwik-city';
import { Link } from '@builder.io/qwik-city';
export default component$(() => {
return (
<div>
<h1>
HELLO WORLD
</h1>
<ul>
<li>
Check out the <code>src/routes</code> directory to get started.
</li>
<li>
Add integrations with <code>npm run qwik add</code>.
</li>
<li>
More info about development in <code>README.md</code>
</li>
</ul>
<h2>Commands</h2>
<table class="commands">
<tr>
<td>
<code>npm run dev</code>
</td>
<td>Start the dev server and watch for changes.</td>
</tr>
<tr>
<td>
<code>npm run preview</code>
</td>
<td>Production build and start preview server.</td>
</tr>
<tr>
<td>
<code>npm run build</code>
</td>
<td>Production build.</td>
</tr>
<tr>
<td>
<code>npm run qwik add</code>
</td>
<td>Select an integration to add.</td>
</tr>
</table>
<h2>Add Integrations</h2>
<table class="commands">
<tr>
<td>
<code>npm run qwik add azure-swa</code>
</td>
<td>
<a href="https://learn.microsoft.com/azure/static-web-apps/overview" target="_blank">
Azure Static Web Apps
</a>
</td>
</tr>
<tr>
<td>
<code>npm run qwik add cloudflare-pages</code>
</td>
<td>
<a href="https://developers.cloudflare.com/pages" target="_blank">
Cloudflare Pages Server
</a>
</td>
</tr>
<tr>
<td>
<code>npm run qwik add express</code>
</td>
<td>
<a href="https://expressjs.com/" target="_blank">
Nodejs Express Server
</a>
</td>
</tr>
<tr>
<td>
<code>npm run qwik add netlify-edge</code>
</td>
<td>
<a href="https://docs.netlify.com/" target="_blank">
Netlify Edge Functions
</a>
</td>
</tr>
<tr>
<td>
<code>npm run qwik add static</code>
</td>
<td>
<a
href="https://qwik.builder.io/qwikcity/static-site-generation/overview/"
target="_blank"
>
Static Site Generation (SSG)
</a>
</td>
</tr>
</table>
<h2>Community</h2>
<ul>
<li>
<span>Questions or just want to say hi? </span>
<a href="https://qwik.builder.io/chat" target="_blank">
Chat on discord!
</a>
</li>
<li>
<span>Follow </span>
<a href="https://twitter.com/QwikDev" target="_blank">
@QwikDev
</a>
<span> on Twitter</span>
</li>
<li>
<span>Open issues and contribute on </span>
<a href="https://github.com/BuilderIO/qwik" target="_blank">
GitHub
</a>
</li>
<li>
<span>Watch </span>
<a href="https://qwik.builder.io/media/" target="_blank">
Presentations, Podcasts, Videos, etc.
</a>
</li>
</ul>
<Link class="mindblow" href="/flower/">
Blow my mind 、ッ
</Link>
</div>
);
});
export const head: DocumentHead = {
title: 'Welcome to Qwik',
meta: [
{
name: 'description',
content: 'Qwik site description',
},
],
};
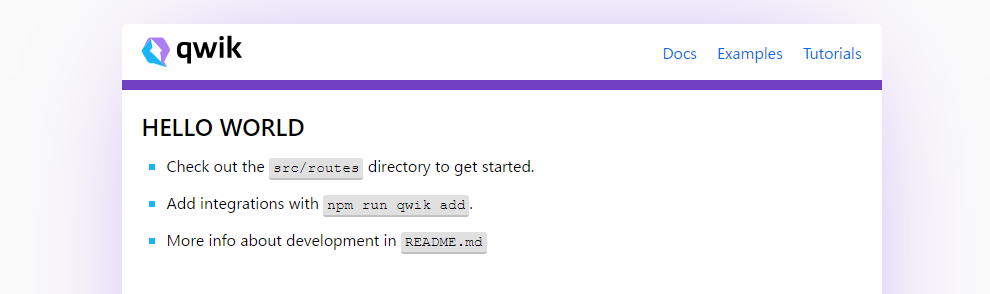
これで「Hello World」が表示されます。
-
前の記事
EXCEL セルを結合を解除するショートカットキー 2023.01.26
-
次の記事

javascript 配列の偶数番目・奇数番目の要素を取得する 2023.01.27