Ubuntu22.04 gitlabを構築する手順
- 作成日 2022.09.23
- 更新日 2022.09.29
- ubuntu
- ubuntu22.04
Ubuntu22.04に、gitlabの構築手順を記述してます。
Ubuntuバージョン
- OS Ubuntu22.04
事前準備
事前に必要なパッケージをインストールしておきます。
$ sudo su -

# apt install curl openssh-server ca-certificates
GitLabインストール
インストールを開始します。まずはシェルをダウンロードします。
# curl -O https://packages.gitlab.com/install/repositories/gitlab/gitlab-ce/script.deb.sh コマンドを設定します。
# os=ubuntu dist=bionic bash ./script.deb.shアップデートしておきます。
# apt -y updateインストールを行います。
# apt -y install gitlab-ce
# dpkg -l gitlab-ce
GitLab起動
インストールが終わったので、起動します。まずは、起動するURLを指定します。
# vi /etc/gitlab/gitlab.rb

<編集>
external_url 'http://ipアドレス:3333'
firewallが設定されていれば、firewallを許可にしてから、起動します。
# ufw allow 10080
# ufw reload
設定を反映させて起動します。
# gitlab-ctl reconfigure

Running handlers:
[2022-09-22T12:25:29+09:00] INFO: Running report handlers
Running handlers complete
[2022-09-22T12:25:29+09:00] INFO: Report handlers complete
Infra Phase complete, 0/778 resources updated in 17 seconds
gitlab Reconfigured!
再起動は、以下のコマンドで可能です。
# gitlab-ctl restart停止(stop)と開始(start)は、以下となります。
# gitlab-ctl stop
# gitlab-ctl start
起動確認
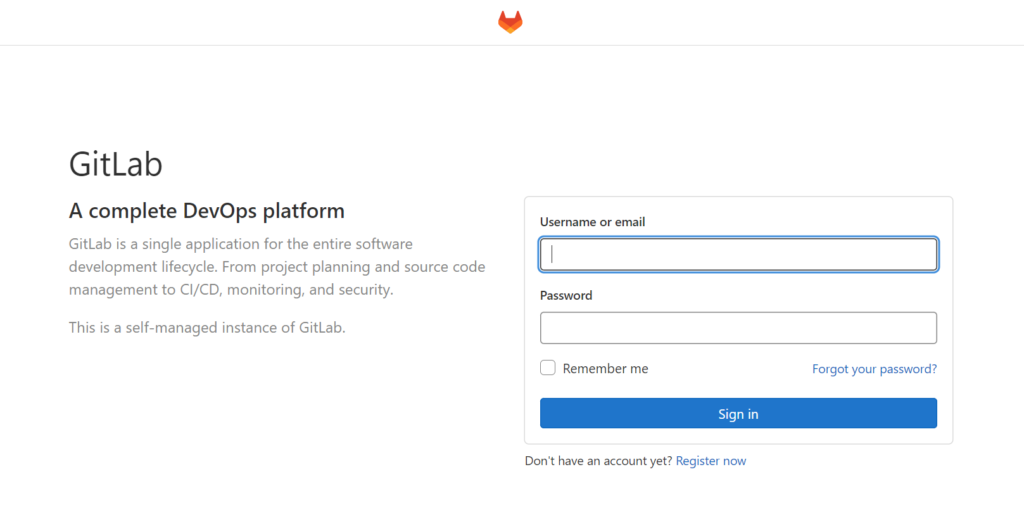
ブラウザから http://IPアドレス:3333 でアクセスしてみる
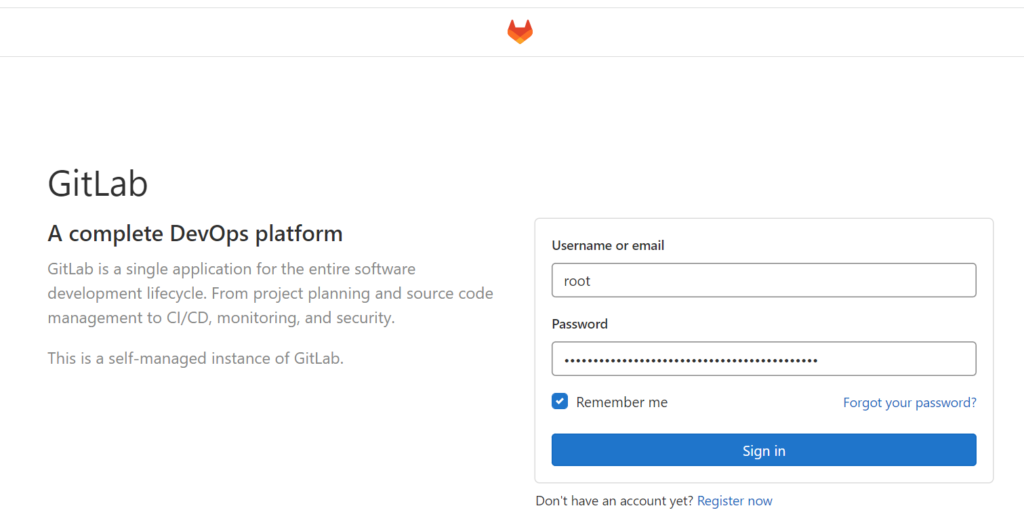
処理の「root」のログインパスワードは、以下のコマンドで確認できます。
# sudo cat /etc/gitlab/initial_root_password

# WARNING: This value is valid only in the following conditions
#          1. If provided manually (either via `GITLAB_ROOT_PASSWORD` environment variable or via `gitlab_rails['initial_root_password']` setting in `gitlab.rb`, it was provided before database was seeded for the first time (usually, the first reconfigure run).
#          2. Password hasn't been changed manually, either via UI or via command line.
#
#          If the password shown here doesn't work, you must reset the admin password following https://docs.gitlab.com/ee/security/reset_user_password.html#reset-your-root-password.

Password: xxxxxxxxxxxxxxxxxxxxxxxxxxxxxxxxxxxxx

# NOTE: This file will be automatically deleted in the first reconfigure run after 24 hours.
usernameに「root」と入力して、確認したパスワードを入力します。
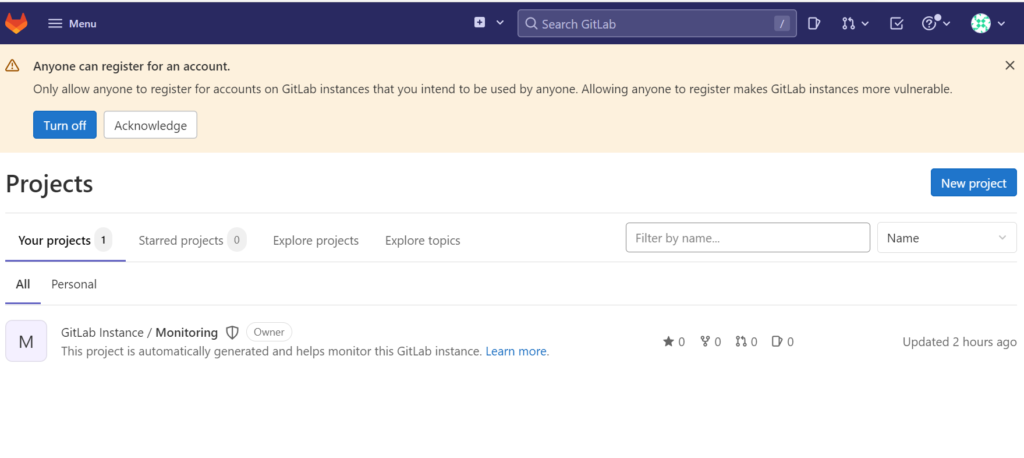
これで構築は完了です。
-
前の記事
javascript aria-labelから要素を取得する 2022.09.23
-
次の記事

Linux 指定したサイズの空ファイルを作成する 2022.09.23