AlmaLinux Denoをインストールして実行する手順

AlmaLinuxにdenoをインストールする手順を記述してます。 Denoはnode.jsの反省点をふまえた新しいJavaScriptランタイムです。
環境
- OS AlmaLinux 8.3
- Deno 1.9.2
Denoインストール
下記のコマンドをすれば、インストールすることができます。
curl -fsSL https://deno.land/x/install/install.sh | shPATHを通します。
永続化する場合は「.bash_profile」に下記の内容を追加して下さい
export DENO_INSTALL="/home/testuser/.deno"
export PATH="$DENO_INSTALL/bin:$PATH"
バージョンを確認してみます。
deno --version

<出力結果>
deno 1.9.2 (release, x86_64-unknown-linux-gnu)
v8 9.1.269.5
typescript 4.2.2
以下のコマンドでdenoのサンプルコードを実行することができます。
deno run https://deno.land/std/examples/welcome.ts

<出力結果>
Download https://deno.land/std/examples/welcome.ts
Warning Implicitly using latest version (0.95.0) for https://deno.land/std/examples/welcome.ts
Download https://deno.land/std@0.95.0/examples/welcome.ts
Check https://deno.land/std/examples/welcome.ts
Welcome to Deno!
Hello Worldしてみる
hello.tsという名前でファイルを作成して下記の内容を記述します。
nano hello.ts

<編集>
console.log('Hello World');
実行してみます。
deno run hello.ts

<出力結果>
Compile file:///home/testuser/deno/hello.ts
Hello World
WEB上でも、hello worldしてみます。
nano web_hello.ts
<編集>
import { serve } from "https://deno.land/std/http/server.ts"
async function main() {
const body = new TextEncoder().encode("Hello World\n");
let port = 8000
const s = serve({ port: port });
console.log(`Server had been started at:
http://localhost:${port}/`);
for await (const req of s) {
req.respond({ body });
}
};
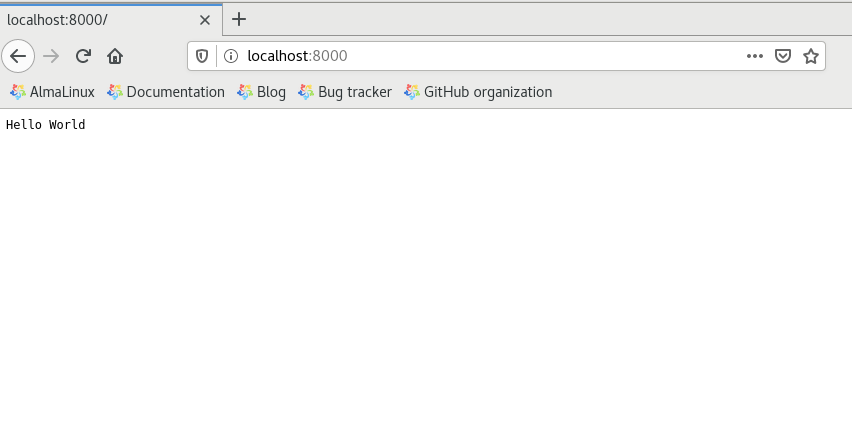
main()–allow-net というオプションを付けて、実行します。
deno run --allow-net web_hello.ts

<出力結果>
deno run --allow-net web_hello.ts
Server had been started at:
    http://localhost:8000/
ブラウザから http://localhost:8000 にアクセスするとHello Worldが表示されていることが確認できます。
-
前の記事

javascript パスワード入力をリアルタイムで表示する 2021.05.01
-
次の記事

AlmaLinuxにファイル改ざん検知ツール「aide」をインストールする 2021.05.01