React.js ライブラリ「reactive-button」を使ってプログレスバー付きのボタンを作成する
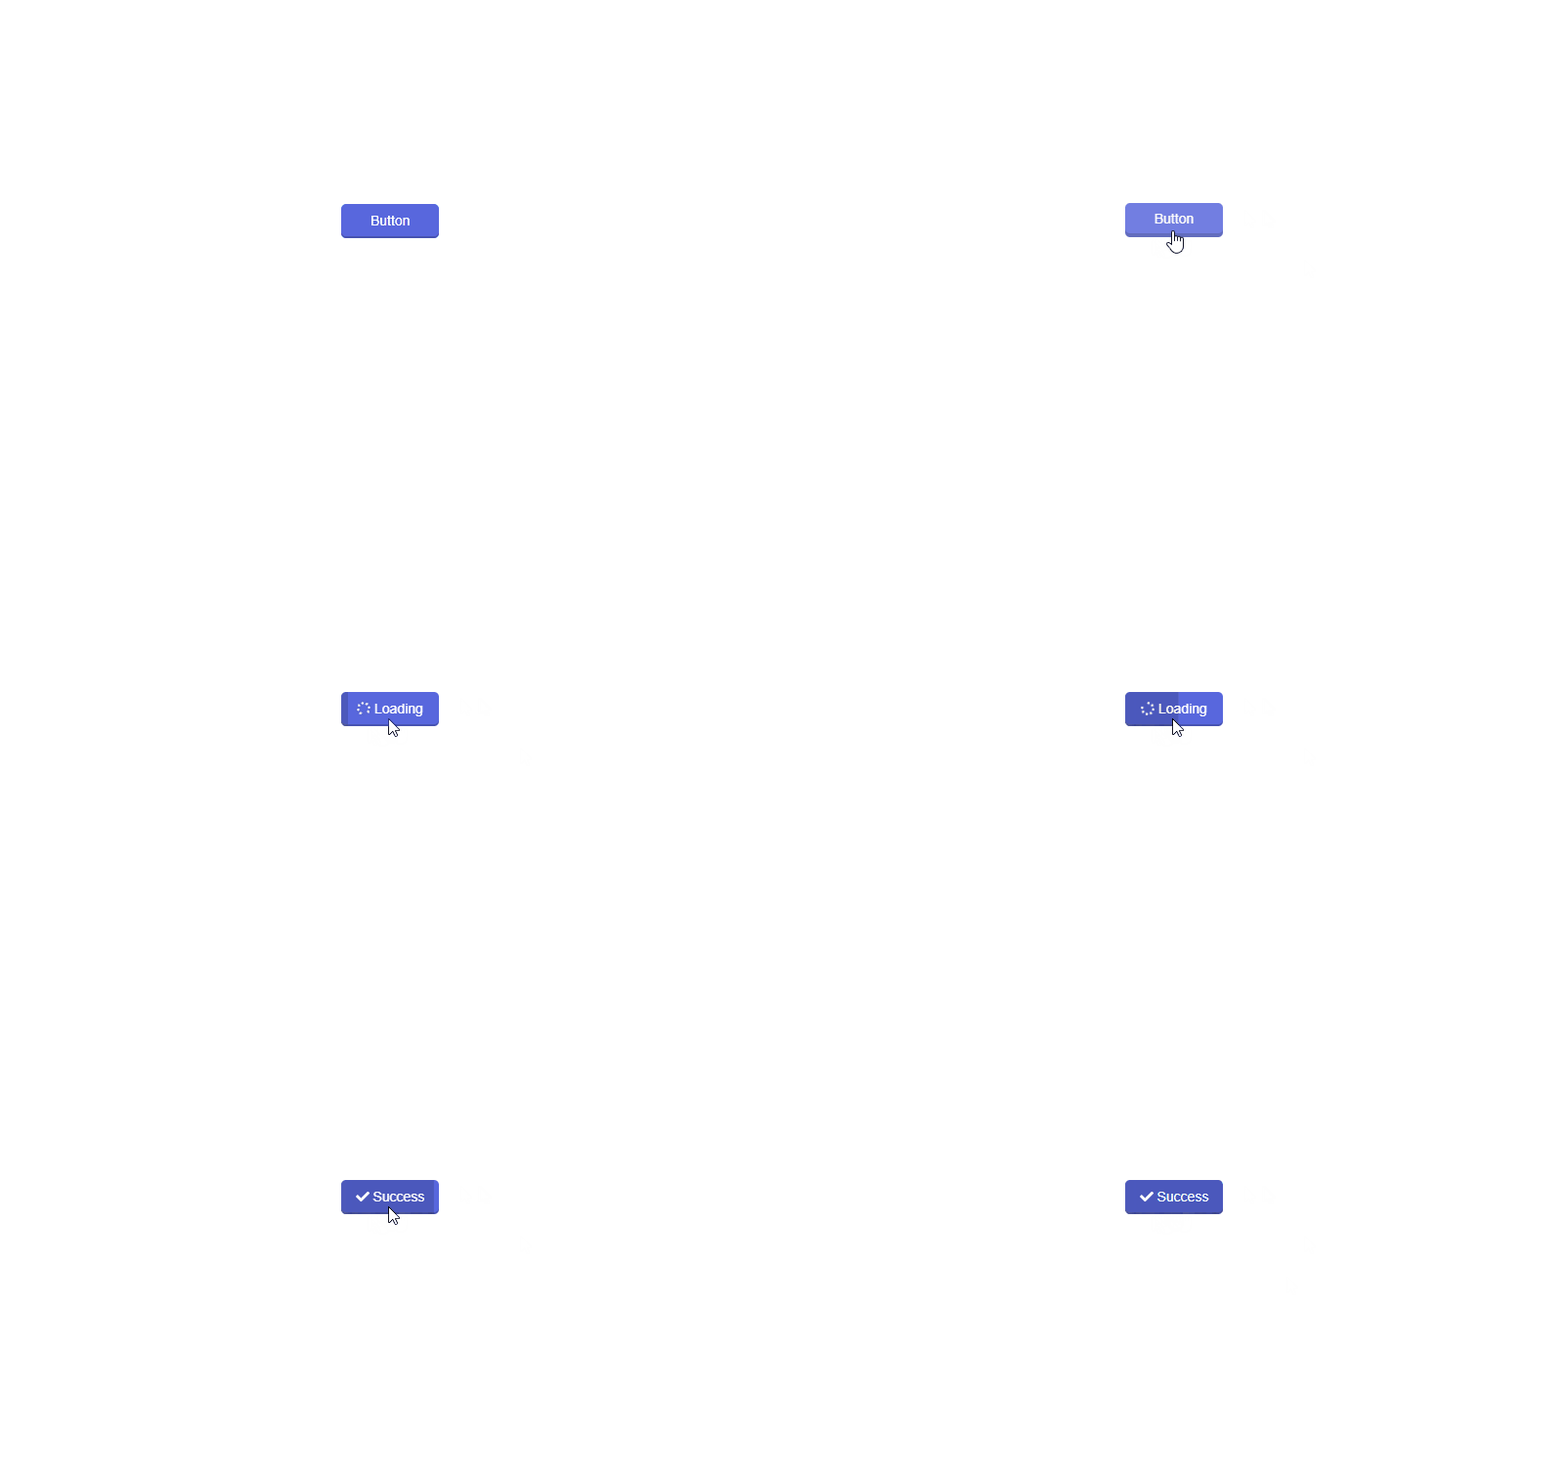
ライブラリ「reactive-button」を使ってプログレスバー付きのボタンを作成することが可能です。ここでは、react.jsでeactive-buttonを利用するための手順と簡単な使い方を記述してます。
環境
- OS CentOS Stream release 8
- node V14.15.1
- npm 6.14.8
- React 16.13.0
react.js環境構築
下記のコマンドで構築してます。ここでは、react-appという名前でプロジェクトを作成してます。
create-react-app react-appreactive-buttonインストール
作成したプロジェクトに移動して、インストールします。
## 作成したプロジェクトに移動
cd react-app

## インストール
npm i reactive-button
reactive-button使い方
srcディレクトリにsample.jsと名前で下記のコードを記述します。
import React, { useState } from "react"
import ReactiveButton from 'reactive-button'

const Sample = () => {
  const [state, setState] = useState('idle');

  const onClickHandler = () => {
      setState('loading');
      setTimeout(() => {
          setState('success');
      }, 2000);
  }
  return (
    <div>
        <ReactiveButton
            buttonState={state}
            onClick={onClickHandler}
            color={'primary'}
            idleText={'Button'}
            loadingText={'Loading'}
            successText={'Success'}
            errorText={'Error'}
            type={'button'}
            className={'class1 class2'}
            style={{ borderRadius: '5px' }}
            outline={false}
            shadow={false}
            rounded={false}
            size={'normal'}
            block={false}
            messageDuration={2000}
            disabled={false}
            buttonRef={null}
            width={null}
            height={null}
            animation={true}
        />
    </div>
  );
};

export default Sample;
次に、srcディレクトリ配下にあるApp.jsを下記のように編集します。
import React from 'react';
import Sample from './sample';
import './App.css';

function App() {
  const style = {
    width: "50%",
    margin: "0 auto",
    marginTop: 150,
  };
  return (
    <div className="App">
      <div style={style}>
        <Sample />
      </div>
    </div>
  );
}

export default App;
実行します。
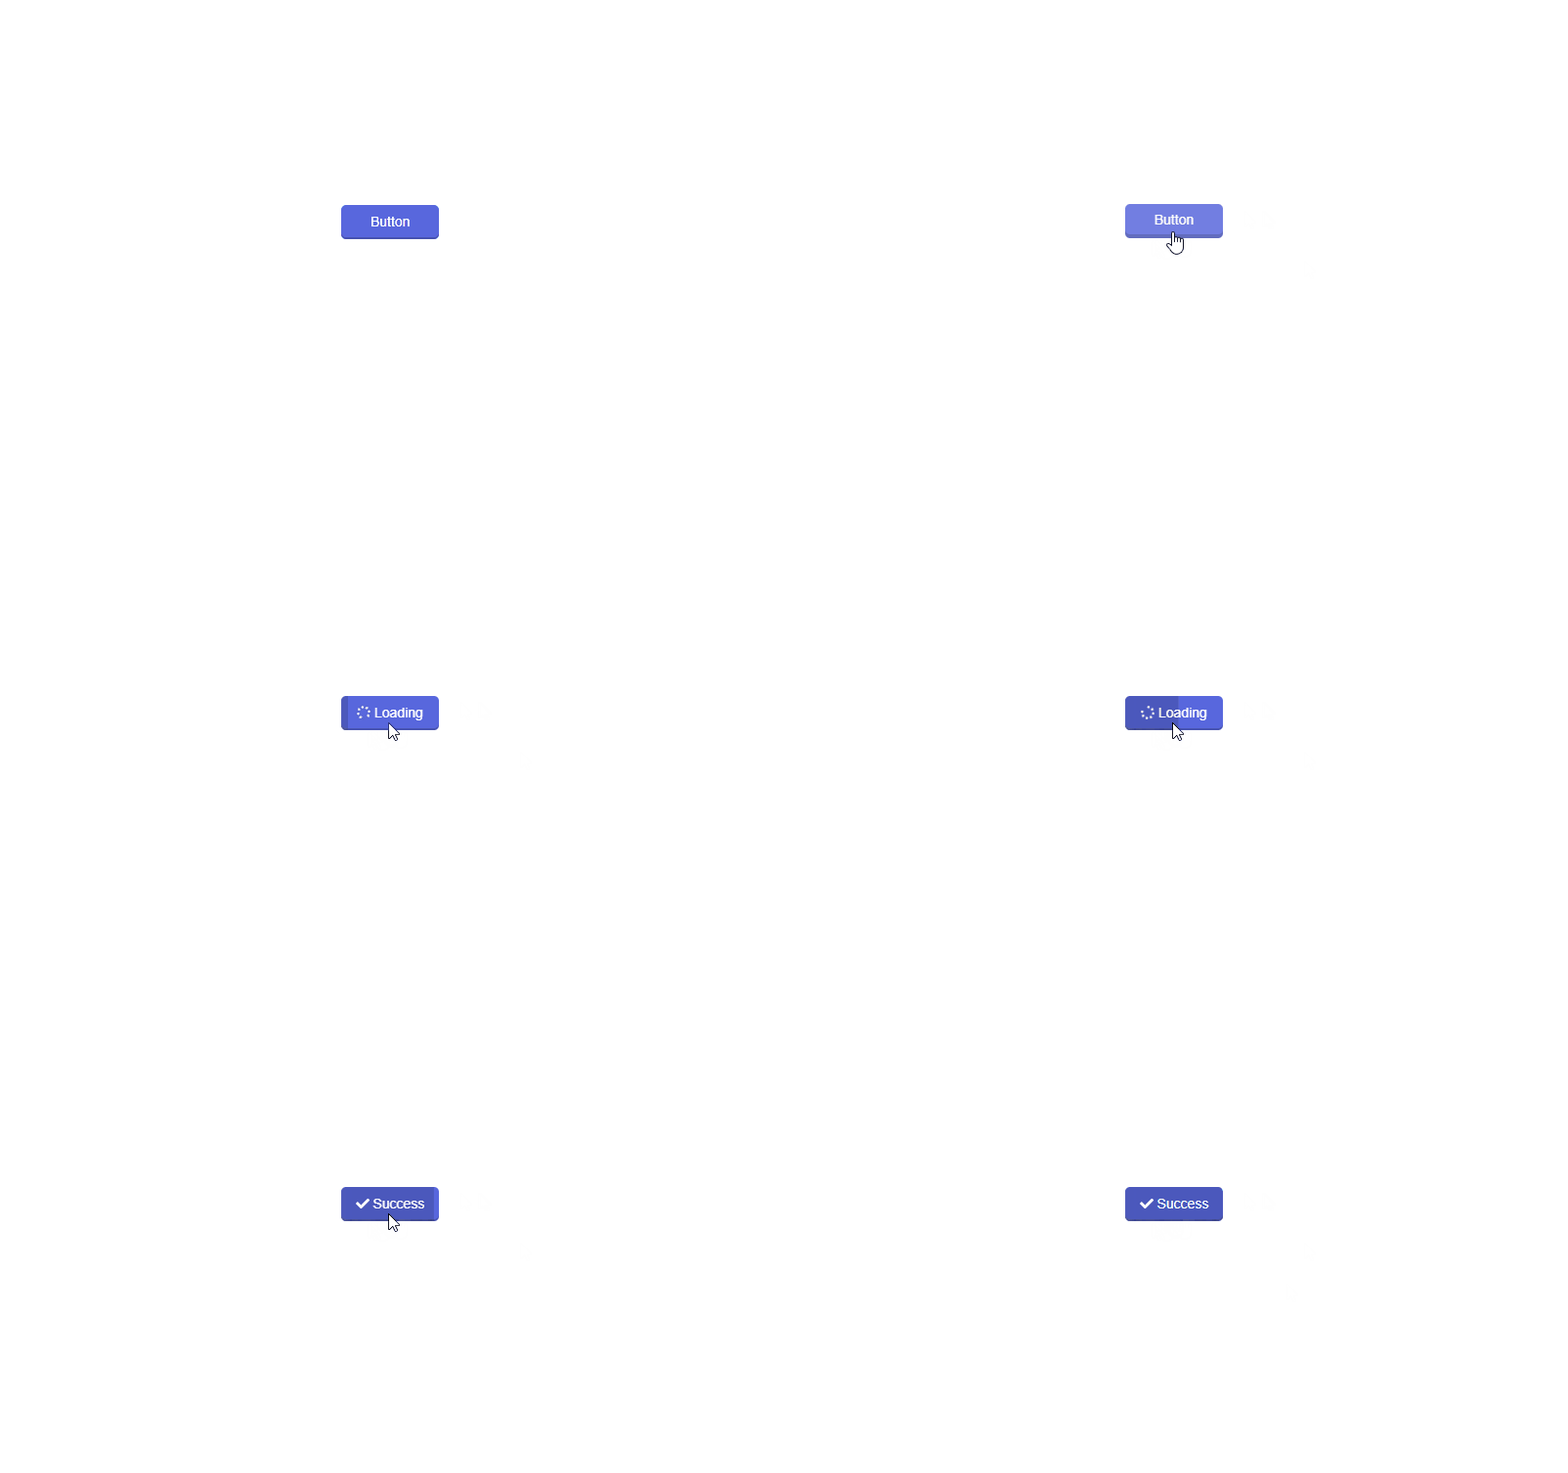
npm startブラウザから http://プライベートIP:3000にアクセスすると、プログレスバー付きのボタンが作成されていることが確認できます。
-
前の記事

javascript 配列データの一部の値が条件を満たしているかを判定する 2021.04.04
-
次の記事

python openpyxlを使ってEXCELファイル(book)を作成する 2021.04.05





コメントを書く