dockerを使って「chatwoot」を構築するまでの手順

dockerを利用してOSSのチャットツールである「chatwoot」を構築するまでの手順を記述してます。
環境
- OS CentOS Linux release 7.8.2003 (Core)
- docker 19.03.12
- docker-compose 1.25.4
docker-composeダウンロード
gitからcloneして入手可能です。
git clone https://github.com/chatwoot/chatwoot.git事前準備
設定ファイルをコピーして、パスワードを設定します。
cp .env.example .env編集します。
nano .env

<編集>
REDIS_PASSWORD=passwordに設定しました

POSTGRES_PASSWORD=password123に設定しました
docker-compose.yamlのpostgresを最新バージョンに編集して、タイムゾーンをパスワードを設定してます。
version: '3'

services:
  base: &base
    build:
      context: .
      dockerfile: ./docker/Dockerfile
      args:
        BUNDLE_WITHOUT: ''
        EXECJS_RUNTIME: 'Node'
        RAILS_ENV: 'development'
        RAILS_SERVE_STATIC_FILES: 'false'
    tty: true
    stdin_open: true
    image: chatwoot:development
    env_file: .env

  rails:
    <<: *base
    build:
      context: .
      dockerfile: ./docker/dockerfiles/rails.Dockerfile
    image: chatwoot-rails:development
    volumes:
      - ./:/app:delegated
      - node_modules:/app/node_modules
      - packs:/app/public/packs
      - cache:/app/tmp/cache
      - bundle:/usr/local/bundle
    depends_on:
      - postgres
      - redis
      - webpack
      - mailhog
      - sidekiq
    ports:
      - 3000:3000
    env_file: .env
    environment:
      - WEBPACKER_DEV_SERVER_HOST=webpack
      - NODE_ENV=development
      - RAILS_ENV=development
    entrypoint: docker/entrypoints/rails.sh
    command: ["bundle", "exec", "rails", "s", "-p", "3000", "-b", "0.0.0.0"]

  sidekiq:
    <<: *base
    image: chatwoot-rails:development
    volumes:
      - ./:/app:delegated
      - node_modules:/app/node_modules
      - packs:/app/public/packs
      - cache:/app/tmp/cache
      - bundle:/usr/local/bundle
    depends_on:
      - postgres
      - redis
      - mailhog
    environment:
      - NODE_ENV=development
      - RAILS_ENV=development
    command: ["bundle", "exec", "sidekiq", "-C", "config/sidekiq.yml"]

  webpack:
    <<: *base
    build:
      context: .
      dockerfile: ./docker/dockerfiles/webpack.Dockerfile
    image: chatwoot-webpack:development
    volumes:
      - ./:/app:delegated
      - node_modules:/app/node_modules # Node modules shared across containers
      - packs:/app/public/packs
      - cache:/app/tmp/cache
      - bundle:/usr/local/bundle
    ports:
      - "3035" # Webpack dev server
    environment:
      - WEBPACKER_DEV_SERVER_HOST=0.0.0.0
      - NODE_ENV=development
      - RAILS_ENV=development
    entrypoint: docker/entrypoints/webpack.sh
    command: bin/webpack-dev-server

  postgres:
    image: postgres:latest
    restart: always
    ports:
      - '5432:5432'
    volumes:
      - postgres:/data/postgres
    environment:
      - POSTGRES_DB=chatwoot
      - POSTGRES_USER=postgres
      - POSTGRES_PASSWORD=password123 ← 設定
      - PGPASSWORD=password123 ← 追加
      - TZ=Asia/Tokyo ← 追加

  redis:
    image: redis:alpine
    restart: always
    command: ["sh", "-c", "redis-server --requirepass \"$REDIS_PASSWORD\""]
    env_file: .env
    volumes:
      - redis:/data/redis
    ports:
      - '6379:6379'

  mailhog:
    image: mailhog/mailhog
    ports:
      - 1025:1025
      - 8025:8025

volumes:
  postgres:
  redis:
  packs:
  node_modules:
  cache:
  bundle:
buildします。
docker-compose builddbを初期化します。
docker-compose run --rm rails bundle exec rails db:resetfirewallも設定しておきます。
sudo firewall-cmd --add-port=8080/tcp --zone=public --permanent
sudo firewall-cmd --reload
実行
実行します。
docker-compose upchatwootアクセス
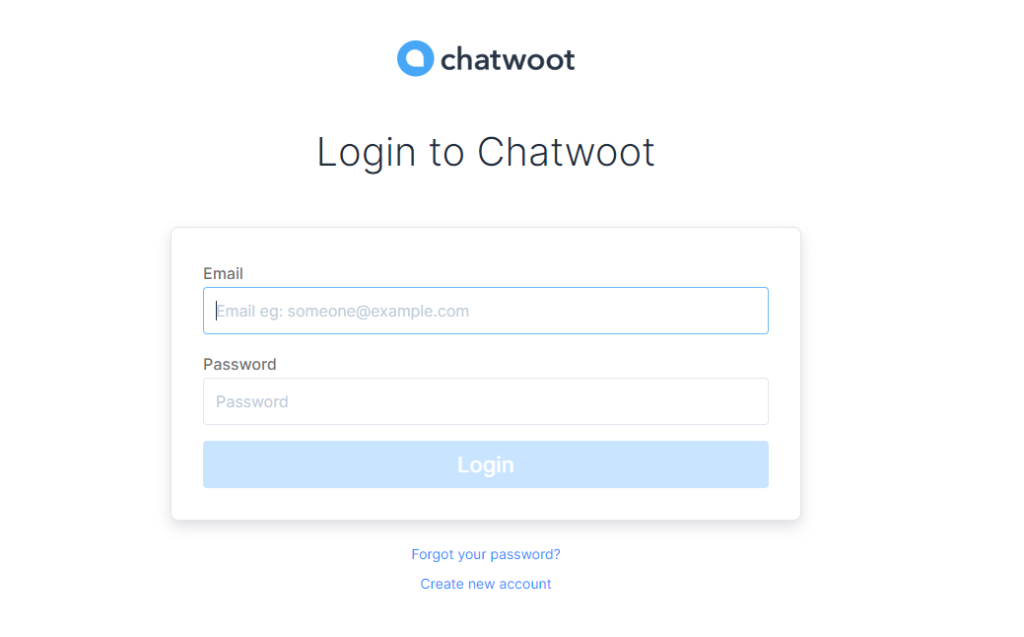
ブラウザから http://プライベートIP or サーバーアドレス:3000 にアクセスします。
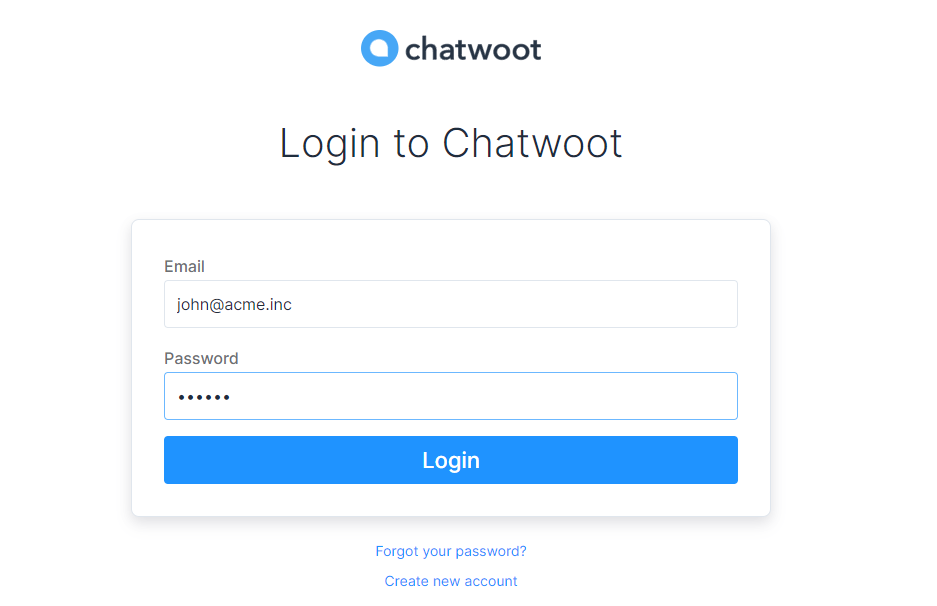
john@acme.inc / 123456でログインします。
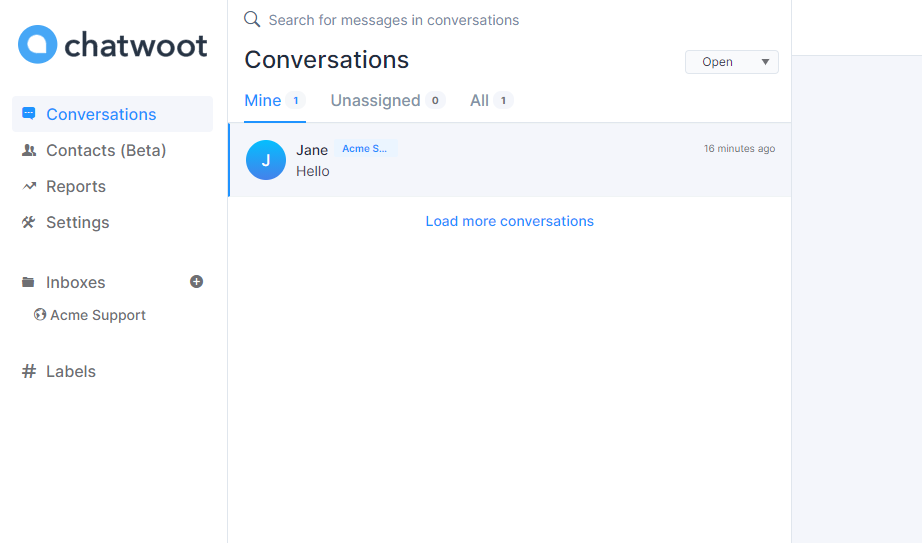
ログイン後の画面となります。
-
前の記事

HTMLとCSSだけでツールチップを作成 2020.12.10
-
次の記事

php trimで文字列から空白または指定した文字列を削除する 2020.12.11