Vue.js vue-step-indicatorをインストールしてステップインジケーターを実装する手順
- 作成日 2020.04.13
- 更新日 2020.07.20
- Vue.js
- vue-step-indicator, Vue.js
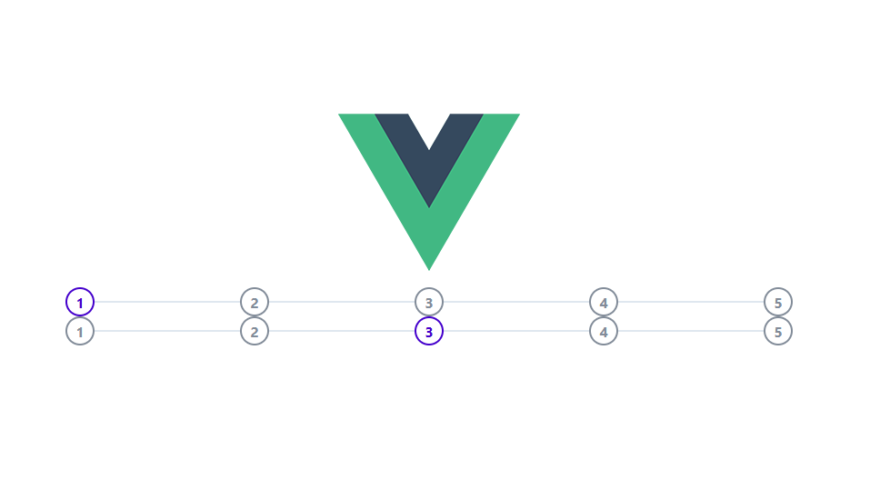
vue.jsのライブラリで、ステップインジケーターが実装できる「vue-step-indicator」の導入手順と簡単な使い方
環境
- OS CentOS 8.0.1905 (Core)
- node v12.13.1
- npm 6.13.2
- @vue/cli 4.1.1
Vue環境構築
下記のコマンドで構築。今回は、vueappという名前でプロジェクトを作成してます。
vue create vueappプロジェクト作成時は、defaultを選択してます 。
Vue CLI v4.1.1? Please pick a preset: default (babel, eslint)vue-step-indicatorインストール
下記の手順でインストールします。
## 移動
cd vueapp

## インストール
vue i -S vue-step-indicator
vue-step-indicator使い方
次にsrc配下のApp.vueを下記のように編集します。
current : アクティブな数字を指定
total : 表示する数
<template>
  <div id="app">
    <div>
      <img alt="Vue logo" src="./assets/logo.png">
    </div>
    <step-indicator :current="0" :total="5"></step-indicator>
    <step-indicator :current="2" :total="5"></step-indicator>
  </div>
</template>

<script>
import StepIndicator from 'vue-step-indicator';


export default {
  name: 'app',
  components: {
    StepIndicator
  },
}
</script>
<style src="vue-step-indicator/dist/vue-step-indicator.css"></style>
<style>
#app {
  font-family: 'Avenir', Helvetica, Arial, sans-serif;
  -webkit-font-smoothing: antialiased;
  -moz-osx-font-smoothing: grayscale;
  text-align: center;
  color: #2c3e50;
  padding-top: 150px;
  margin: 0 auto;
  width: 800px;
}
</style>
起動します。
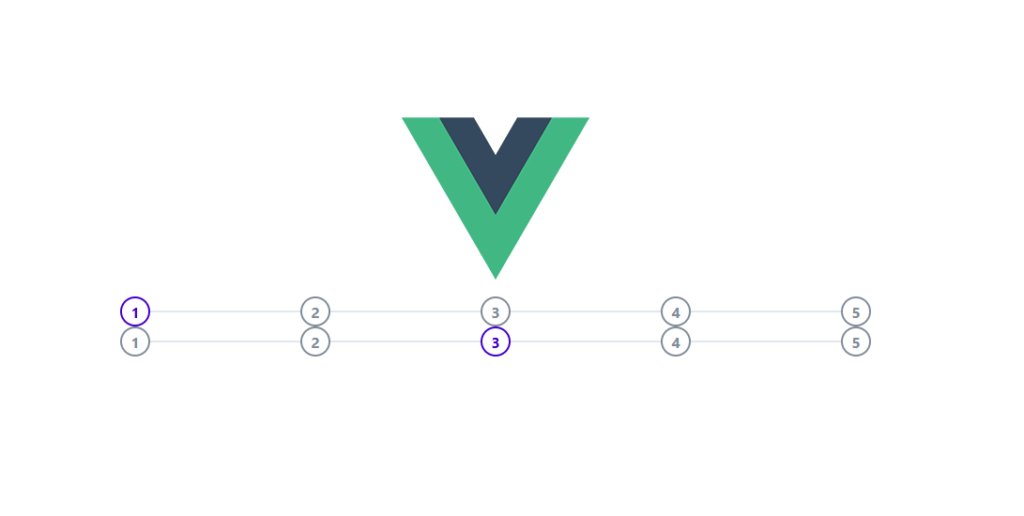
npm run serveブラウザから http://プライベートIP:8080 に アクセスすると ステップインジケーター が表示され、設定した0(数字の1)と2 (数字の3) がアクティブになっています
-
前の記事
![docker起動時にエラー「[1]: max virtual memory areas vm.max_map_count [65530] is too low, increase to at least [262144]」が発生した場合の対処法](https://mebee.info/wp-content/uploads/2019/08/docker-150x150.png)
docker起動時にエラー「[1]: max virtual memory areas vm.max_map_count [65530] is too low, increase to at least [262144]」が発生した場合の対処法 2020.04.13
-
次の記事

dockerを使ってOSSのコード品質管理ツール「SonarQube」を構築する 2020.04.14





コメントを書く