reveal.jsを利用してスライドを作成する

簡単にスライドが作成できる、reveal.jsの使い方と環境構築手順です。Markdownも利用できるので、非常に利用しやすい
環境
- OS CentOS Linux release 8.0.1905 (Core)
- node V10.16.3
- npm 6.9.0
reveal.js利用方法
gitからcloneします
git clone https://github.com/hakimel/reveal.jscloneが完了したら、reveal.jsディレクトリに移動します。
cd reveal.js後は、インストールして実行すれば起動します。
※今回は、gruntのhostnameにプライベートIPを設定してから起動します。
npm install外部からアクセスできるように、gruntfile.jsを編集してます。
connect: {
			server: {
				options: {
					port: port,
					base: root,
					livereload: true,
					open: true,
					useAvailablePort: true,
					hostname: '192.168.xxx.xxx'
				}
			}
		},
一度、起動してみます。
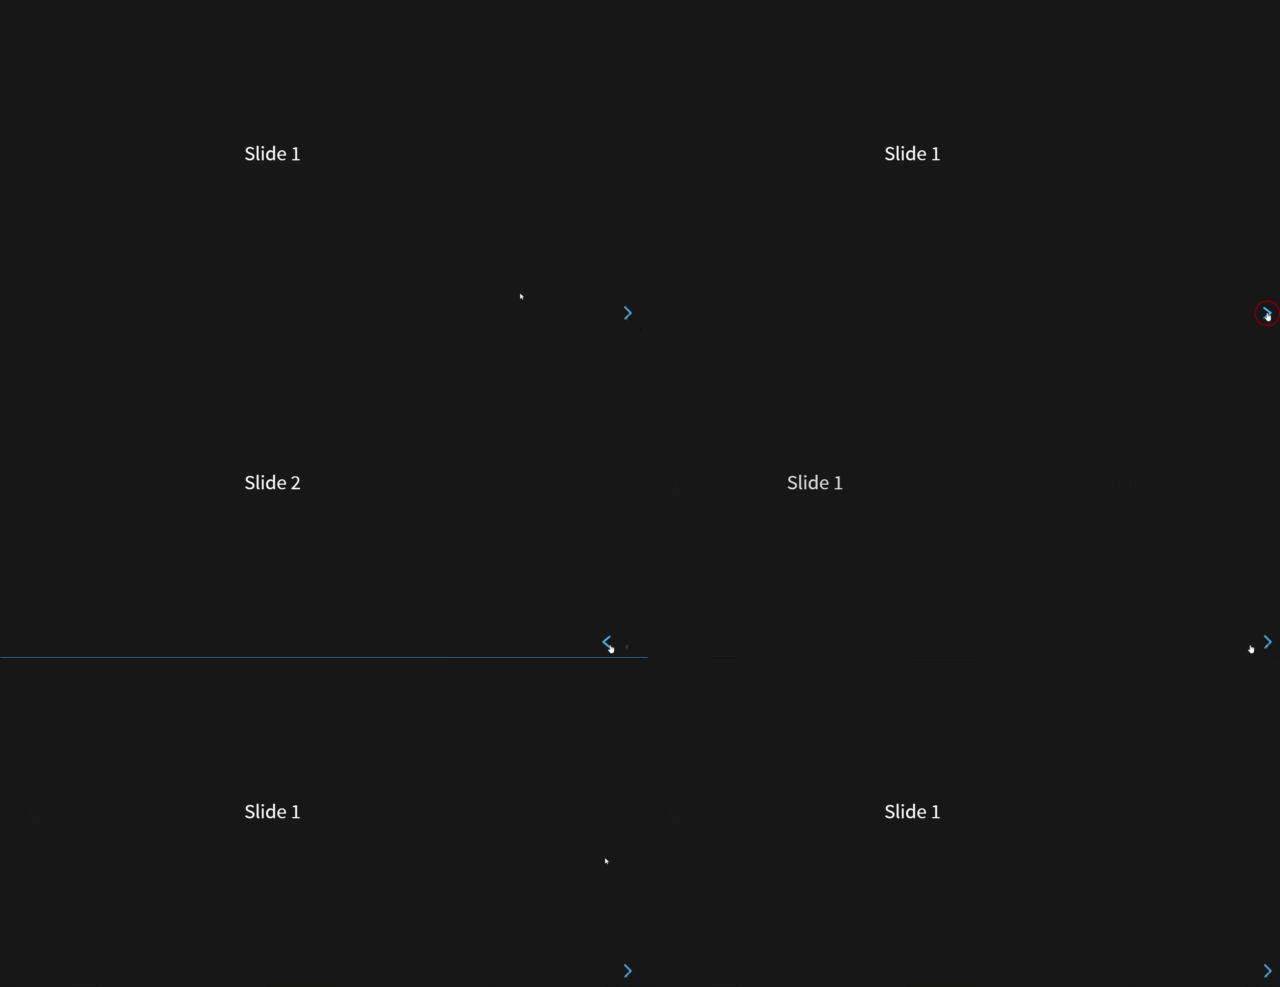
npm startブラウザから http://プライベートIP:8000 にアクセスするとスライドが確認できます。
スライド追加
スライドを追加する場合は、index.htmlを下記のように編集すると追加できます。
<div class="reveal">
			<div class="slides">
				<section>Slide 1</section>
				<section>Slide 2</section>
				<section>Slide 3</section>
			</div>
		</div>
実行するとスライドが追加されていることが確認できます。

縦ページの追加
ページを縦に追加する場合は、sectionタグの中にsectionタグを追加します。
<div class="reveal">
			<div class="slides">
				<section>
					<section>Hello</section>
					<section>World</section>
					<section>!!</section>
				</section>
				<section>slide 2</section>
				<section>slide 3</section>
			</div>
		</div>
実行すると縦のスライドも追加されます。

theme変更
themeも複数あり、変更方法は css/theme/ にあるCSSを設定するだけで変更可能
<link rel="stylesheet" href="css/theme/black.css">

変更
↓

<link rel="stylesheet" href="css/theme/league.css">
変更するとthemeが適応されます。

MarkDownで記述
Markdownで記述することも可能です。 今回は、scriptタグ内にmarkdownを記述してます。
- data-markdown 読み込むmdファイルを指定。今回は指定せず、直接記述
- data-separator ページの区切り(横)を指定。今回は—を指定
- data-separator-vertical ページの区切り(縦)を指定。今回は>>>を指定
<div class="reveal">
			<div class="slides">
			  <section data-markdown=""
					data-separator="^\n---$"
					data-separator-vertical="^\n>>>$">
				<script type="text/template">

				## markdownで作成

				テストプレゼン
				---
				### 1ページ目
				- - -
				プレゼン内容
				---

				### 2ページ目
				- - -
				プレゼン内容
				>>>
				### 2ページ目(縦)
				縦ページ

				</script>
			  </section>
			</div>
		  </div>
実行するとmarkdownで記述した通り、動作します。

PDF化
ブラウザから http://プライベートIP:8000/?print-pdf#/にアクセスするとPDF化が可能です。

-
前の記事

Node.js Nodemailerを利用してメール送信を行う 2020.03.01
-
次の記事
Vue.js vue-infinite-loadingを使用して無限スクロールを実装する 2020.03.02




コメントを書く