GitHub上でwebサイトを公開する手順

githubを利用して作成したwebサイトを公開するまでの手順。githubのアカウントとgitがインストールされていることが前提となります
環境
OS ubuntu19.10
GitHubリポジトリ作成
まずは、GitHubでリポジトリを作成します。
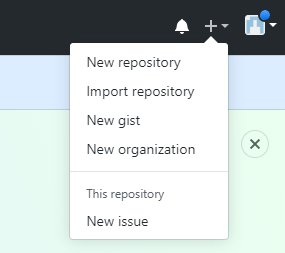
ページの右上にある「+」から「New repository」をクリック
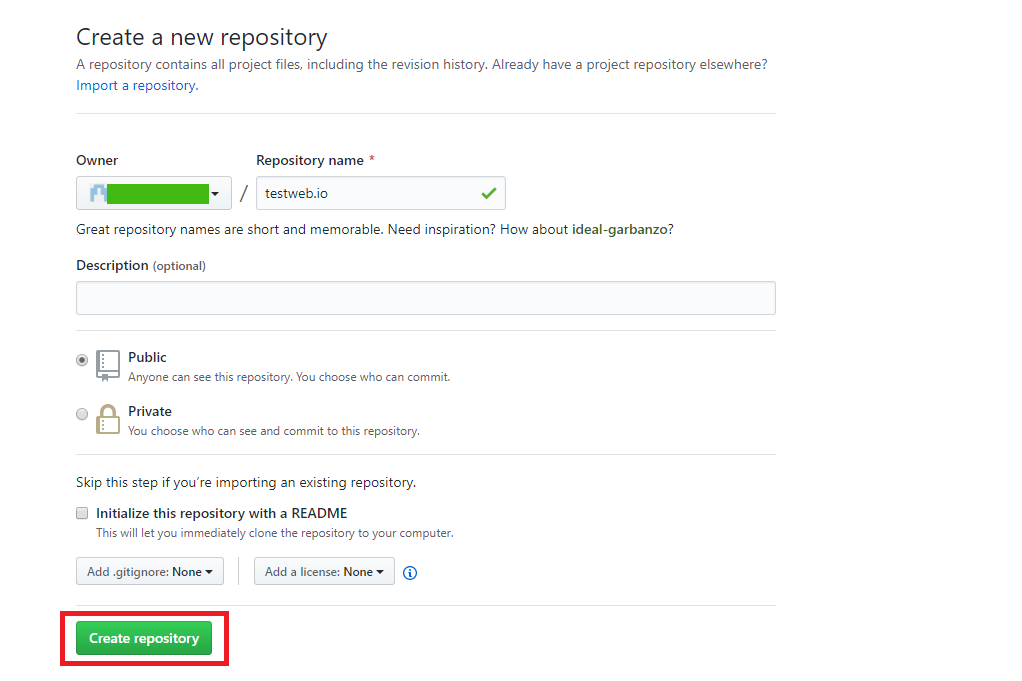
「Repository name」に任意の文字列を入力し「Create repository」をクリックしてリポジトリを作成します
※ここでは、testweb.ioという名前でリポジトリを作成してます
git cloneする
作成したリポジトリをcloneします。
※usernameの場所は、自分のアカウントに変更して下さい
## clone
git clone https://github.com/username/testweb.io.git
cloneしたら、 testweb.io というディレクトが作成されるので移動します
## 移動
cd testweb.io
index.htmlを作成します
## 作成
echo "Hello world" > index.html
後は、commitしてpushします
## addします
git add index.html

## commitします
git commit -m "add html"
commit時に下記のエラー
*** Please tell me who you are.

Run

  git config --global user.email "you@example.com"
  git config --global user.name "Your Name"

to set your account's default identity.
Omit --global to set the identity only in this repository.

fatal: unable to auto-detect email address
ユーザー名とE-mailアドレスを設定してなかったので設定します
git config --global user.email "test@test.com"
git config --global user.name "taro"
もう一度commitします
## 再度commitする
git commit -m "add html"

## pushします
git push origin master

<出力結果>
Username for 'https://github.com': GitHubのユーザー名を入力
Password for 'https://~@~@github.com': GitHubのパスワードを入力
GitHubにpushされていることが確認できます

GitHub設定
GitHubにアクセスして設定を変更します
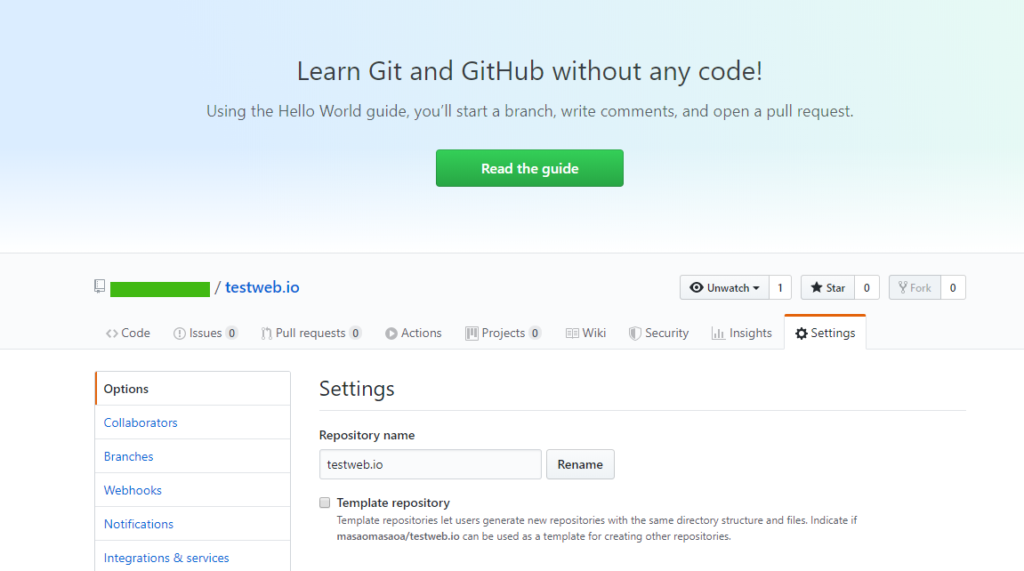
「Settings」タブをクリックしSettingsページに移動
ページ下部に進み、下記の「None」を「master branch」に変更
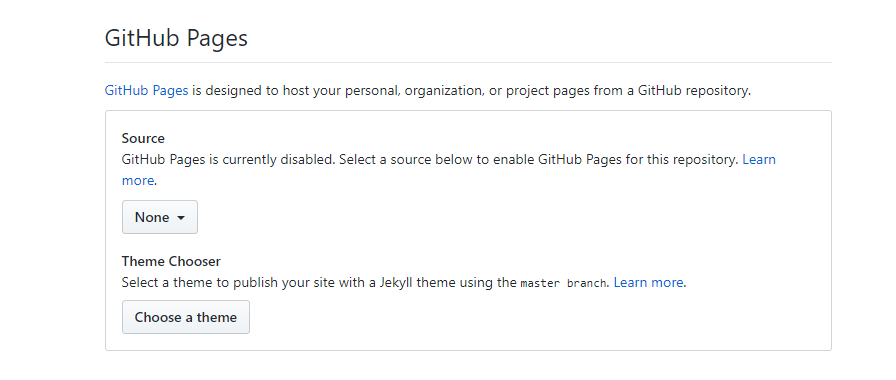
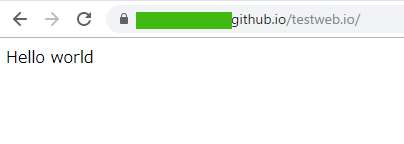
変更すると「緑線で隠してる箇所」にURLが表示されるのでアクセスします
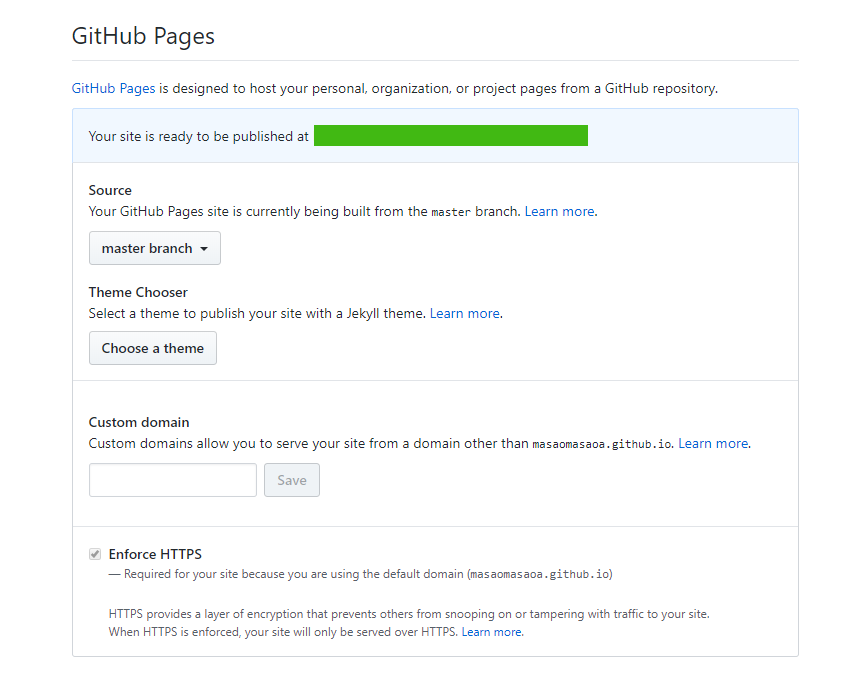
アクセスするとHello worldが表示されます。
※反映されるまで、時間がかかるときがあります。
-
前の記事
Laravel6 マイグレーションを利用してDBテーブルを作成 2019.11.19
-
次の記事

Windows10からMacにリモートデスクトップする方法 2019.11.20