windows10 electron-vueをインストールする
electron アプリケーション を開発するにあたり、vue を使用することにしたのでインストール手順を記載
※nodejsがインストールされることが前提
window10にnodejsのインストール手順はこちら
環境
windows10 pro
インストール
nodejsのインストール手順はこちら
## インストール
npm i -D vue-cli
## プロジェクトを作成
vue init simulatedgreg/electron-vue test-project
<入力>
? Application Name test-project
? Application Id com.example.yourapp
? Application Version 0.0.1
? Project description An electron-vue project
? Use Sass / Scss? No
? Select which Vue plugins to install (Press <space> to select, <a> to toggle all, <i> to invert selection)axios, vue-electron, vue-router, vuex, vuex-electron
? Use linting with ESLint? Yes
? Which ESLint config would you like to use? Standard
? Set up unit testing with Karma + Mocha? Yes
? Set up end-to-end testing with Spectron + Mocha? Yes
? What build tool would you like to use? builder
vue-cli · Generated "test-project".
warning Failed to append commit SHA on README.md
## 作成したtest-projectに移動
cd test-project
## npm installする
npm install
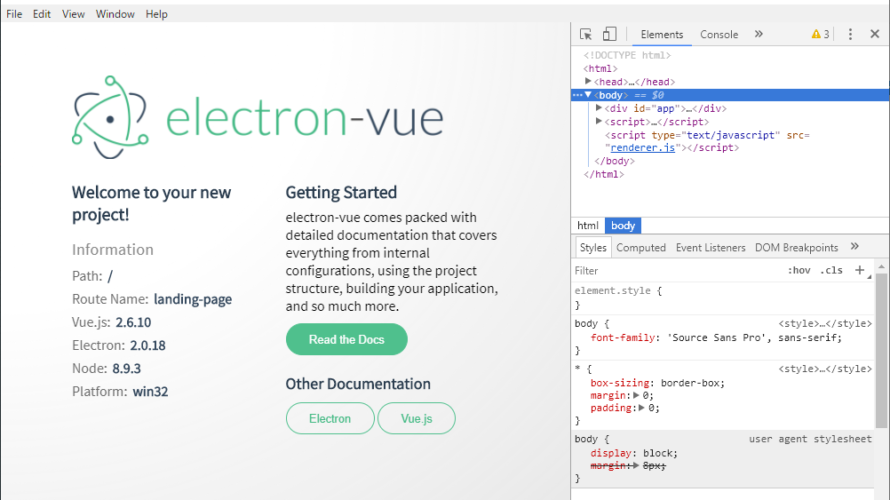
## 実行する
npm run dev下記の画面が起動すれば、問題なし

Hello Worldページを作成してみる
test-project\src\renderer\components内に Hello.vue を作成する
<template>
  <div>
    <h1>Hello World!</h1>
  </div>
</template>

<script>
  export default {
    name: 'hello-page'
  }
</script>
test-project\src\renderer\router の index.js を下記のように編集する
import Vue from 'vue'
import Router from 'vue-router'
Vue.use(Router)
export default new Router({
routes: [
{
path: '/',
name: 'landing-page',
component: require('@/components/LandingPage').default
},
{
path: '/hello',
name: 'hello-page',
component: require('@/components/Hello').default
},
{
path: '*',
redirect: '/'
}
]
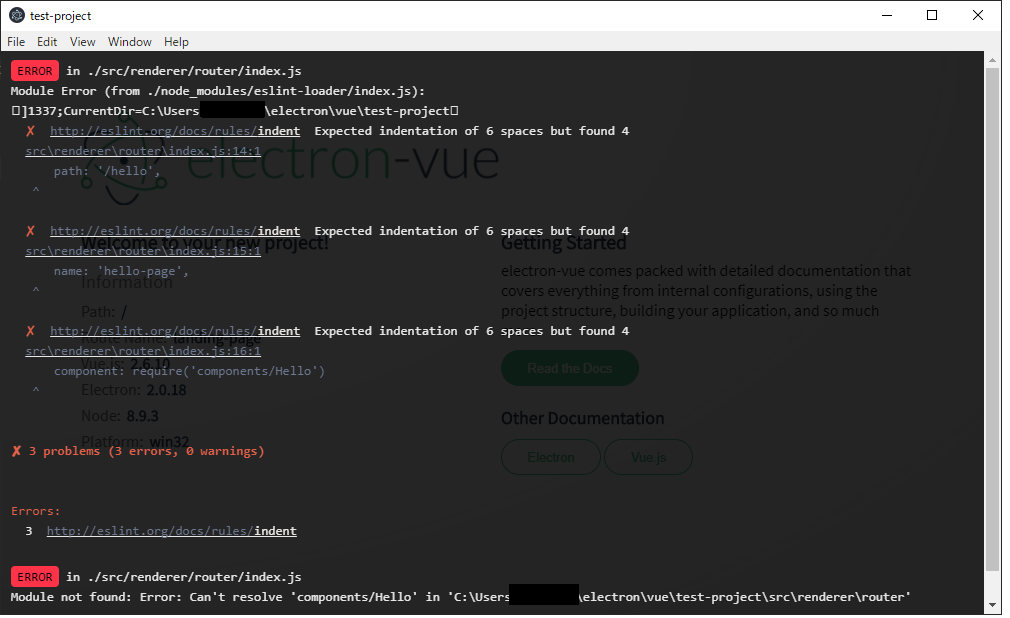
})ここで、下記エラーが発生した場合は空白の問題
http://eslint.org/docs/rules/indent  Expected indentation of 6 spaces but found 4
src\renderer\router\index.js:14:1
今回の場合は、空白が6個必要なのに4個しかないと言われているので調整する
※エラーはESlintの構文修正なので、面倒なら下記のコマンドを実行すれば修正できます
npm run lint:fix後は、test-project\src\renderer\components内のLandingPage.vueの中に下記のタグを追加
<router-link to="hello">Hello</router-link>リンクが作成される

作成されたリンクをクリックすると、helloページに遷移する

ビルド
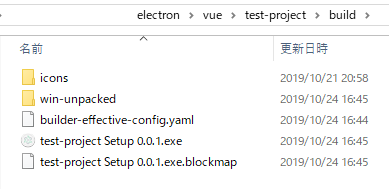
ビルドはルートディレクト内で npm run build を実行する
## 今回のプロジェクトの場合 test-projectフォルダ内で実行
test-project> npm run build
buildファルダが作成され、下図のファイルが作成される
-
前の記事

windows10にelectronをインストールする 2019.10.21
-
次の記事

CentOs8にRubyをインストール 2019.10.21